Edit
This section explains how to edit the side/header menu.
*The following is an example of how to edit the side menu. The operation is the same as the header menu.
Steps
01. Edit
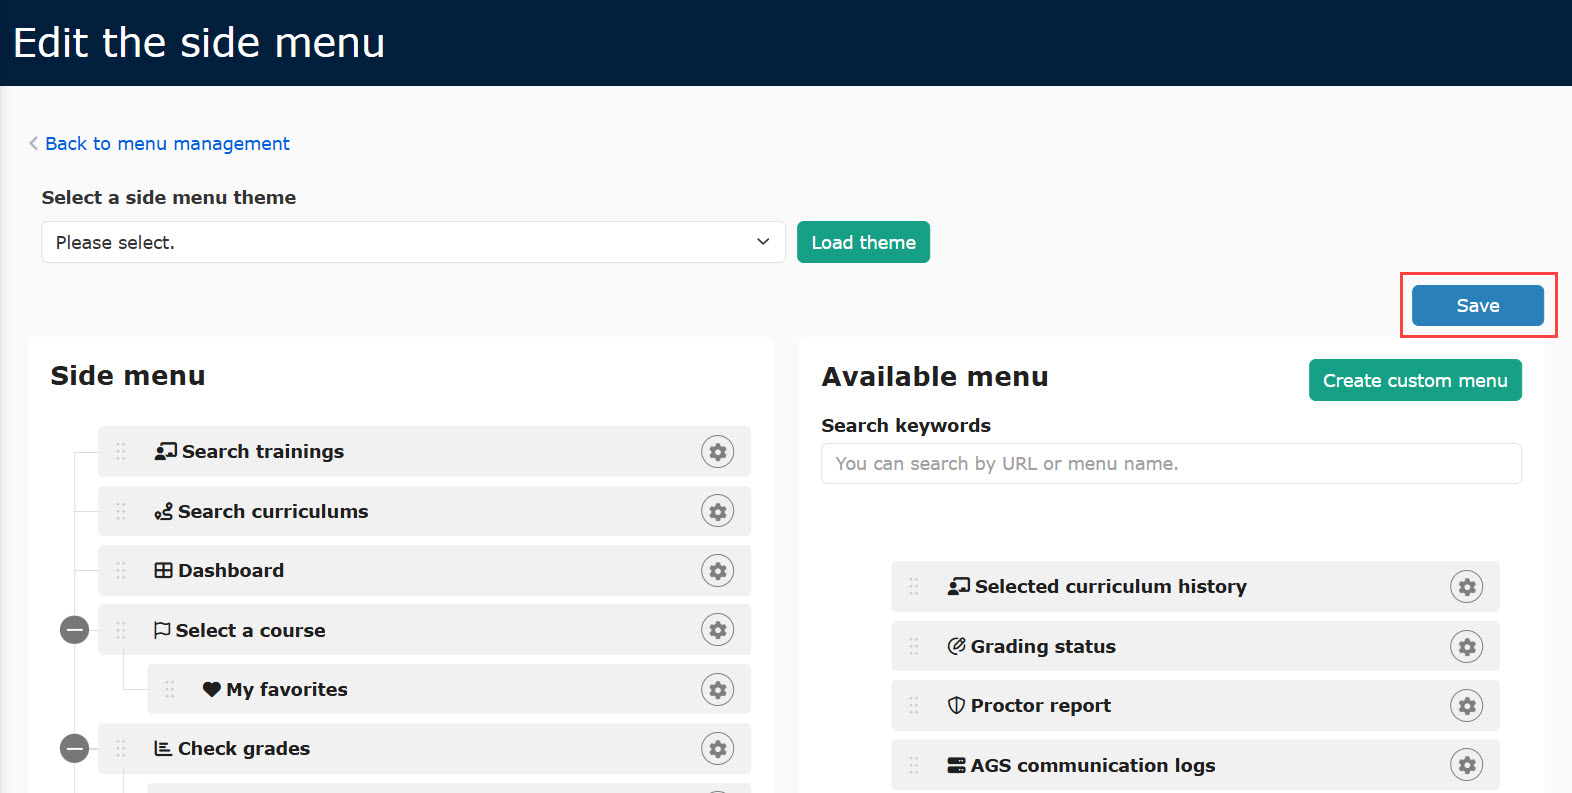
Click on Edit.
Do not forget to save the settings before you leave the page.
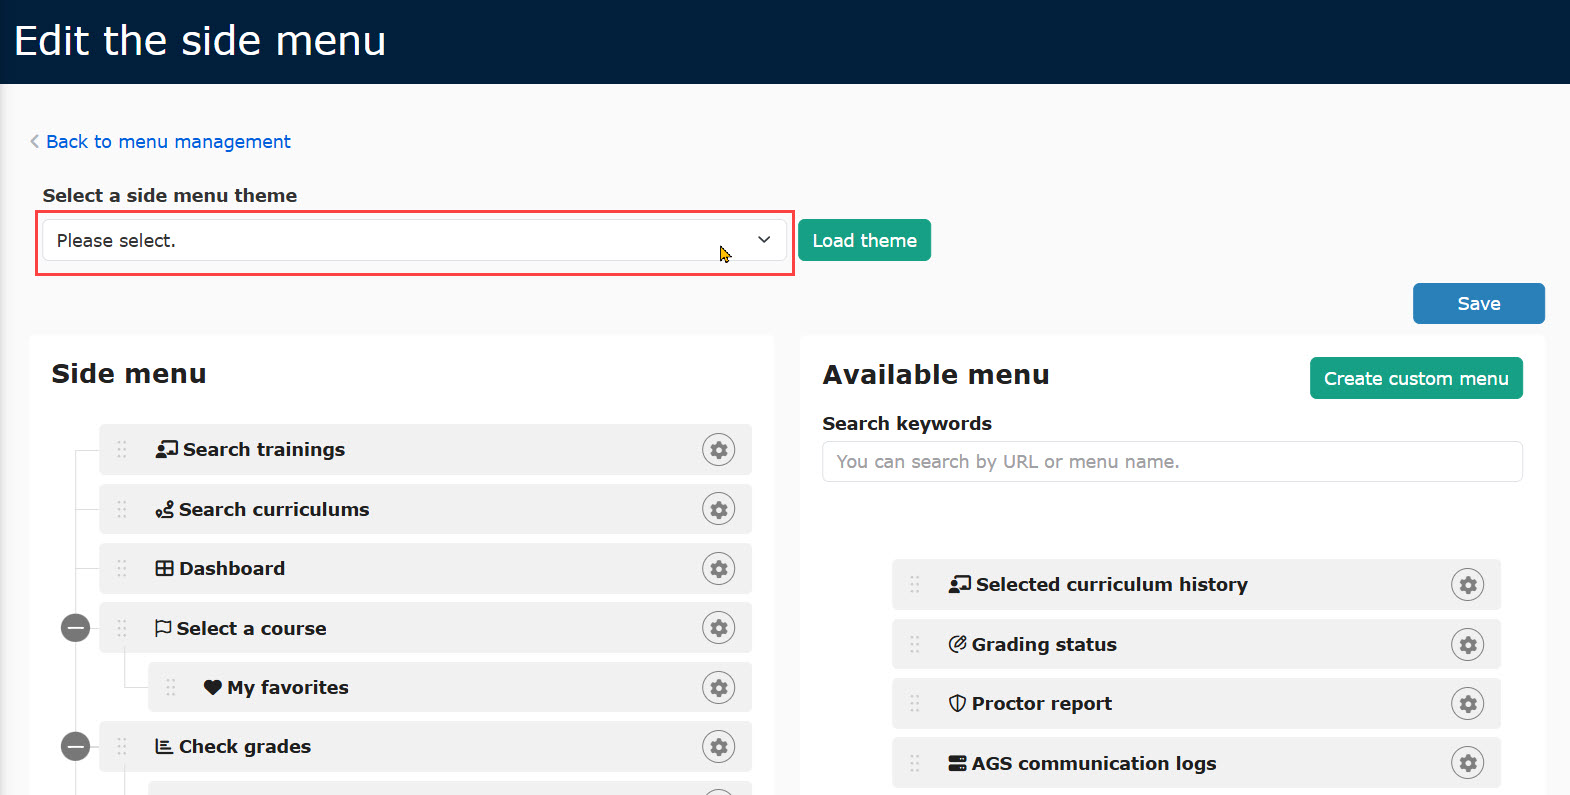
02. Select theme
You can select a theme for the side menu.
Select a theme and load.
*After loading the theme, you cannot continue to edit.
To continue, click on "Save."
03. Create custom menu
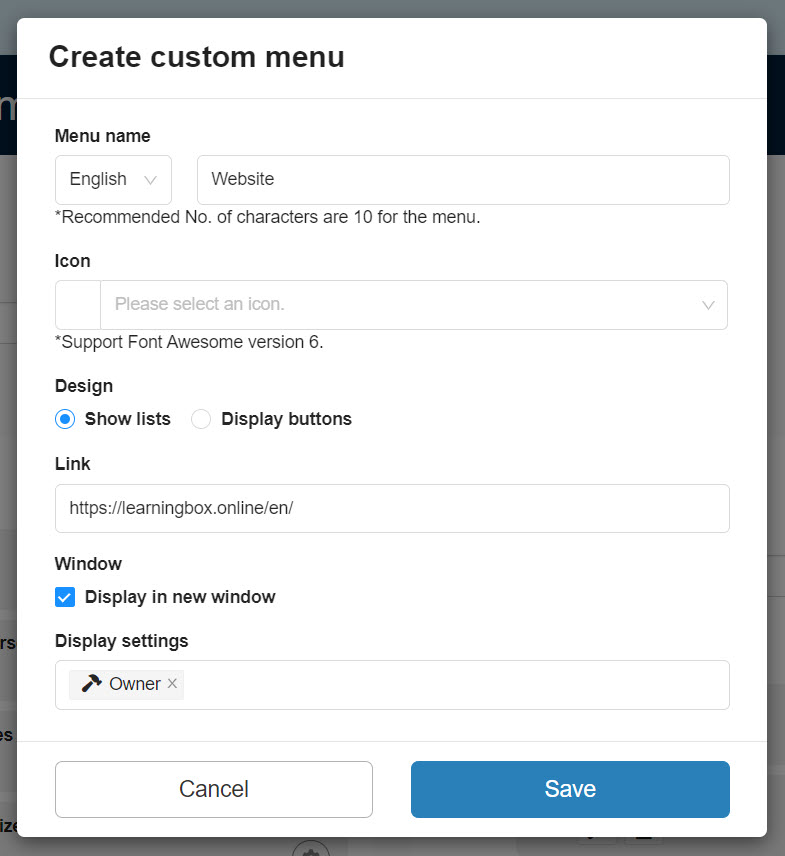
To create a new menu, click on "Create custom menu".

Set the following items.
- Menu name: Enter a name of the menu and select a language.
*The menu will be displayed in the selected language. - Icon: Select an icon to display.
- Design: Select the layout. When you select buttons, set the color.
- Link: Enter URL.
- Window: Tick to display in a new window
- Display settings: Select users to display the menu.
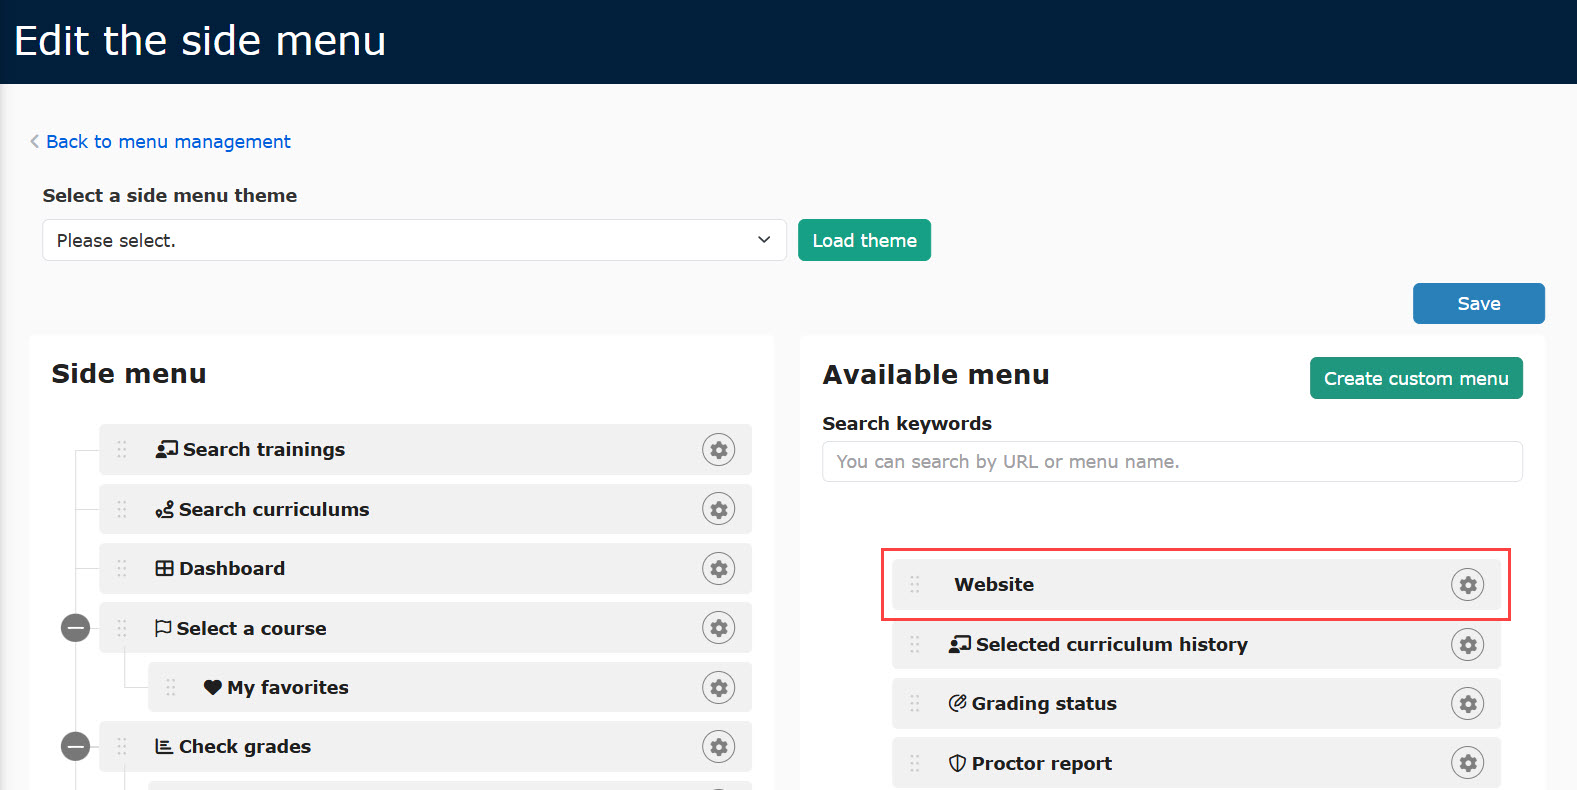
*As an example, the following describes the steps to create a menu to access our website.
Created menu will be added to the top of the Available menus.
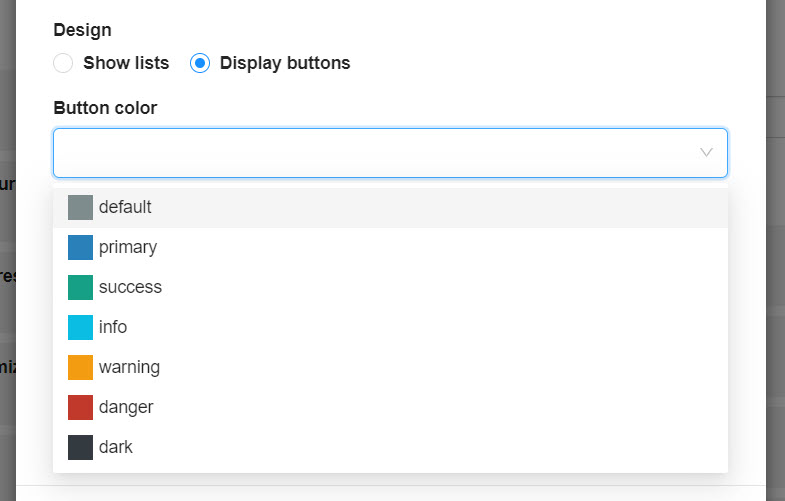
Button color
When you select buttons in the Design section, you can select a button color.
Select one from the following:
▼Basic color
The default colors will be listed.
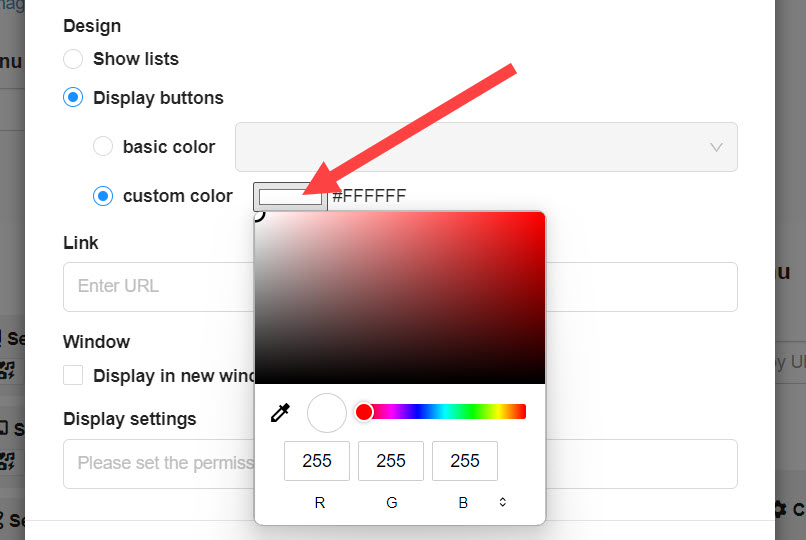
▼ Custom colors
You can specify the color.
Click the frame and select a color on the pop-up window.
*For more details, refer to Color settings.
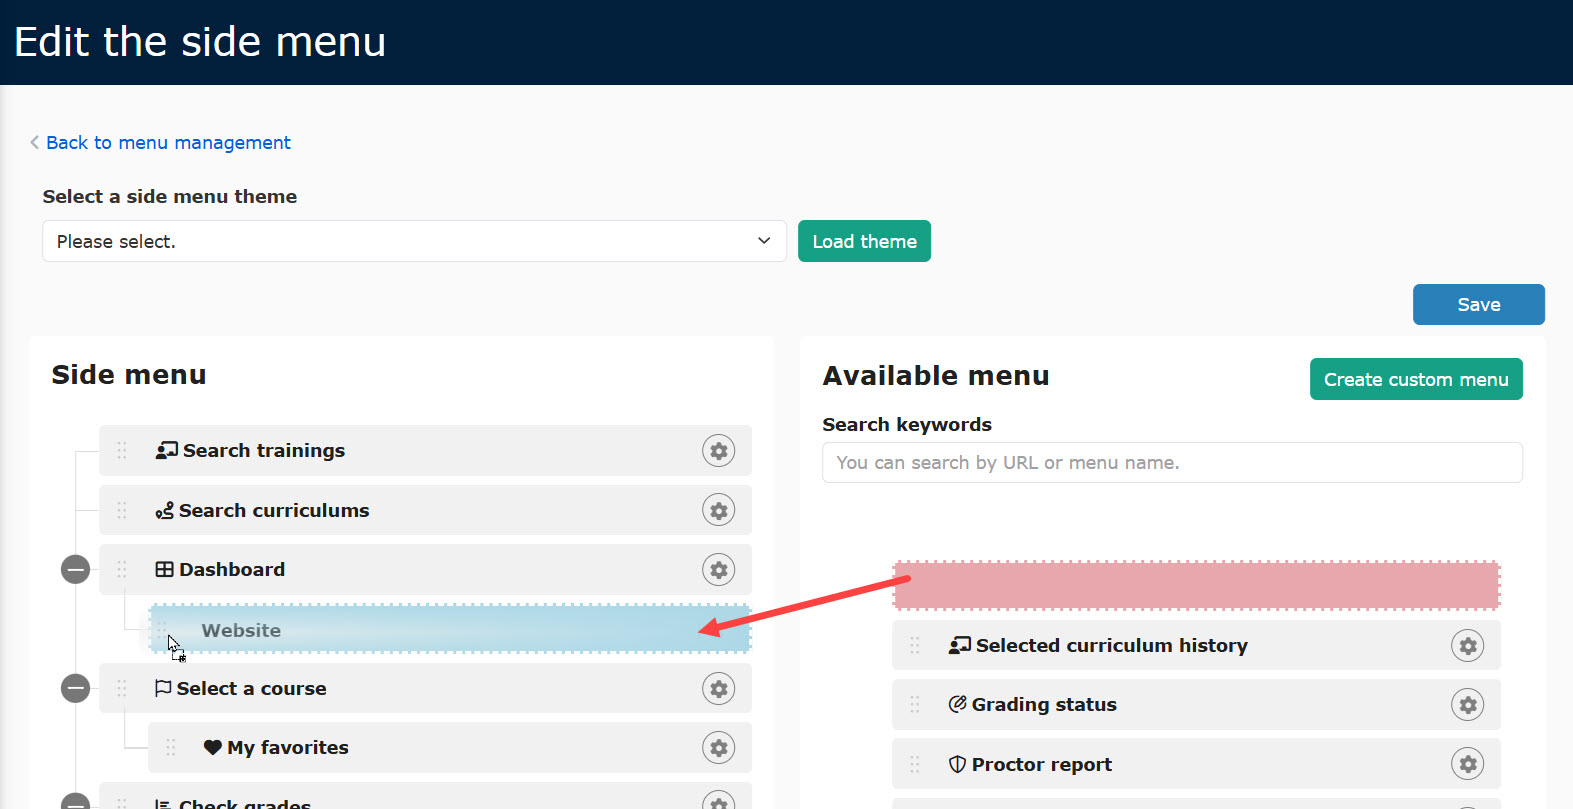
04. Show/Hide menu
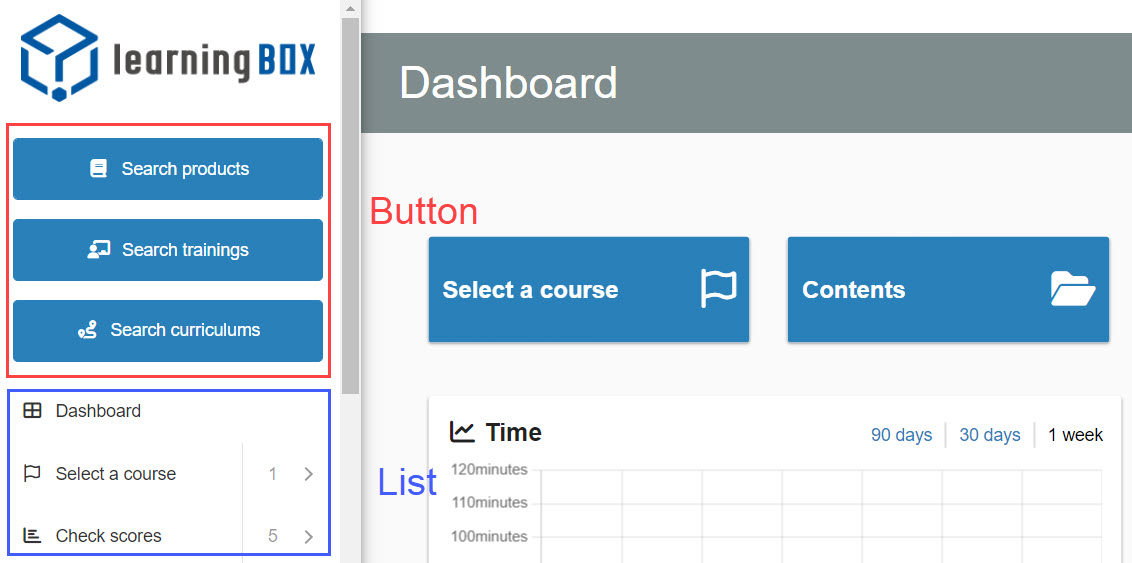
The listed items in the Side menu section will be displayed on the user interface.
Items in the Available menu will not be displayed on the user interface.
The appearance of button and list is as follows.
▼ Appearance
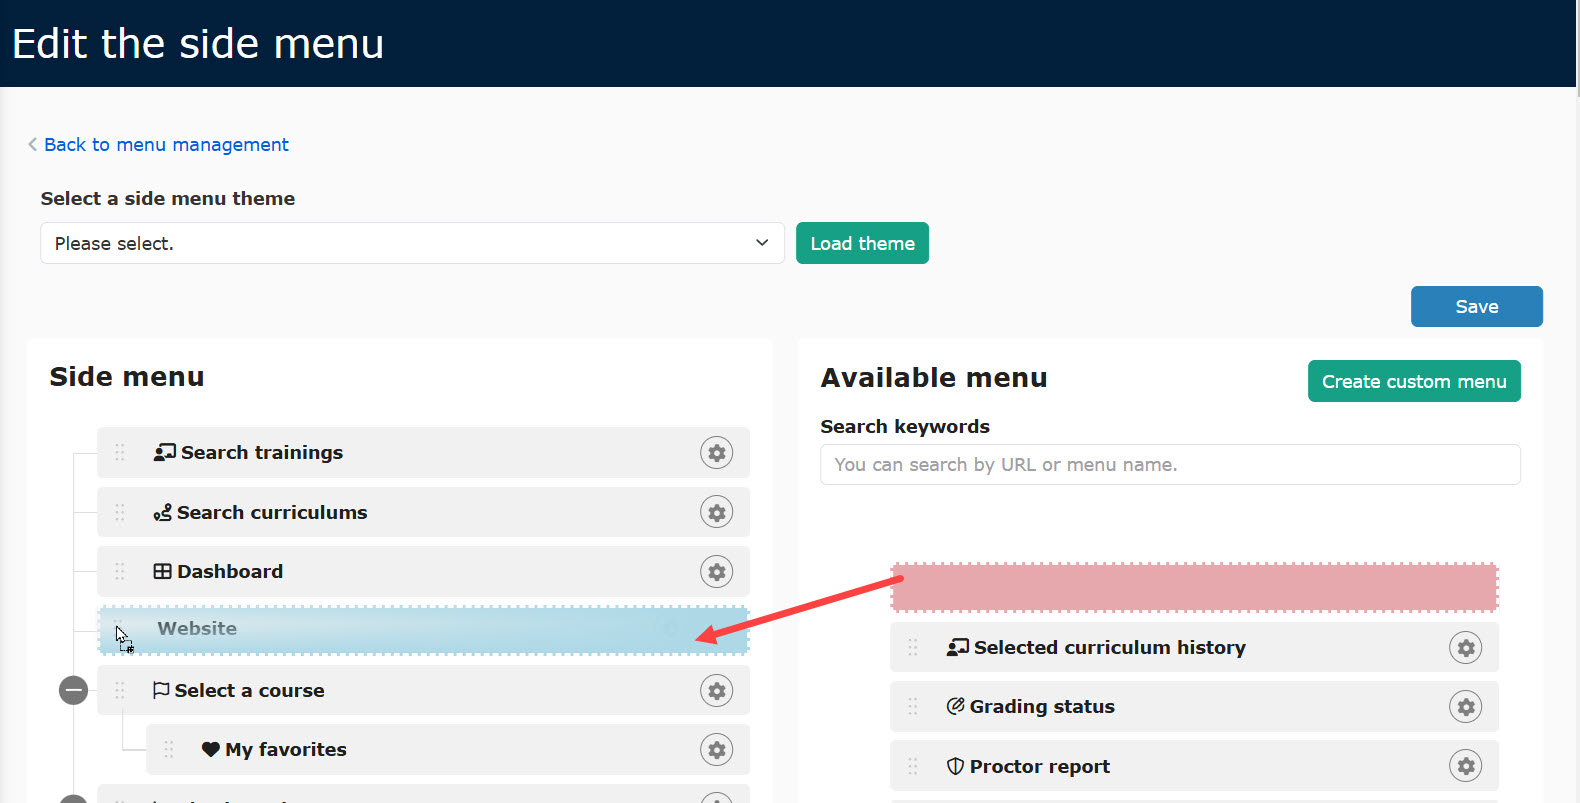
05. Custom item order
Drag and drop a six-dots icon on each item.
You can customize the item order, and show/hide each items.
Also, you can customize the hierarchy of the items.
Two levels of the hierarchy can be set in the header menu, and three levels in the side menu.
*Buttons will have no hierarchy.
▼ Place in Level 1
▼Place in Level 2
Note:
You can mvoe items to the left or right by clicking the gear icon on each item.
When you move an item, it will be displayed on the top of the menu list.
06. Edit menu
To edit menu, click on the gear icon > "Edit".
Items that can be edited are the same as those in the step 03.
Save the setting.
07. Delete menu
Customized menus can be deleted by clicking on the gear icon > "Delete."
*You cannot delete the default items.
"New" label
New functions added to the "Available Menus" list during a system update will be indicated by a "New" icon next to the function name.
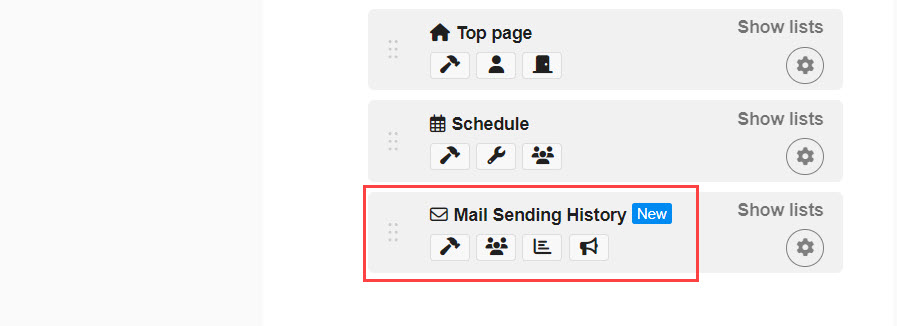
- It will be displayed until the next update
- When you move the "New" item to the side menu, the label will be removed.
- When you move the item to the Available menu, the label will be displayed again.