Email settings - Profile picture registration
You can create and edit email templates that will be sent to users. The emails will be sent when they register their profile pictures and when the admin approves/rejects them.
Required
Standard or above plan
Email settings
01.Go to Email settings
In the side menu, select "Notifications" > "Email settings"
Select a tab, Register your photo.
A template list will be displayed.
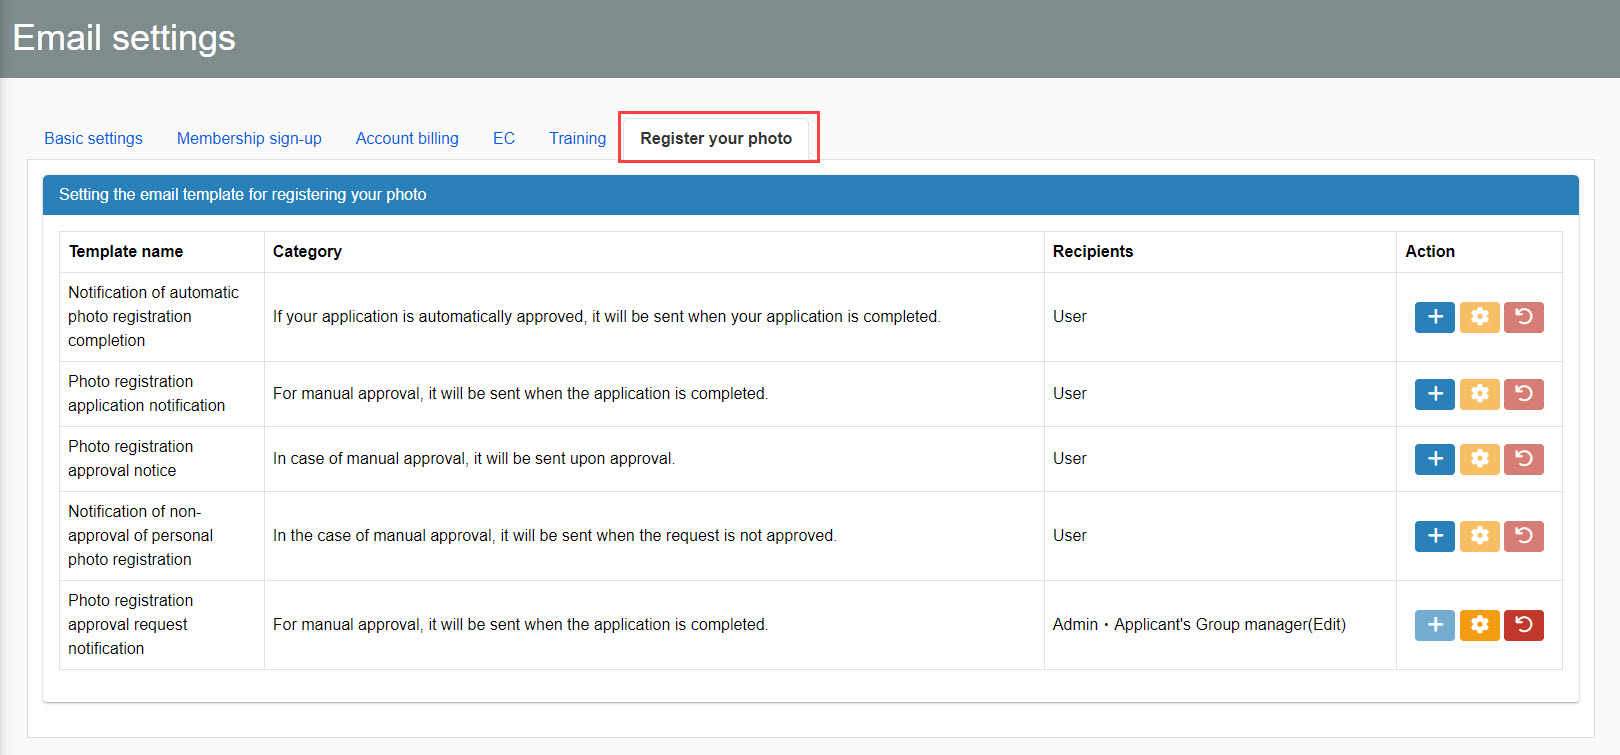
02. Interface
Template name/Category describes the content of each template.
You can check the recipients who you are going to send the email to.
To edit/create a template, click a gear icon.
Create a new email template
Click on the "+" icon.
The following page will be shown.
You can edit the template on the left and preview on the right.
The following describe each step.
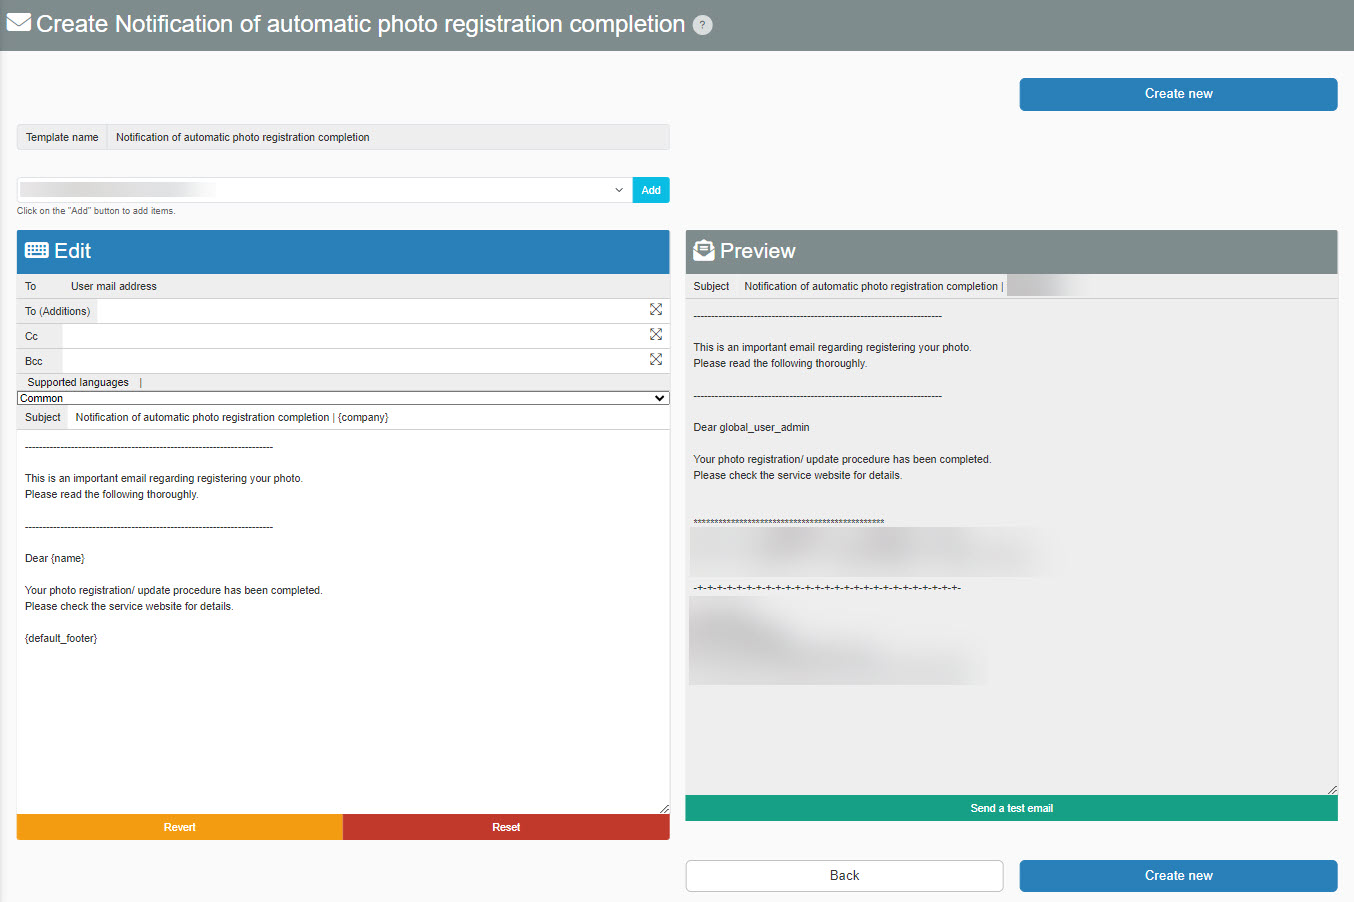
01. Template name
The template name will be shown in the upper left corner of the page.
*This template name cannot be edited.
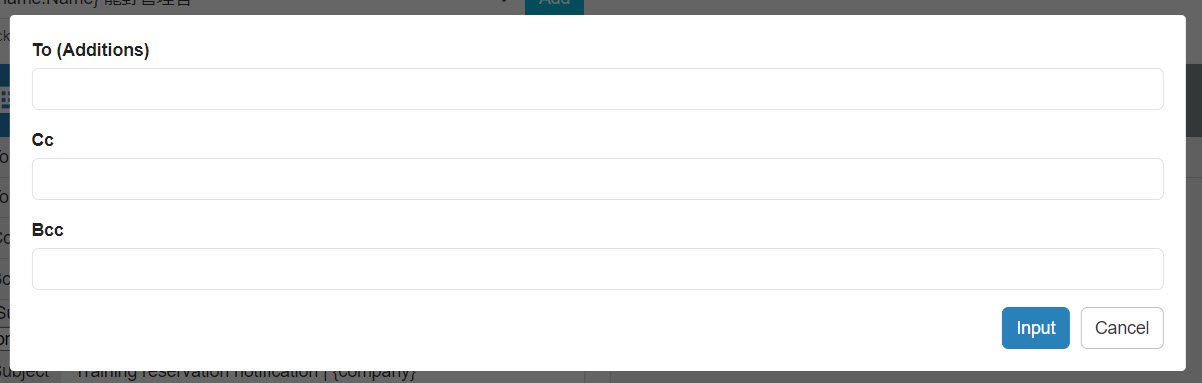
02. Add recipients
To add a recipient, click the icon on the right.

Enter a recipient.
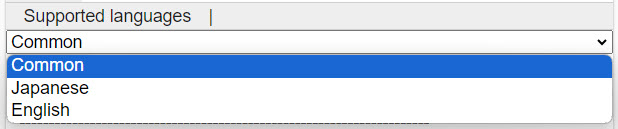
03. Language
Select a language from the list.
The list will be shown under the Supported languages.
The Supported languages is linked to each user's language settings on the Manage users page.
*For more details, refer to Add user.
- When a language is not selected, or other than Japanese and English are selected, the Common template will be applied.
- When Japanese is selected, the Japanese template will be applied.
- When English is selected, the English template will be applied.
04. Subject and body
Enter a subject and body.
You can revert or reset the edited content of the notification.
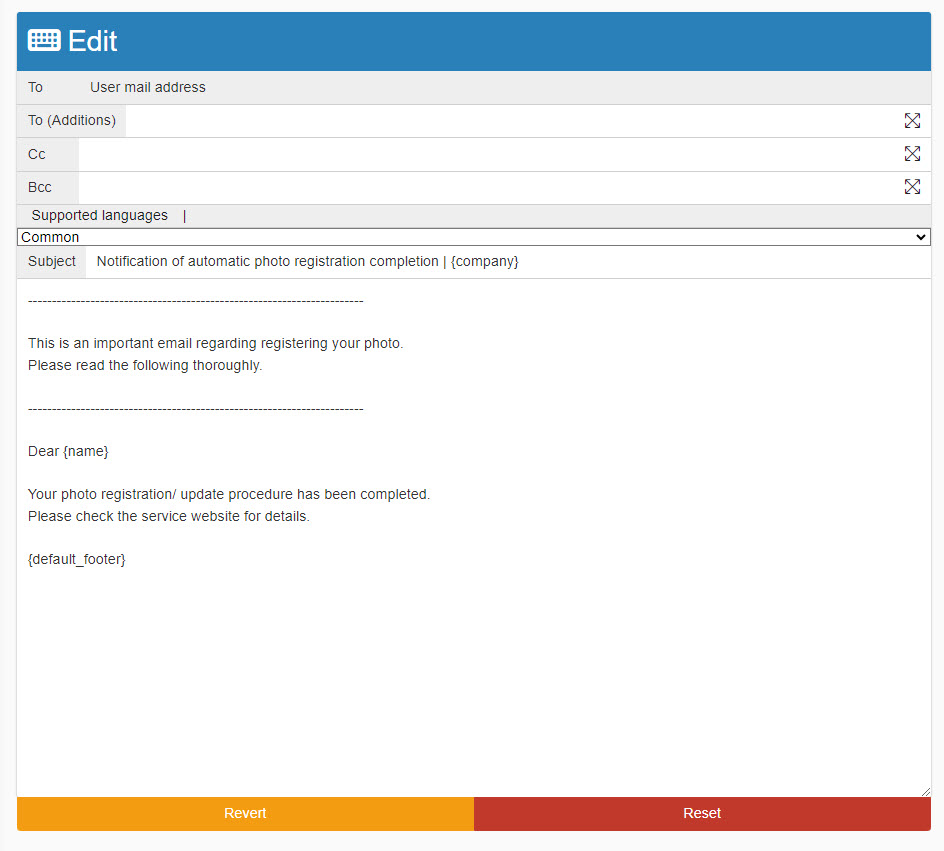
To add an item, select the item from the list at the top and click "Add."

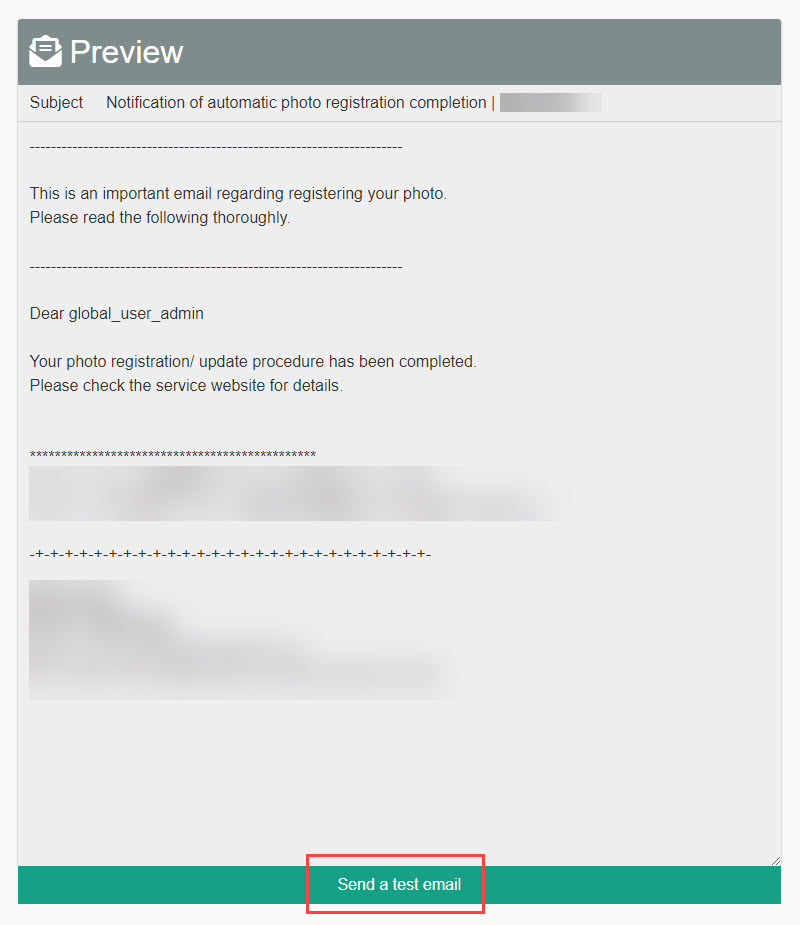
05. Preview
The preview will show an example with a user name.
To send a test email, click on "Send a test email."
The test email will be sent to the admin.
When all settings are completed, click on the Create new.
Edit email template
Click on the gear icon to the right of the template.
For more information , refer to Create a new email template.
Restore default email templates
To restore a template to the default settings, click on the vortex icon.