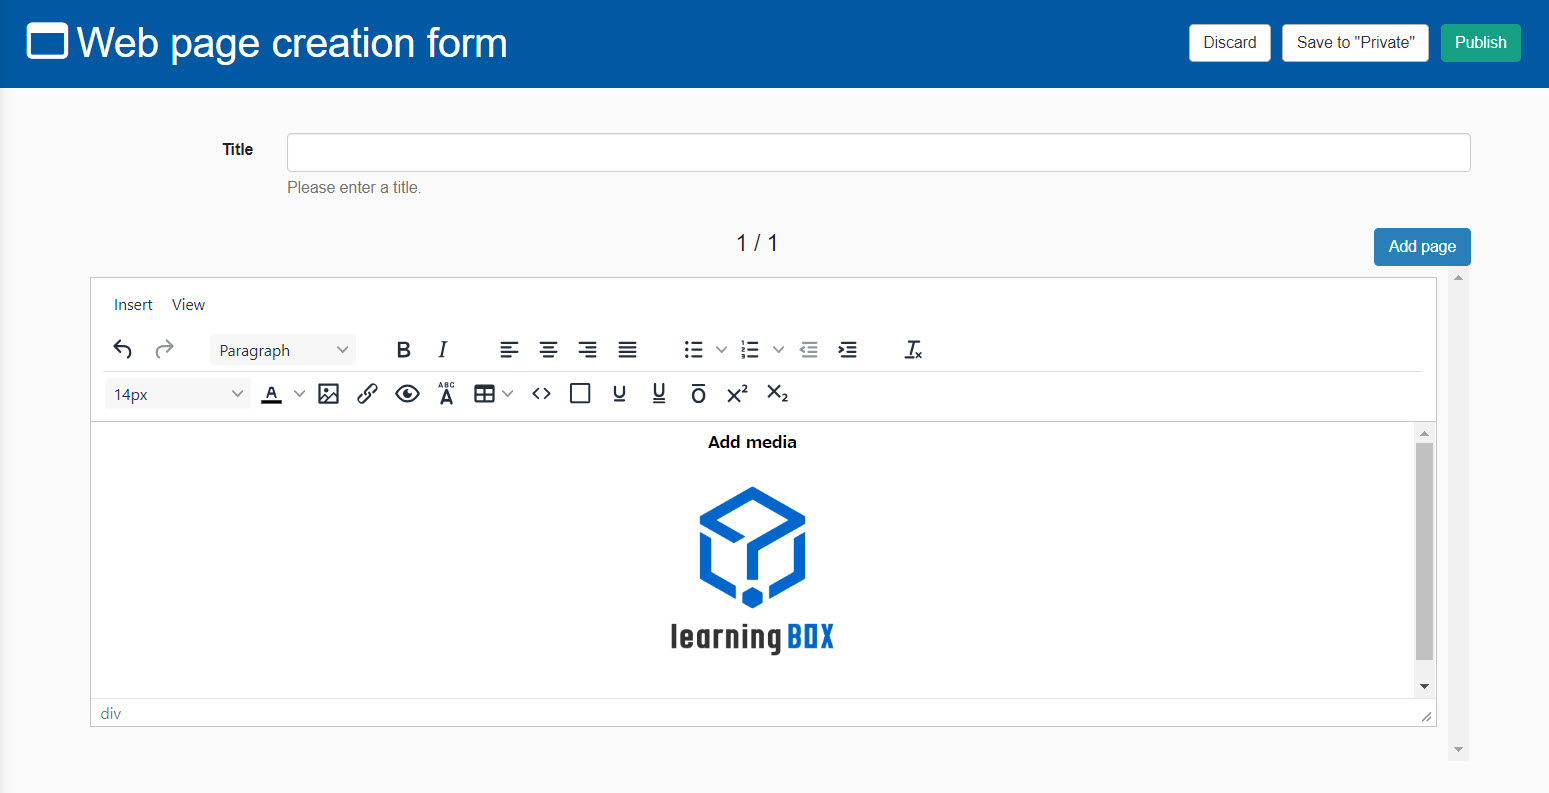
Manage media
Media files such as images, videos, and audio can be registered.
Files registered with Media Management are delivered via CDN.
*CDN stands for "Content Delivery Network," a network designed to deliver content smoothly.
Required
Management role of Co-admin
How to register your media
01. Open the media management screen
In the side menu, select "System Settings" > "Media Management".
02. Add media
Open the "Add Media" tab.
Select a file from the "Select File" menu.
Multiple media can be registered at the same time.
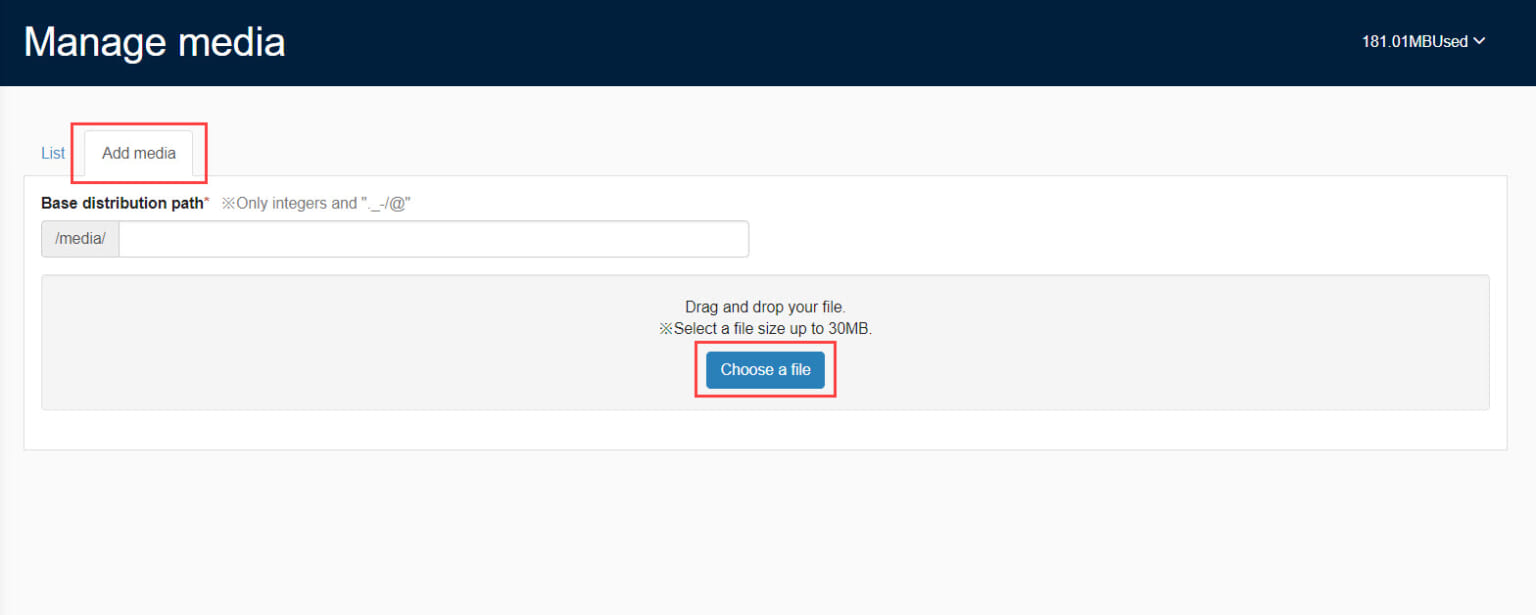
03. Enter distribution base path
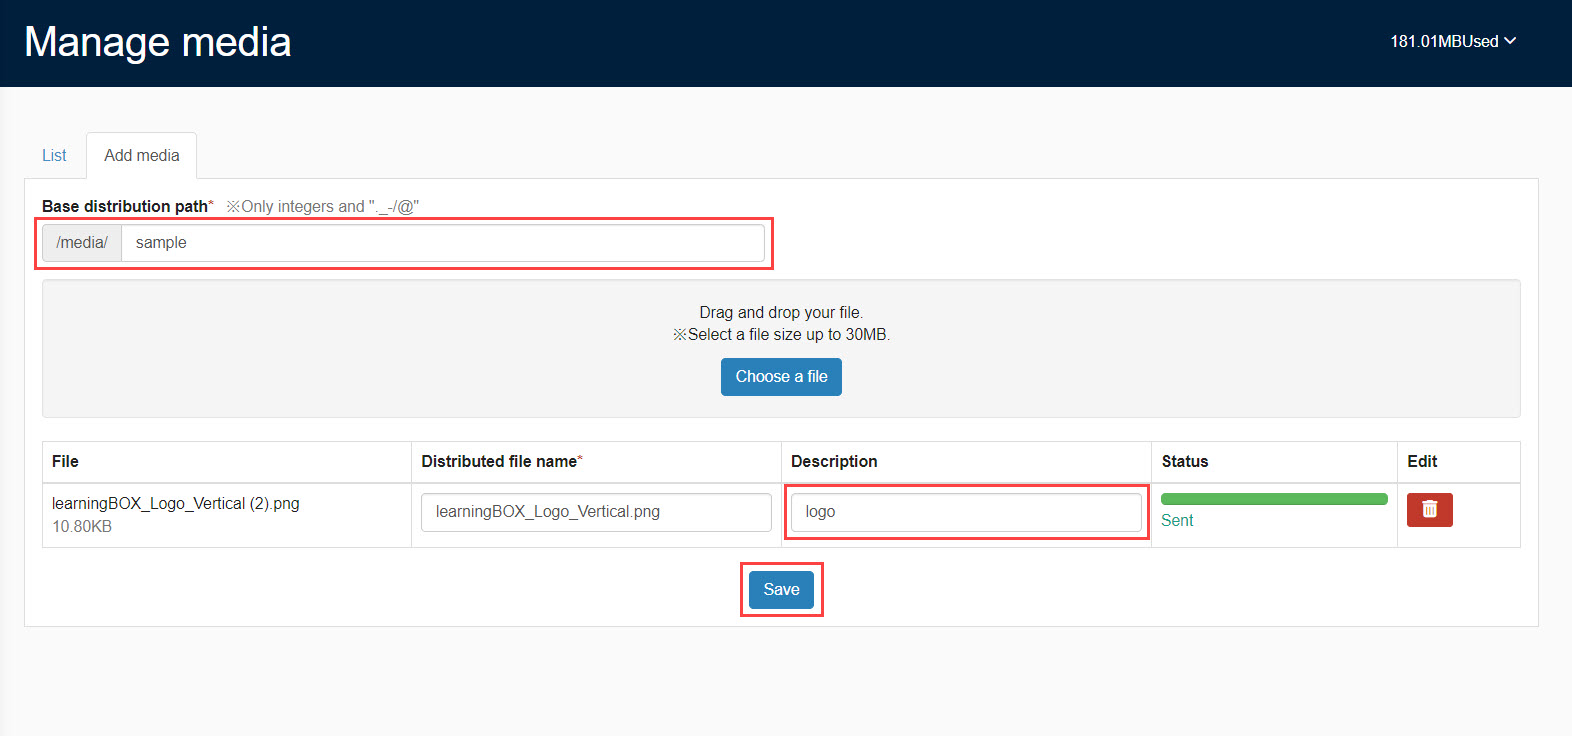
Enter the "Delivery Base Path."
This time, enter "sample-picture" as an example.
Otherwise, enter a "Delivery File Name" and "Description" and save the file.
04. Editing Files
Open the "List" tab.
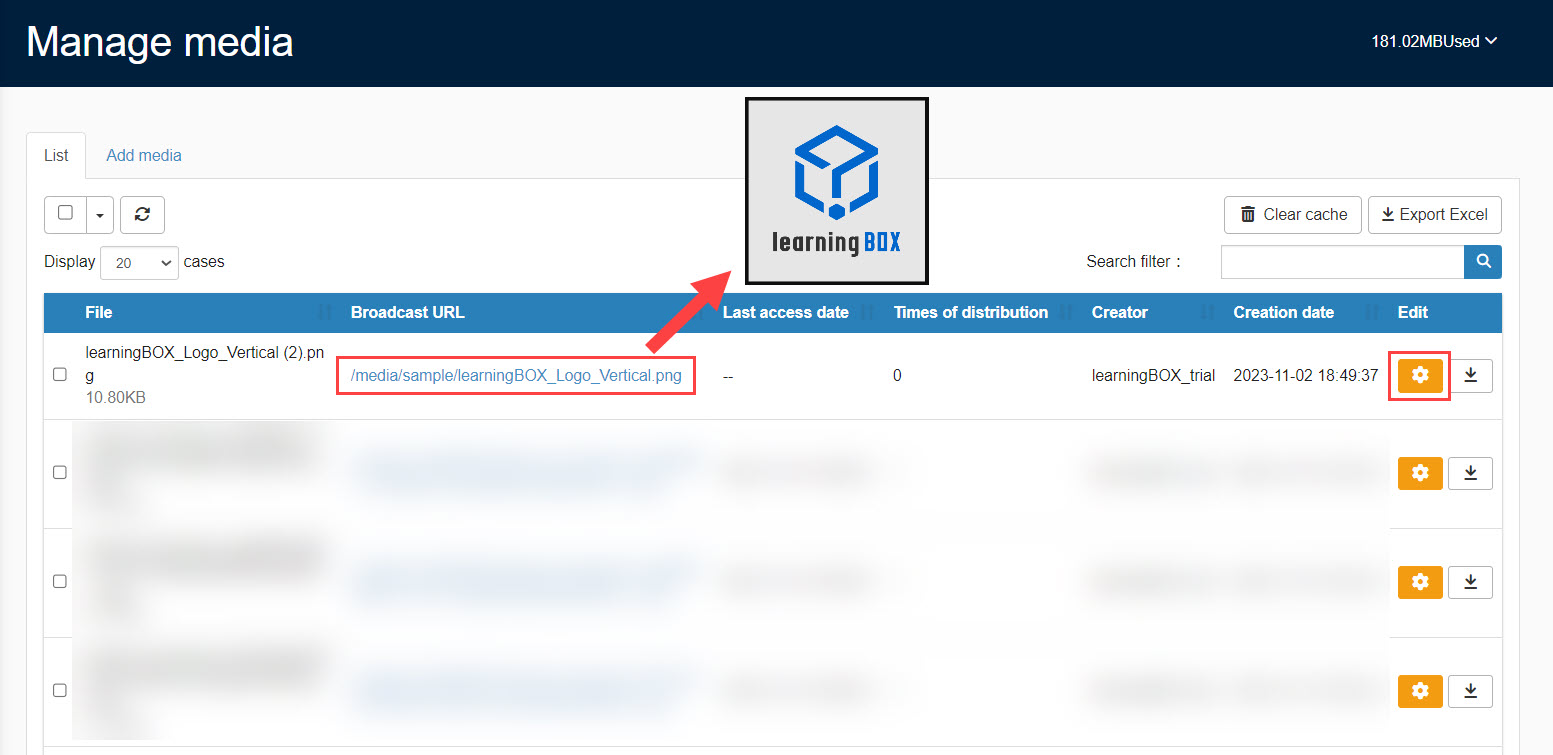
Registered files can be edited from the gear icon.
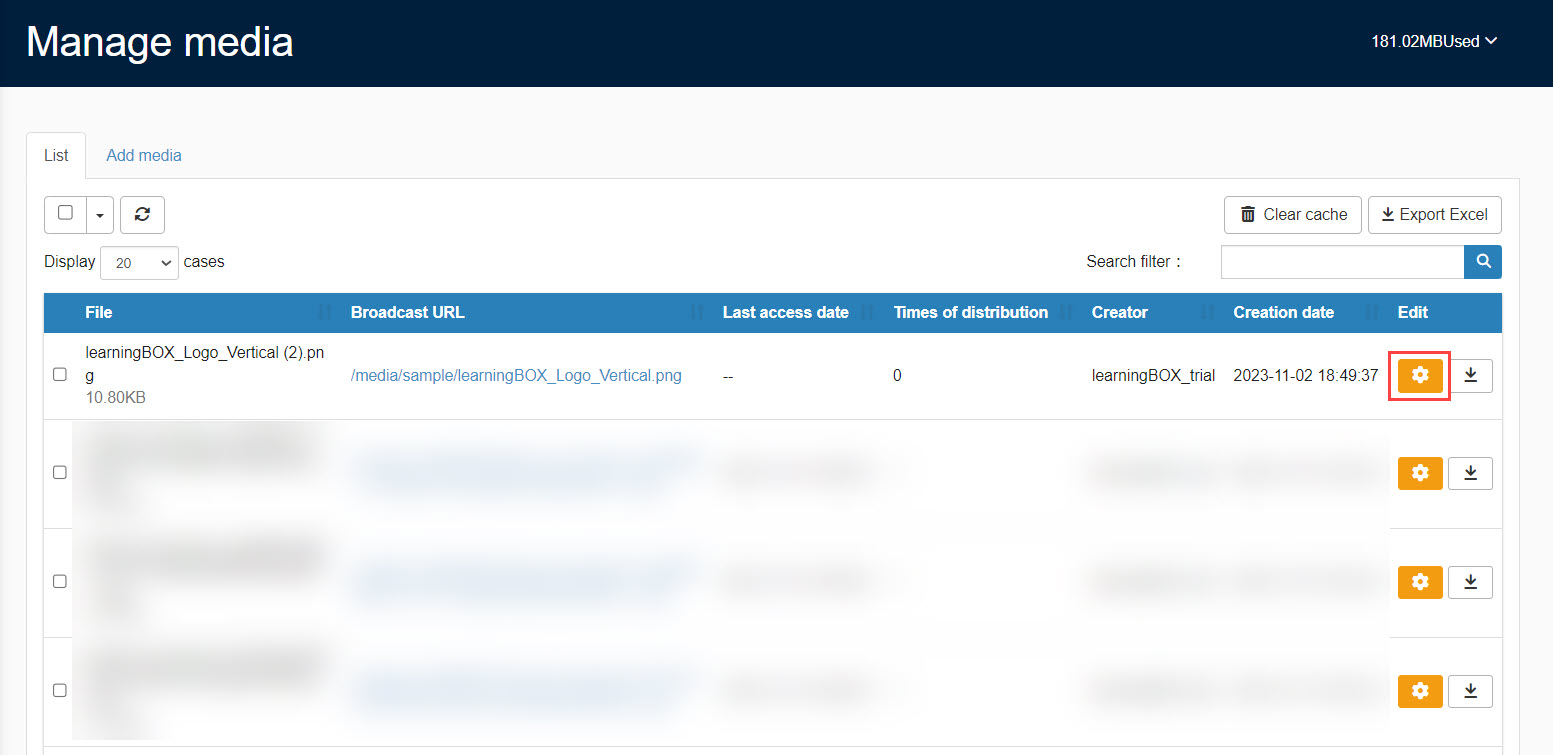
05. Delivery URL
Click on the delivery URL to view the uploaded file.
*Distribution URL is a URL that can be accessed while logged into learningBOX.
06. Media Deletion
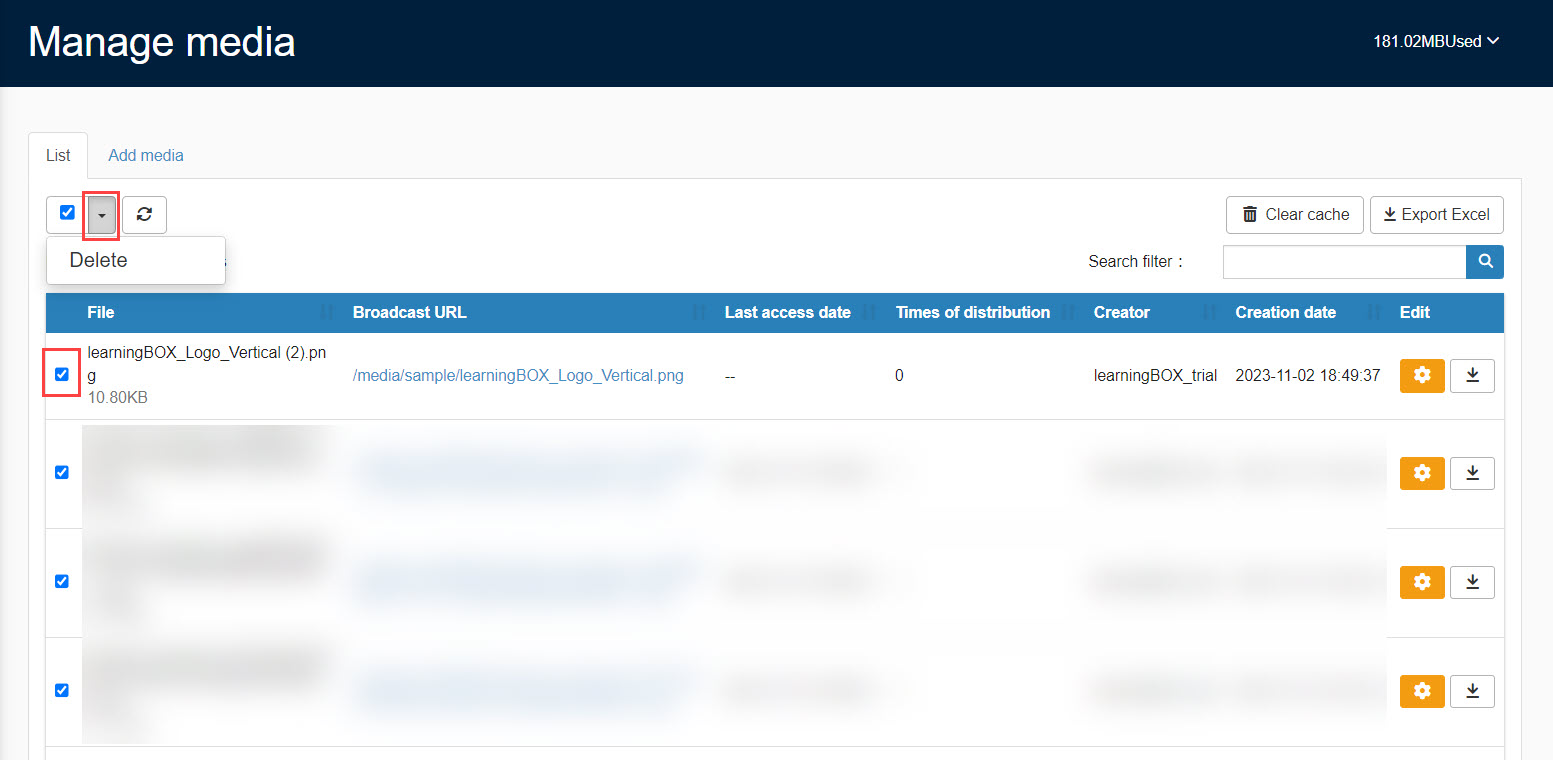
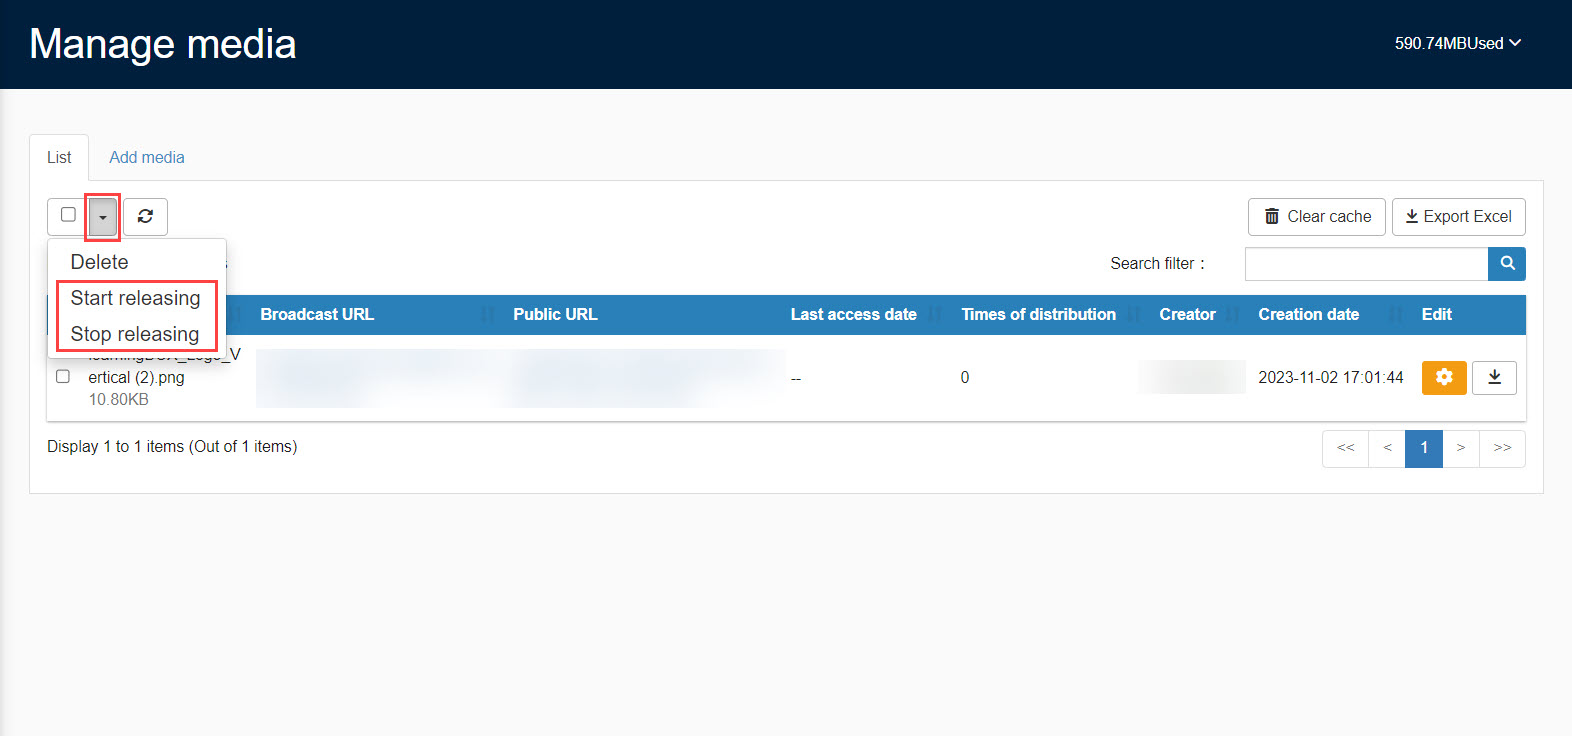
Deleting media can be operated from the pull-down menu in the red frame.
07. Media Download
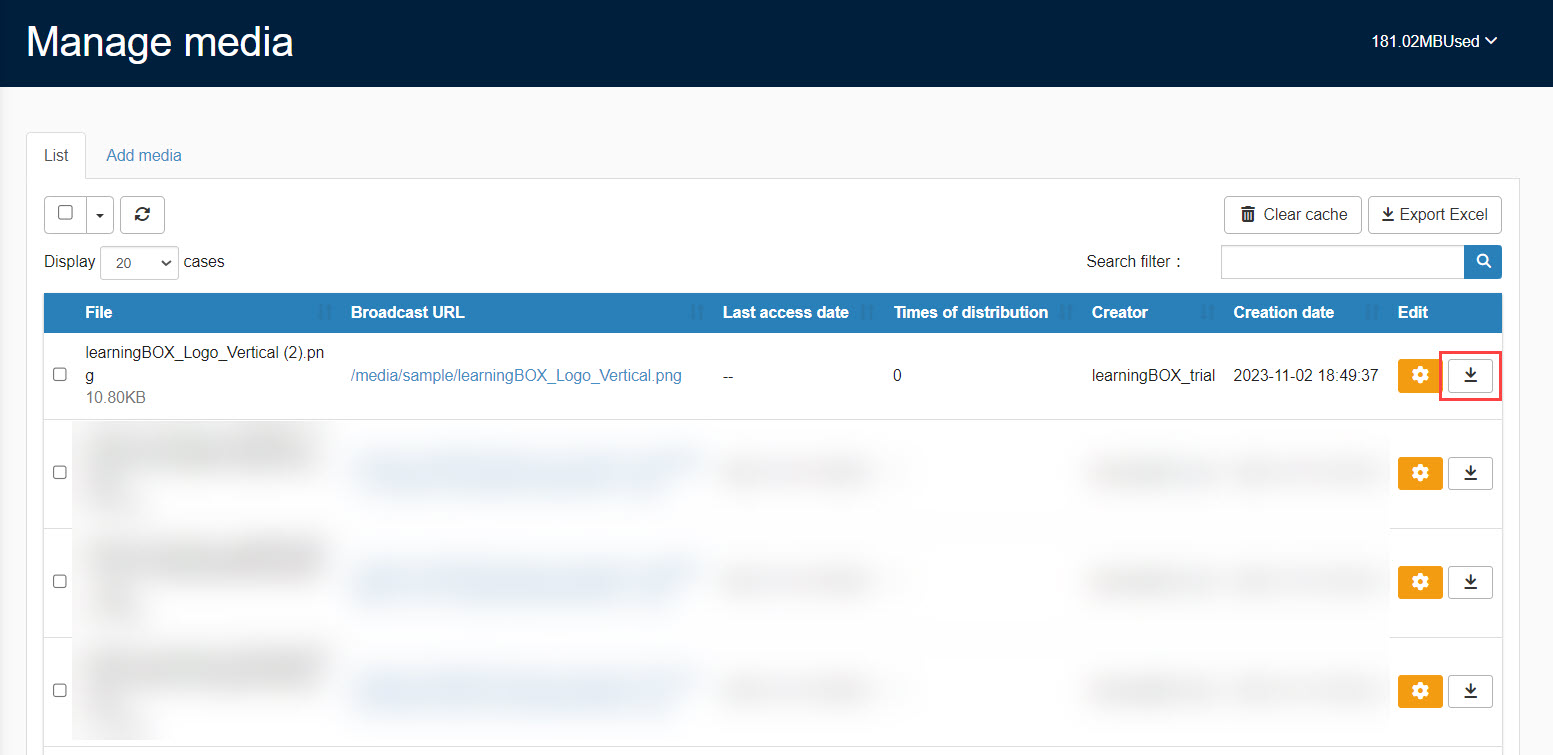
Click on the download icon next to the gear icon.
08. Cache clear / Excel output
Click "Clear Cache" in the upper right corner of the screen to remove information from the cache.
You can also download the information displayed on the screen as an Excel file by clicking on "Excel Output.
Depending on the license, there is a limit to the size of files that can be uploaded.
*For more details, refer to PricingPlease refer to the "See
When using Mac/Safari, images, videos, PDFs, etc. that are originally displayed as html will not be displayed.
If you are using Safari, please set "Prevent Cross-site Tracking" to OFF in your privacy settings.
If you subscribe to a paid plan
01. General Public
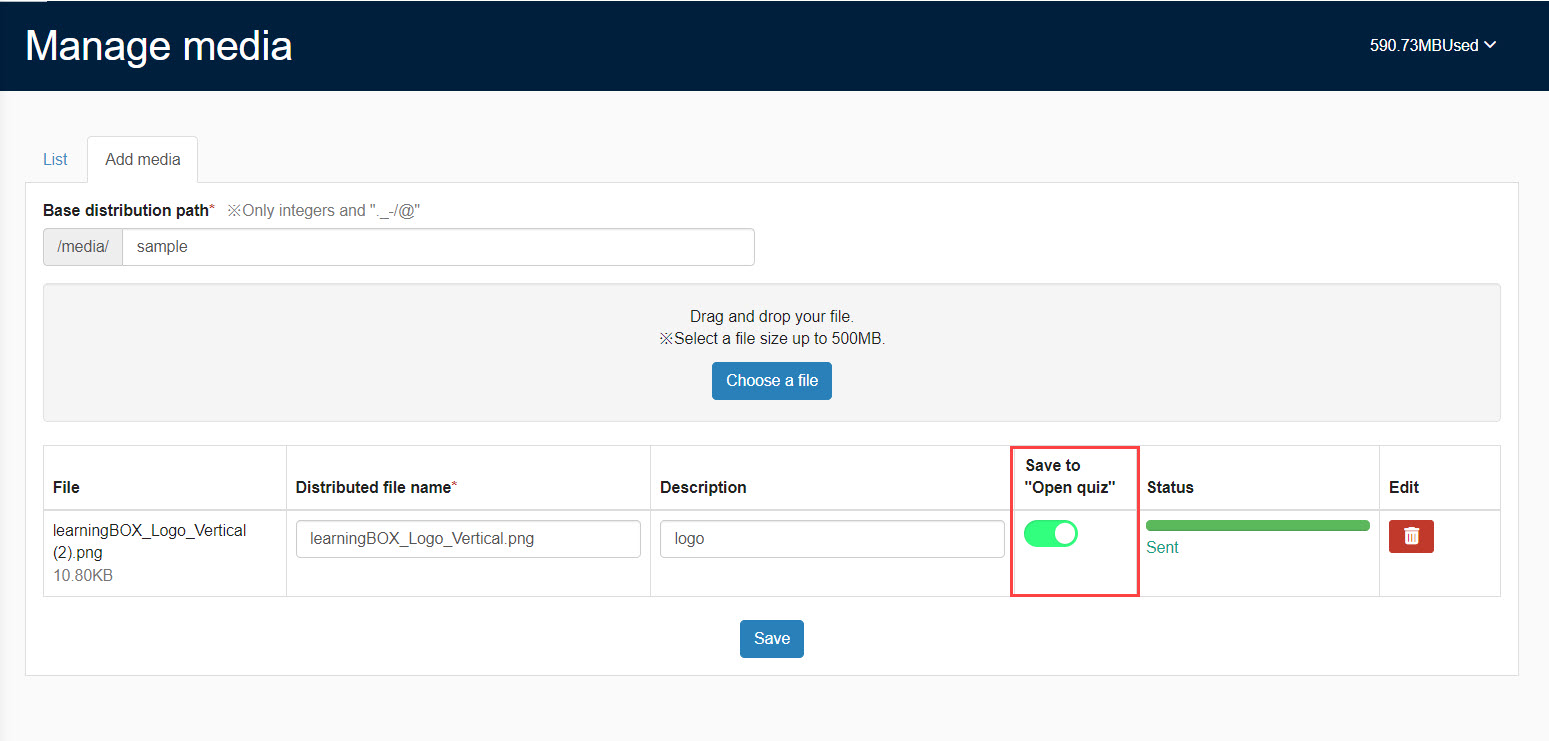
You can set to show/hide public access.
*When public access is enabled, you can access the media without logging into learningBOX.
02. Start/Stop publication
From the list, you can also "start publishing" or "stop publishing" media.
03. Public URL
Click on the public URL to view the media you have set up.
*Public URL is a delivery URL that can be accessed without logging in to learningBOX.
Adding media to content
Media with large file sizes can be delivered using only URLs.
*Lessen the pressure on storage situation.
As an example, here is how to add media to a web page.
01.Open the Web page creation form
Select Manage contents in the side menu.
Create a new course by selecting "+ Create New Course" > "Course" in the upper left corner of the screen, or click on an existing course.
In the course, select "+ New" > "Materials" > "Web Page" > "Create with Form" in the upper left corner of the screen.
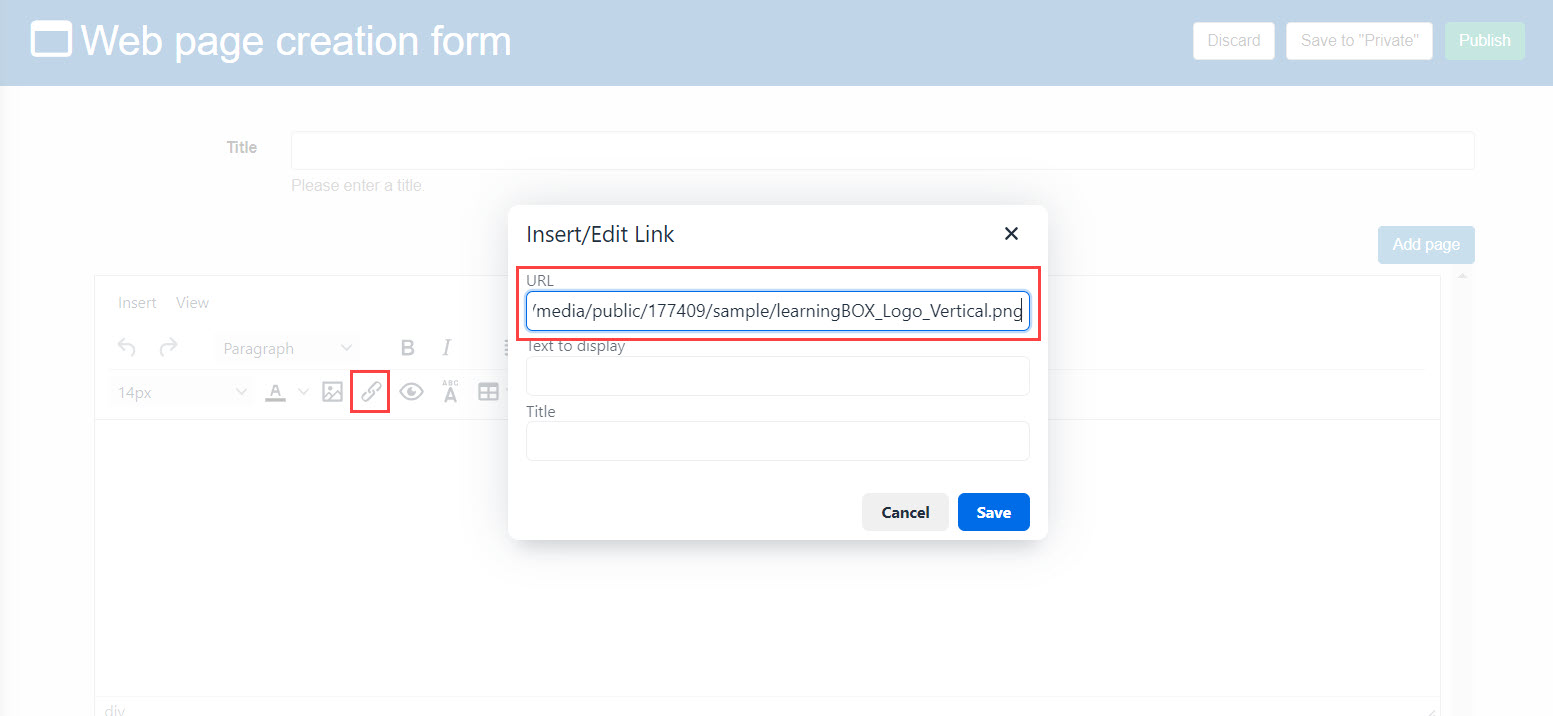
02. Set from the link icon
Click on the "Insert/Edit Link" icon and paste the delivery URL into the "Link URL" field.
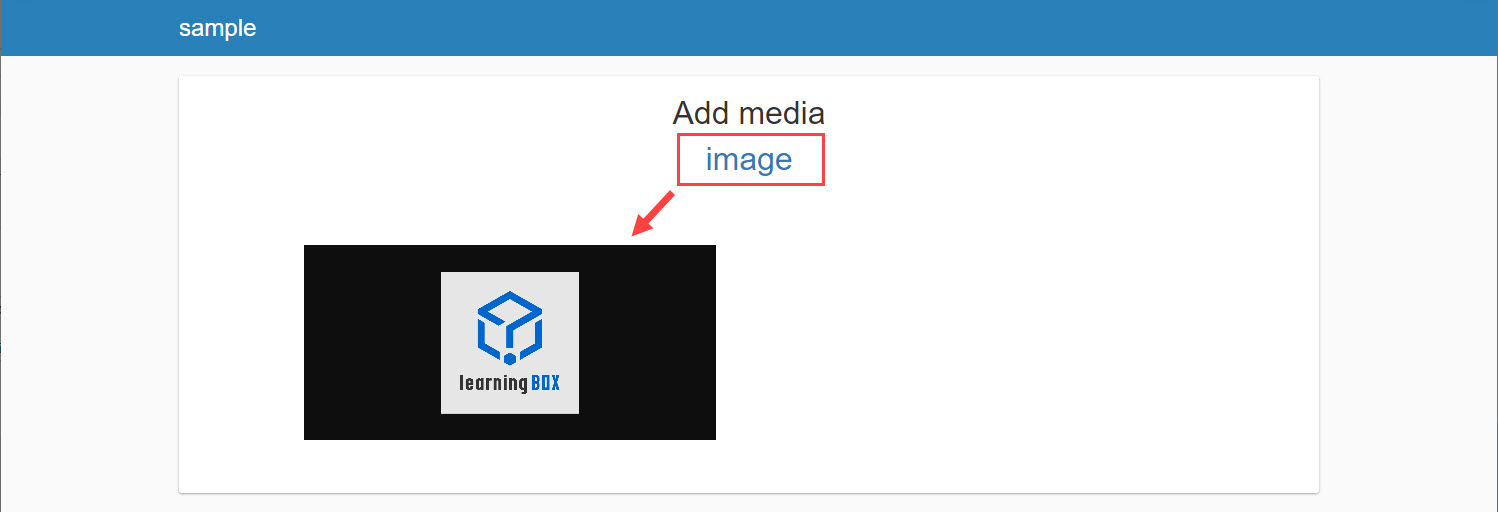
The following is displayed.
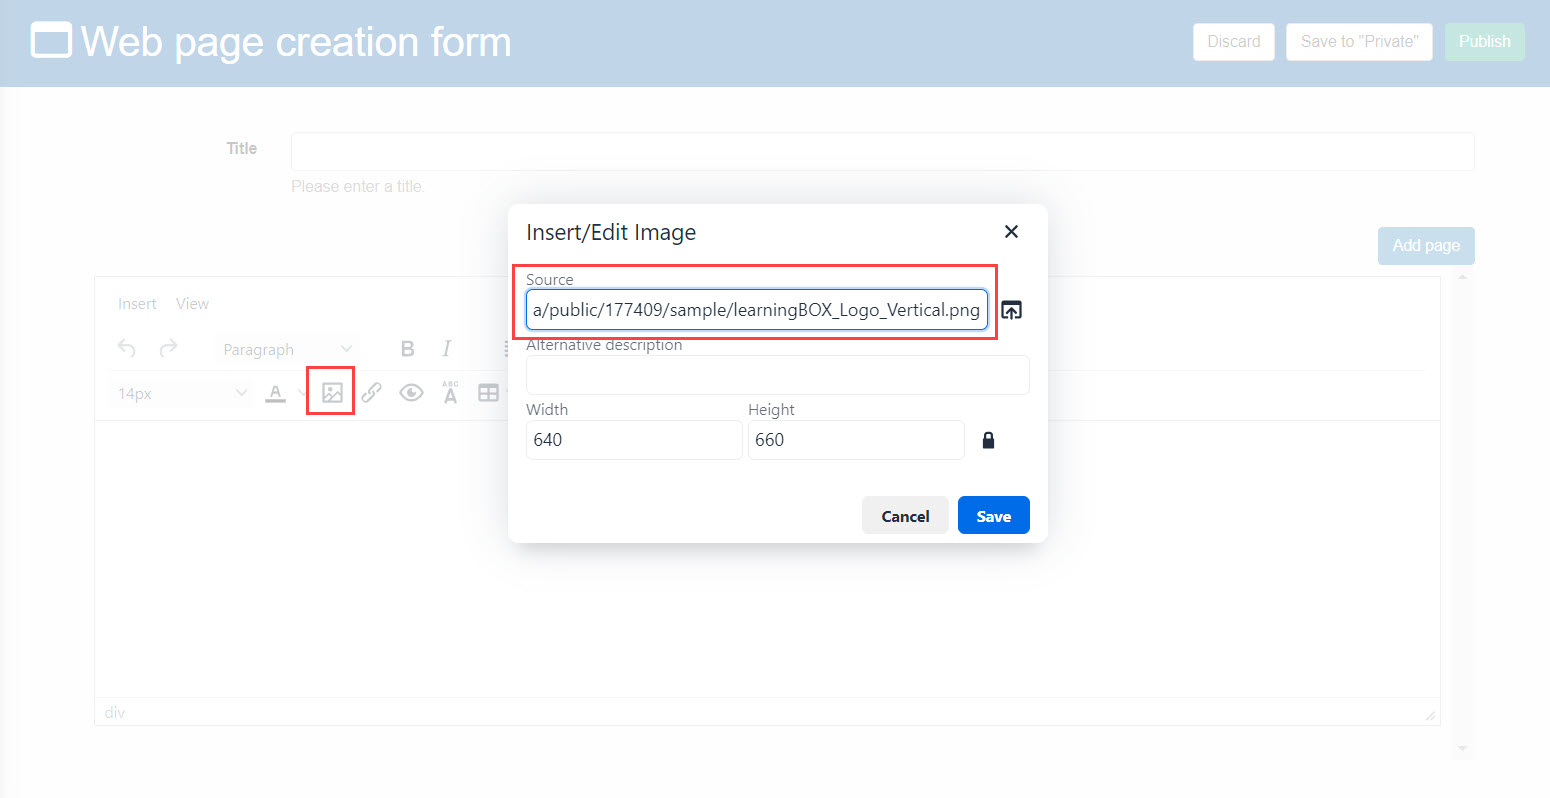
03. Setting from image icons
Click on the "Insert/Edit Image" icon.
Paste and save the distribution URL.
The following is displayed.