SAML authentication settings in okta
This section specifically explains how to register learningBOX as a SAML application for okta.
*You can go to the page on the SAML authentication linkage requires a customized contract.
➡ Price Plans page
Configuration Flow
Settings on okta side
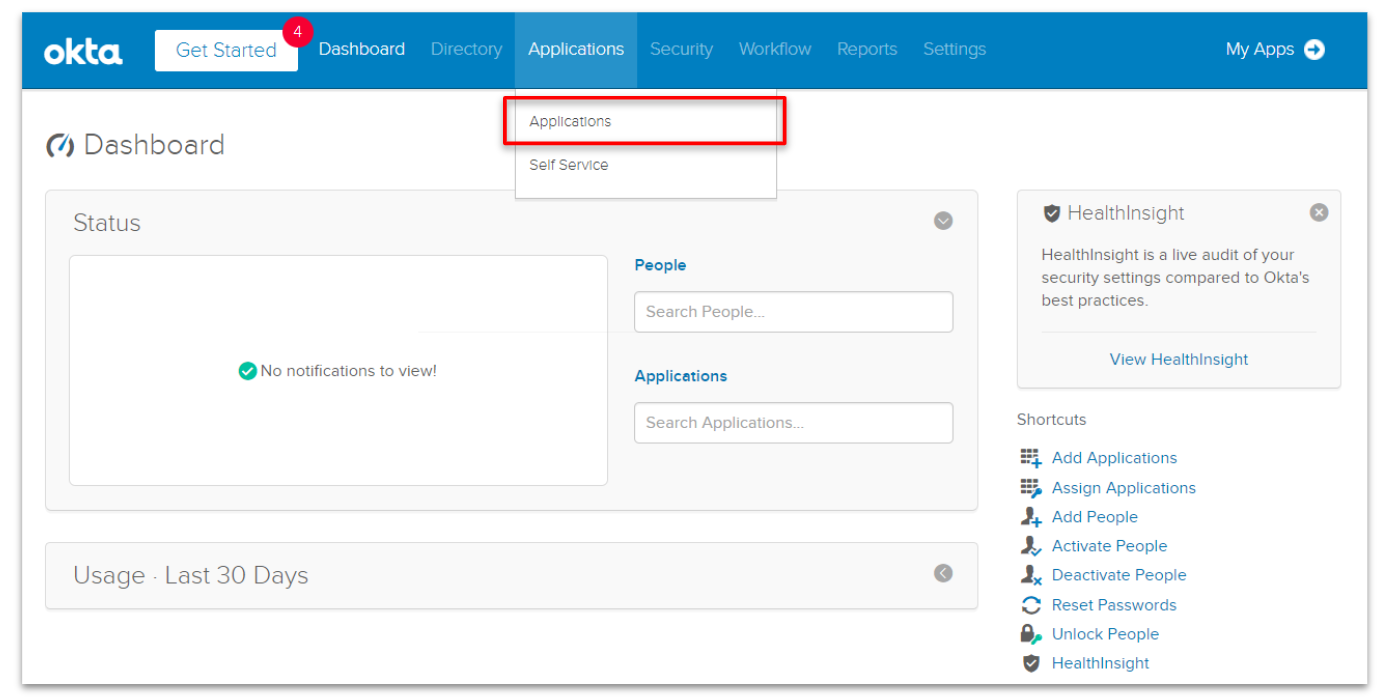
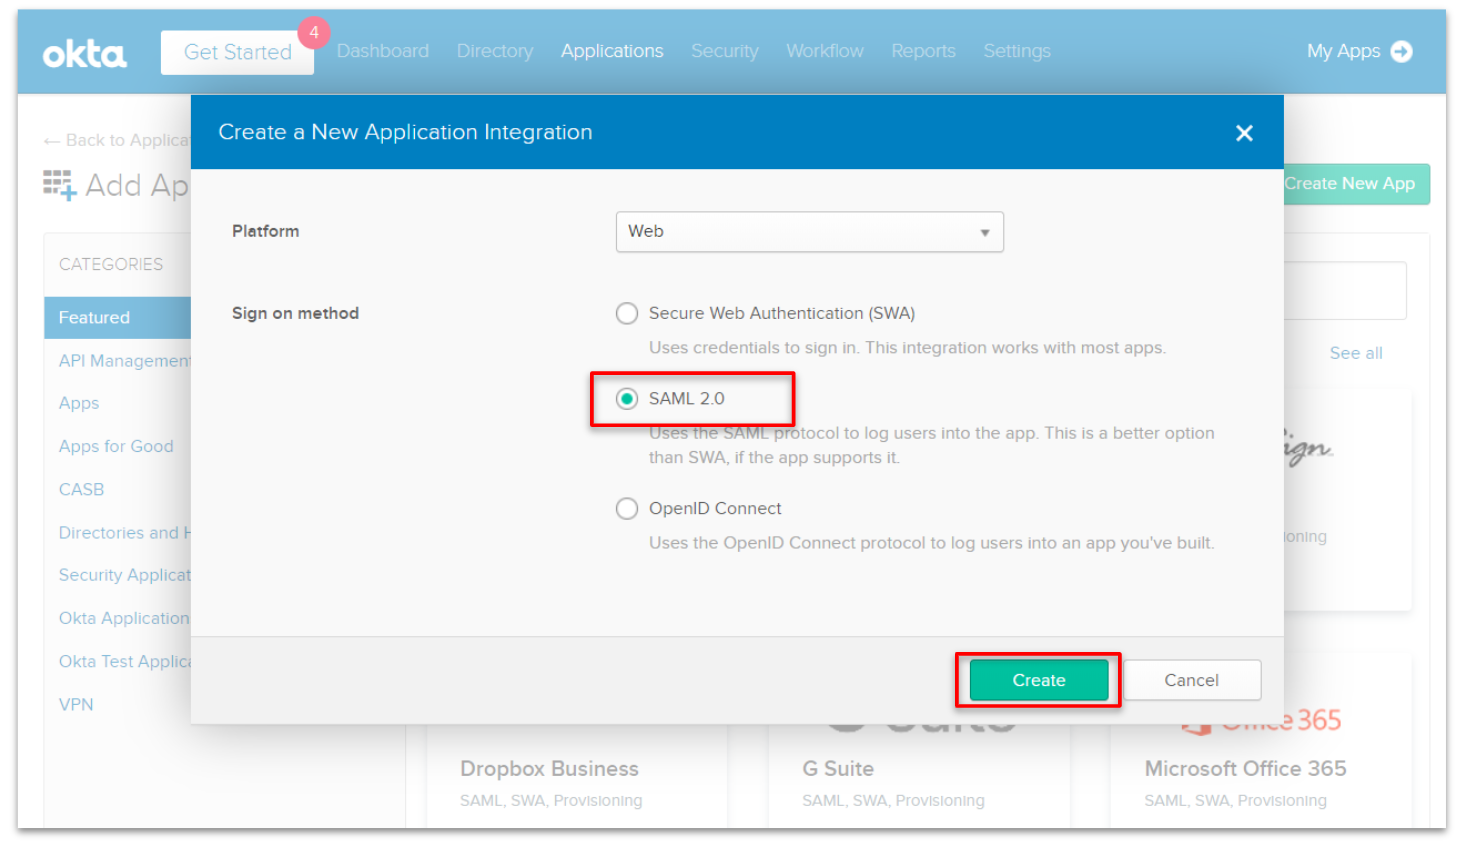
1. adding an application
Select "Applications→Applications" on okta's Admin screen.
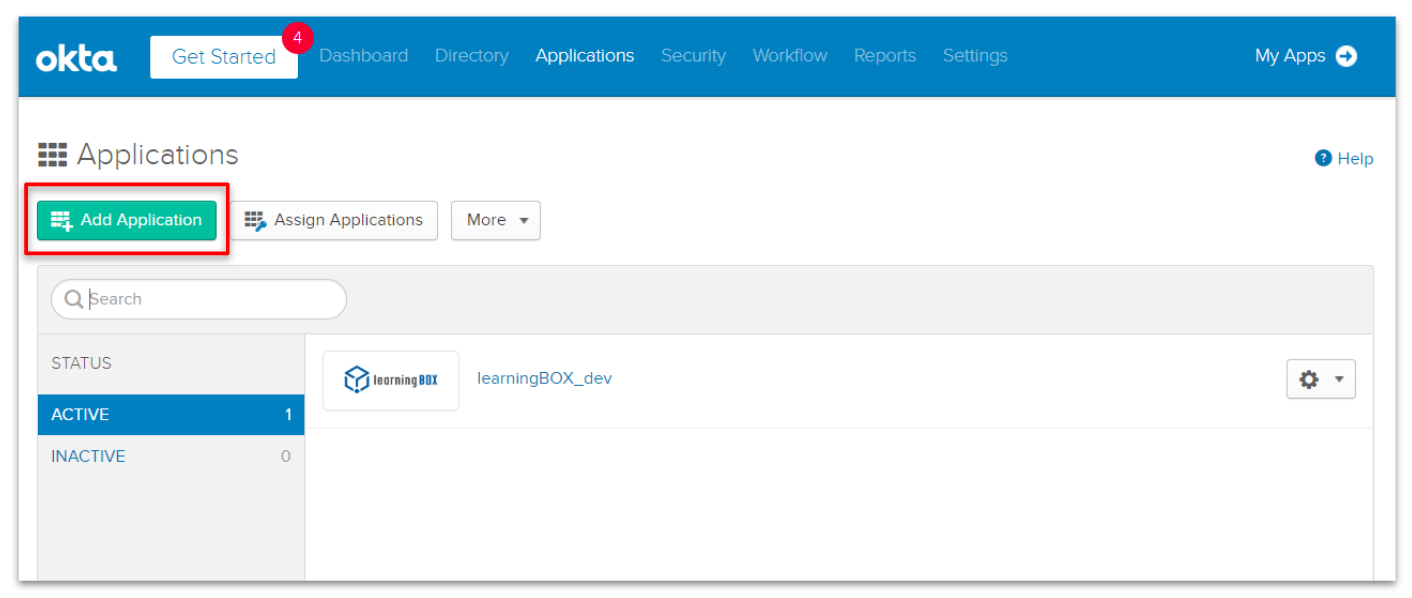
Click on "Add Application.
3. Click on "Create New App.
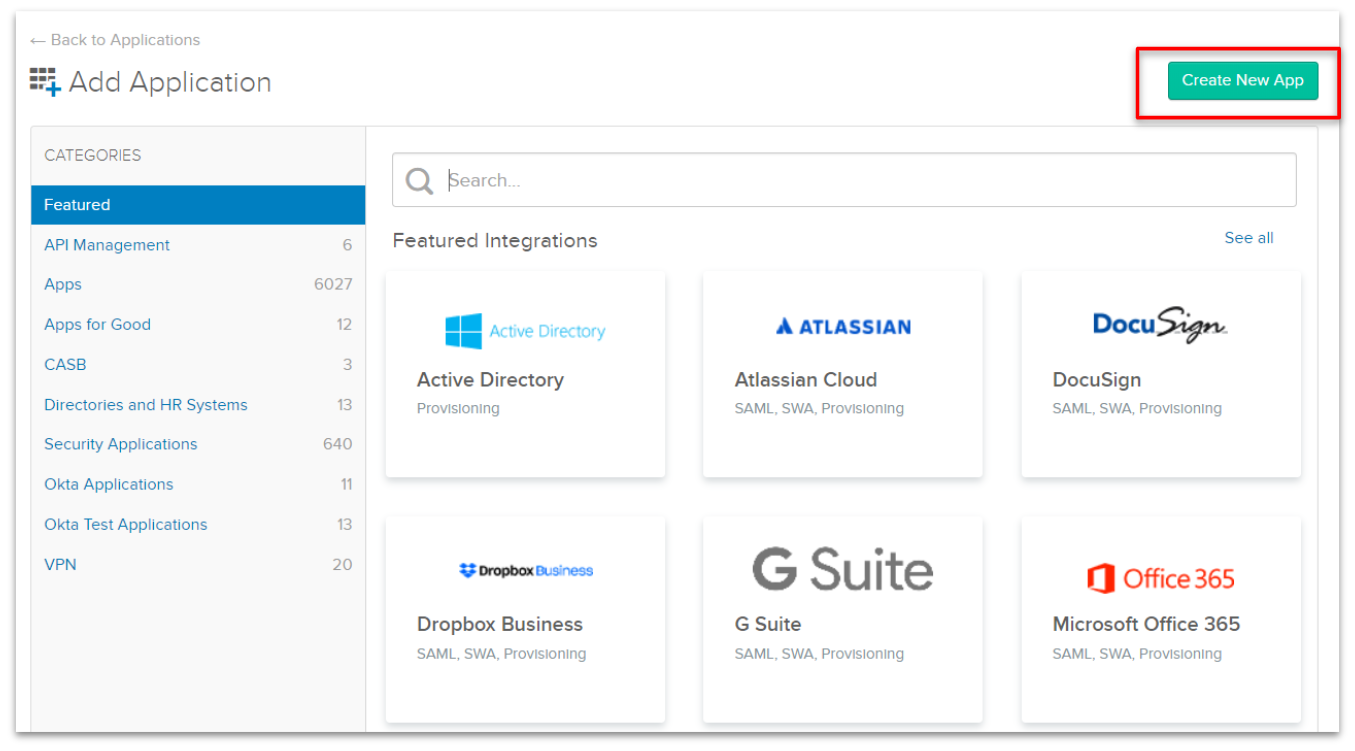
4. Select "SAML 2.0" and click "Create".
General Settings
After creating a new Application following the above procedure, you will be redirected to the configuration screen as shown in the figure below.
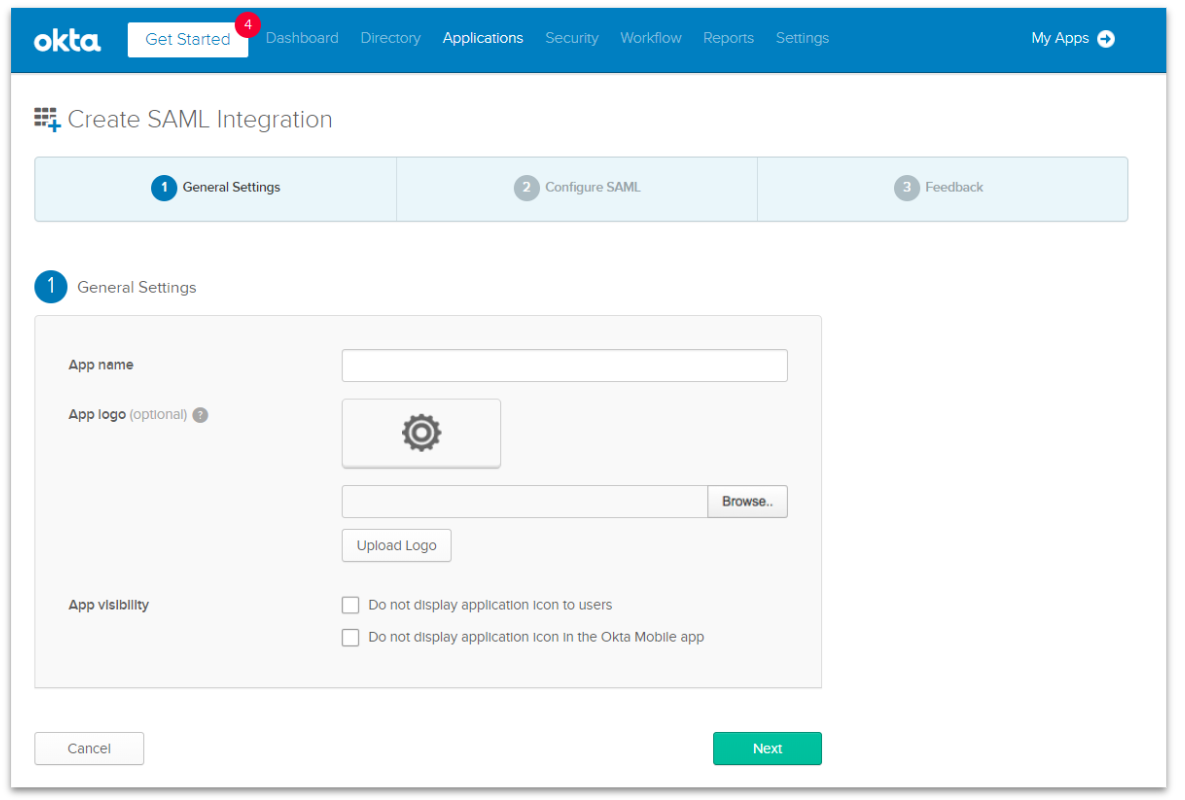
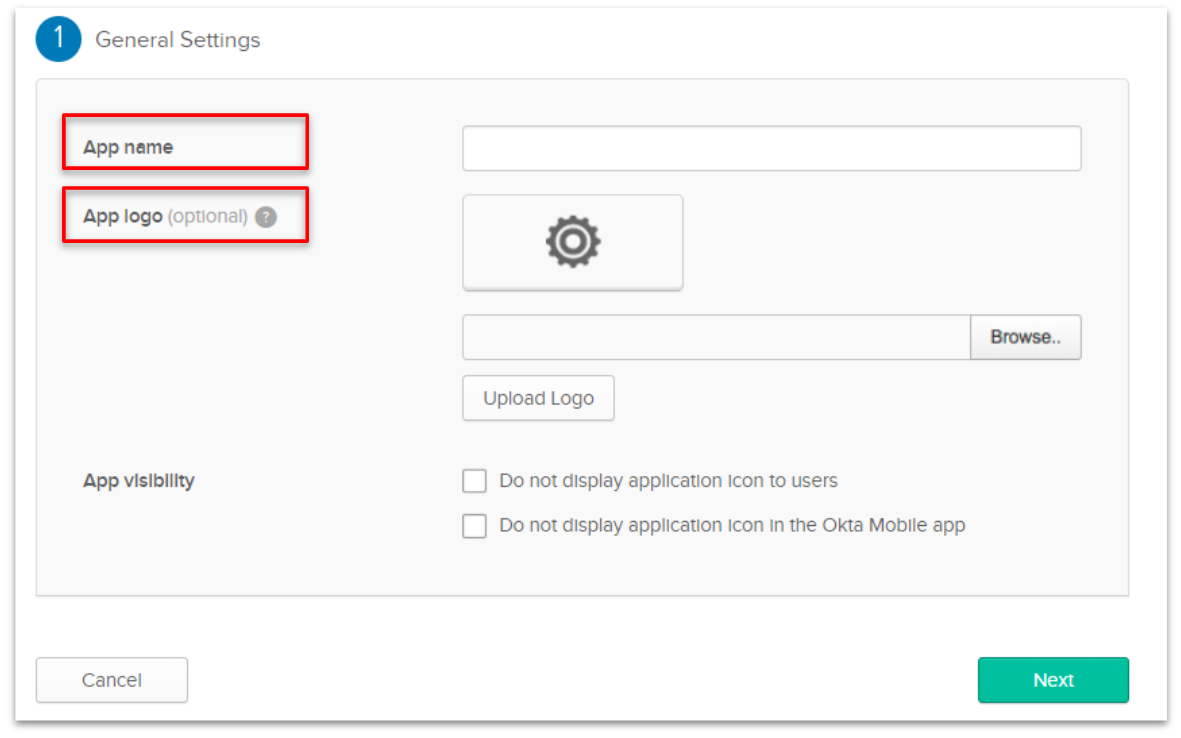
Enter a name such as "learningBOX" in the "App Name" field.
To set the "App logo", please use the image below.
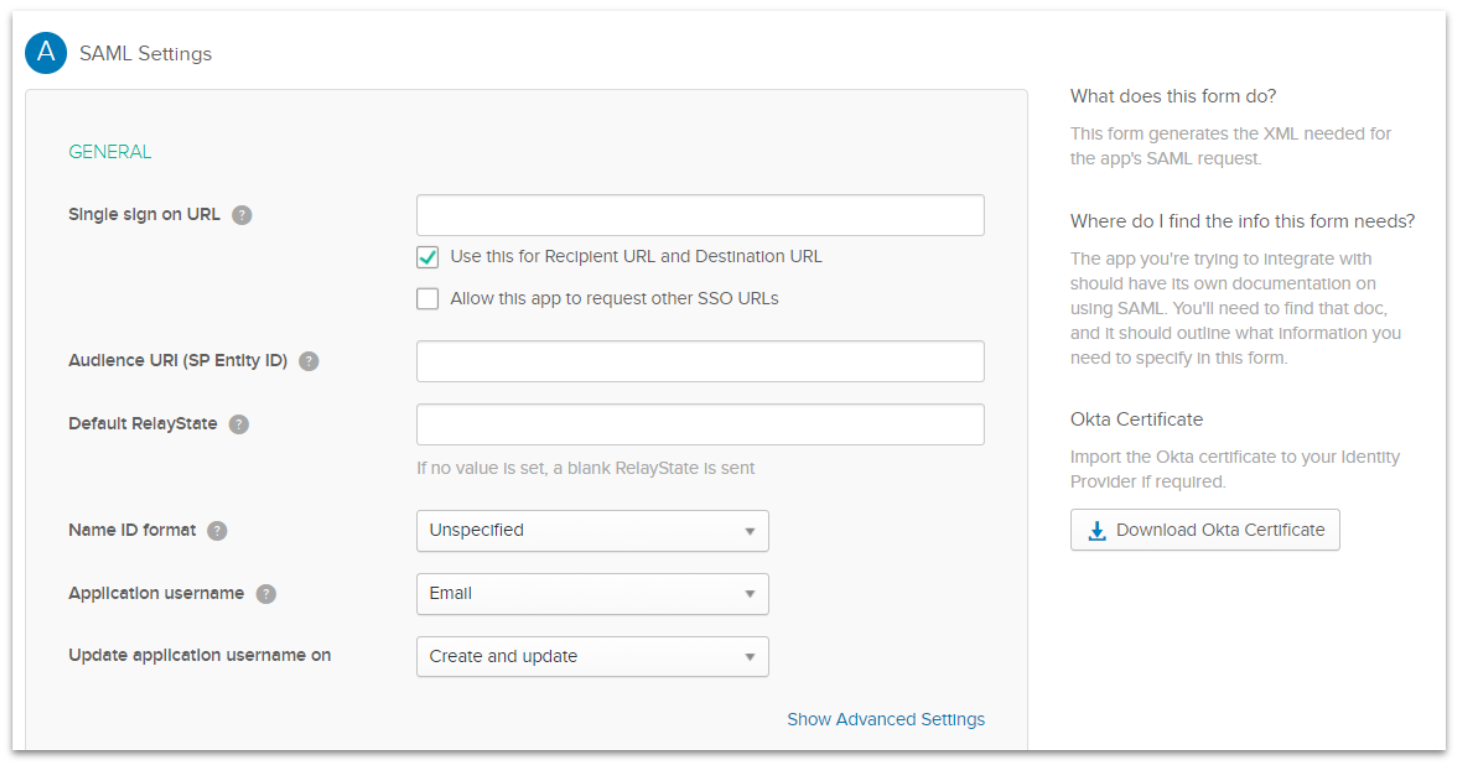
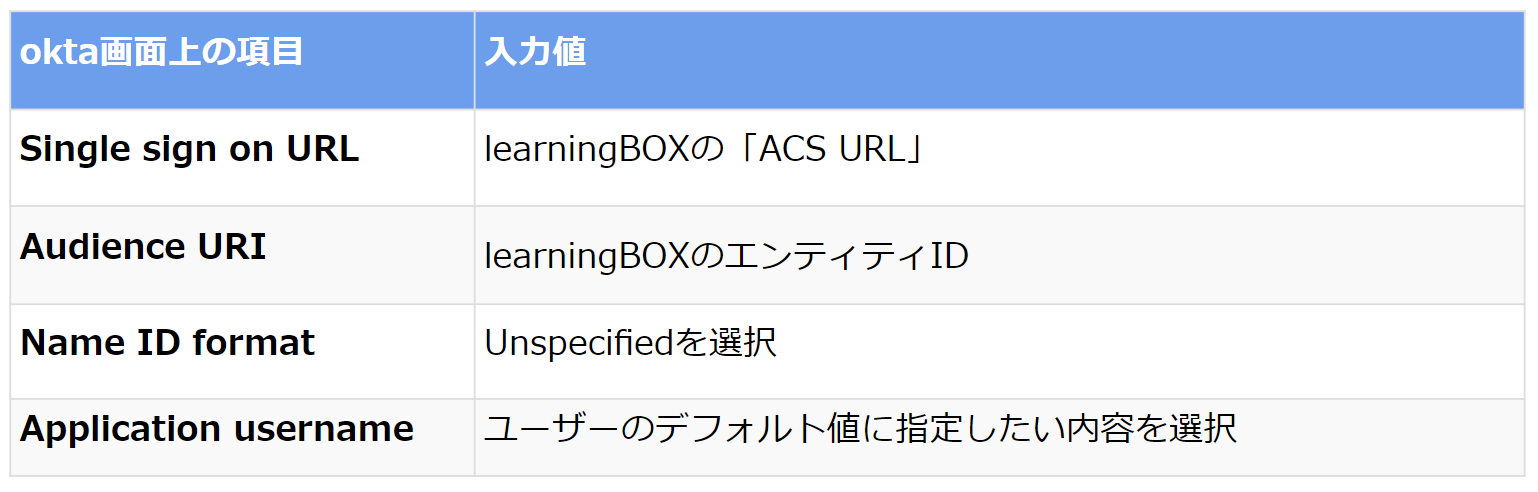
6. In the "Configure SAML" screen, enter the following information found in the "Configuration -> SP Advanced Configuration Information" section of the learningBOX.
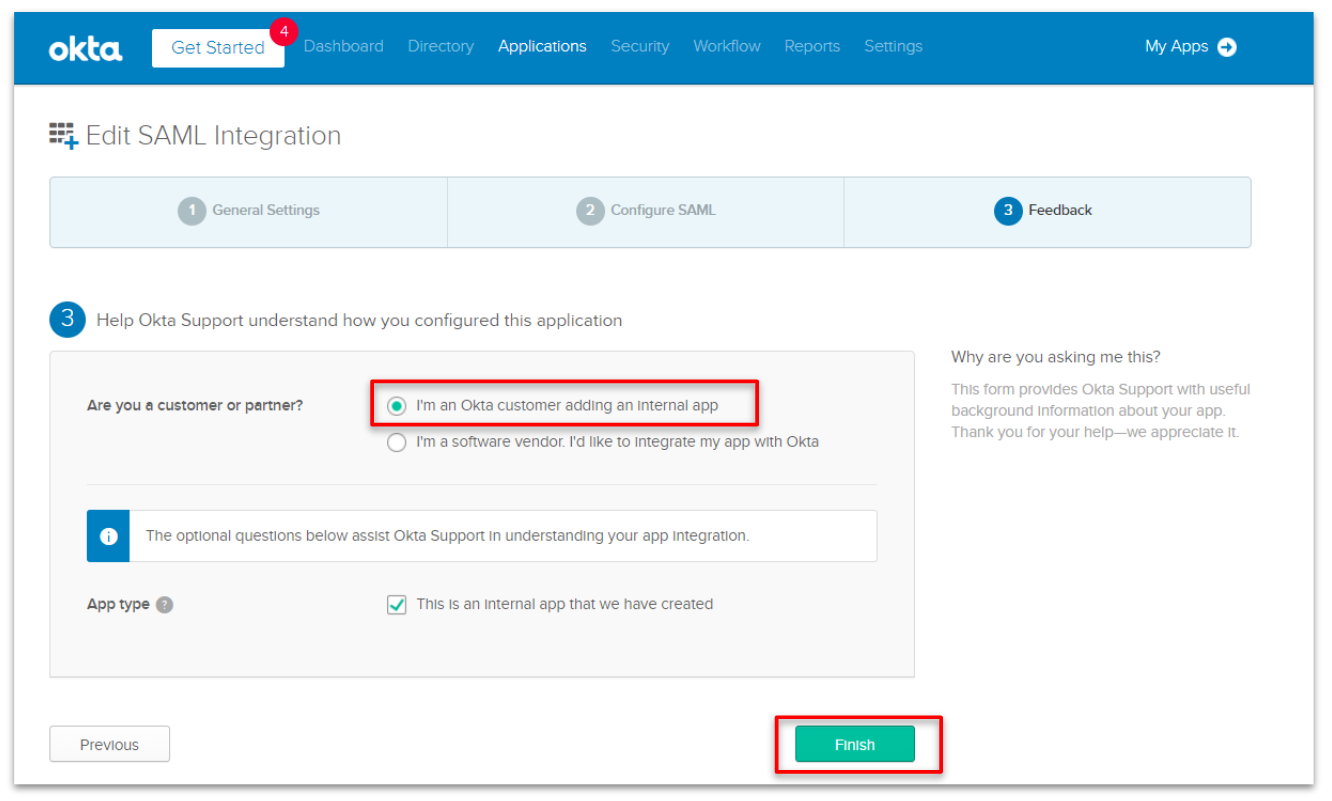
7. Finally, select the following and click the "Finish" button to complete the process.
Settings on the learningBOX side
1. After you have completed the above steps to register your application, you can refer to the information to be registered with the service provider (learningBOX) in the following section.
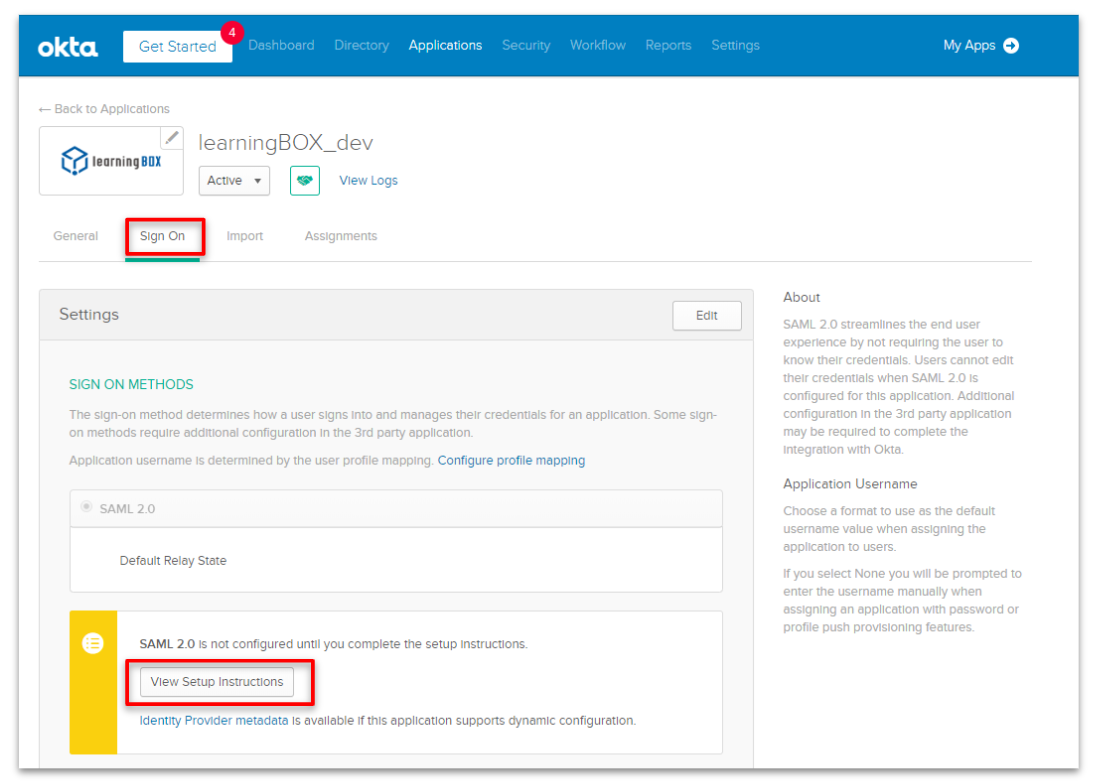
2. Click "View Setup Instructions" to display the screen as shown below.
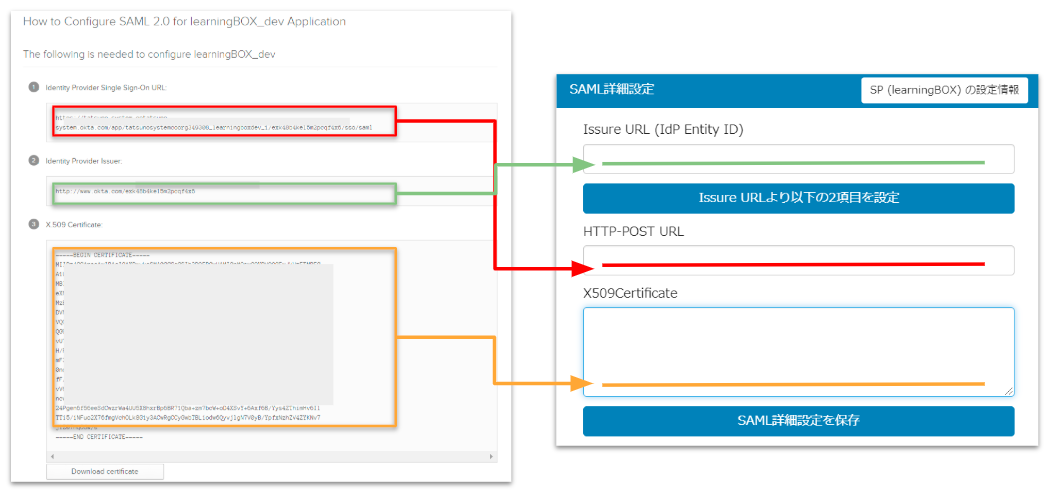
Copy and paste each piece of information into the "Settings→SAML Advanced Settings" screen of the learningBOX. After pasting is complete, click "Save SAML Advanced Settings" to activate SAML authentication.
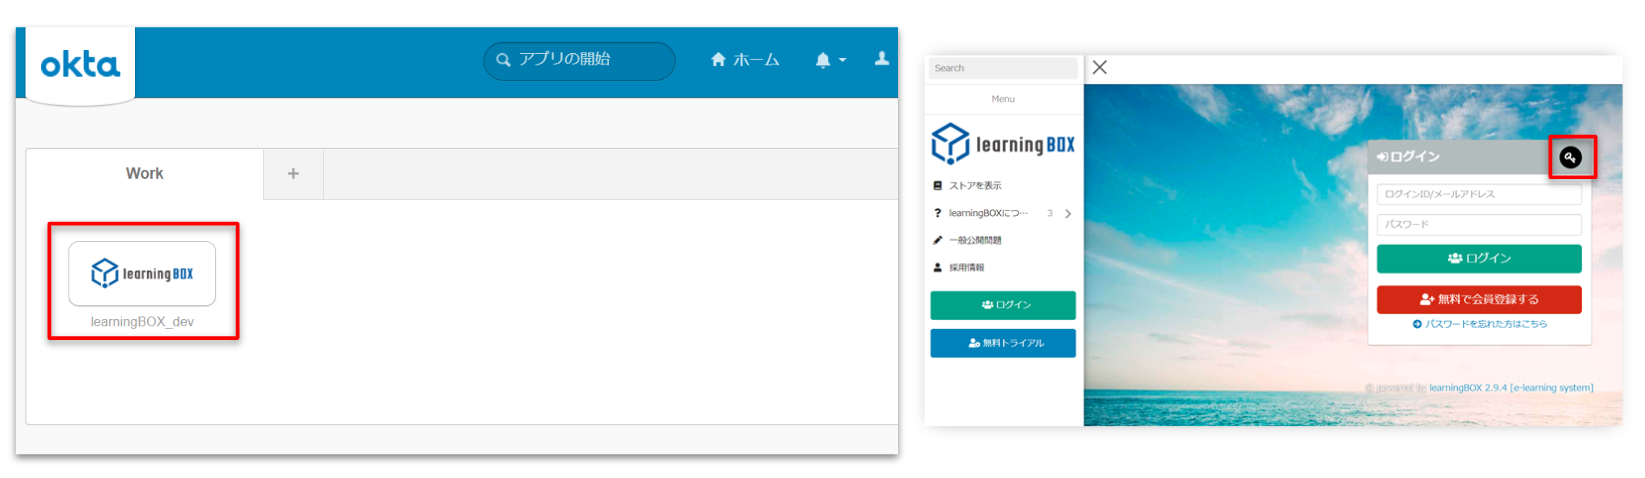
Single sign-on with SAML authentication
After activation, users can log in from the dedicated learningBOX login page. Single sign-on is also possible from the OneLogin application screen.