Manage tags
You can set any tag for products/seminars/training/curriculum.
By setting tags, it is possible to narrow down the display by tag on each listing screen.
The "Tag Management" screen is used to create/manage these tags.
*The "Tag Management" screen is opened by clicking on "Tag Management" in the side menu.
Create Tags
01. Open the Add Tag screen.
Click on "+Add Tag" in the upper left corner of the "Tag Management" screen.

02. Settings
The following window will be displayed.
Enter a tag name and, optionally, a description of the tag, then click "Add.

03. Tag Listing
The tag name and description of the added tag will be listed.
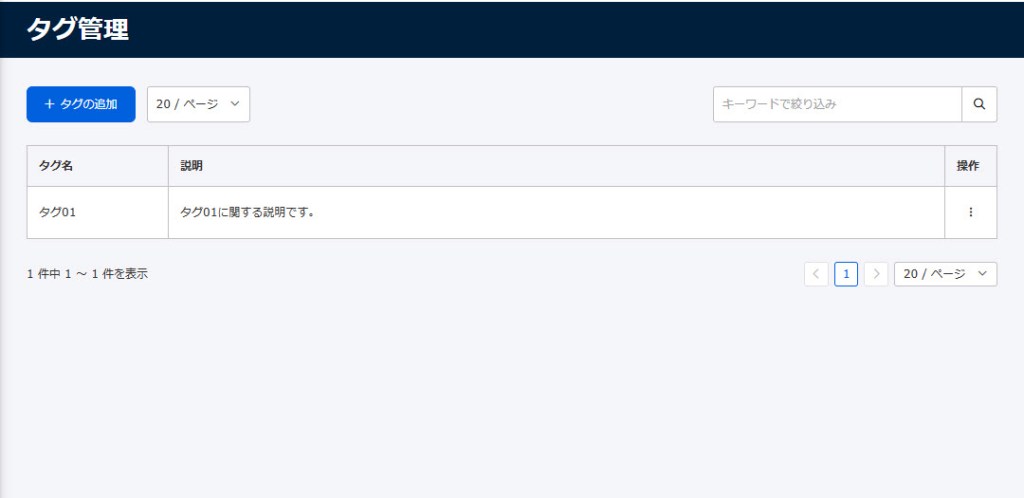
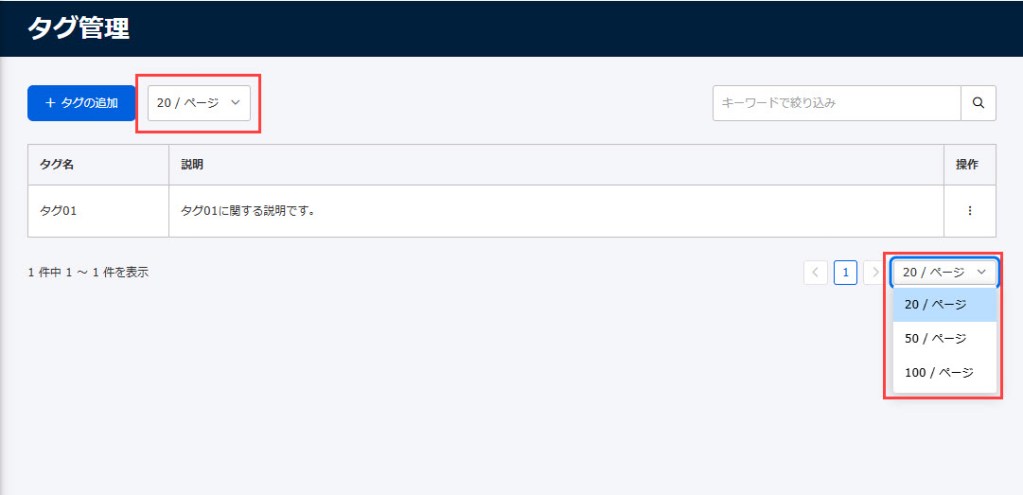
Pagination at the top or bottom of the screen allows you to toggle the number of items displayed per page.
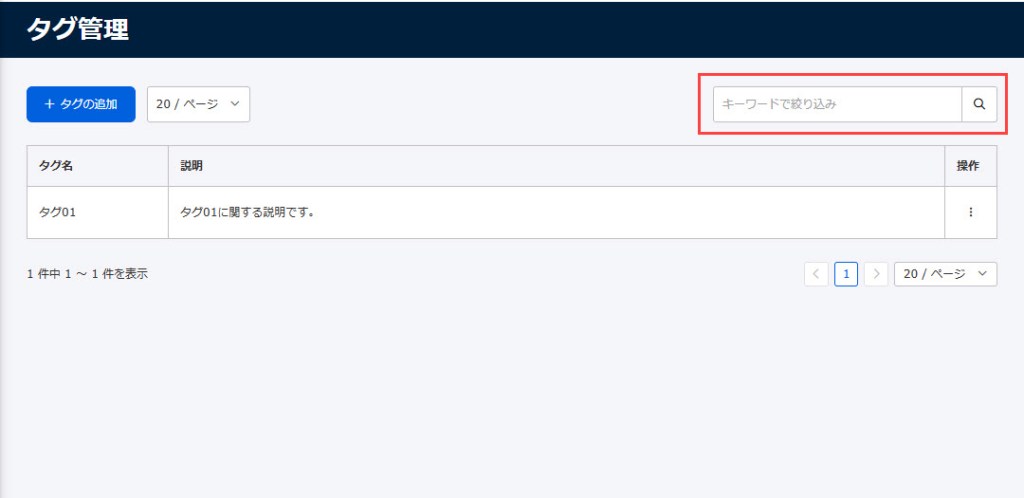
04. Keyword Search
You can search for tags by entering keywords in the "Filter by Keyword" field in the upper right corner of the screen.
Edit/delete tags
Edit
In the list of tags, click on the "︙" icon > "Edit" for each tag.
A pop-up window for editing tags will open.
Note that the items to be edited are the same as when creating a new item, so you can use the "Create Tags.
Delete
In the list of tags, click on the "︙" icon > "Delete" for each tag.
A pop-up will open to delete the tag.
Confirm the contents and click "Delete".