
Categories
Products, seminars, training, and curricula can be organized into categories.
Categorizing your content allows you to filter and narrow down what appears on each listing screen.
Use the Manage categories page to create and manage these categories.
*To access the page, click Manage categories in the side menu.
Create category
01. Open the Add Category screen.
Click Add category at the top of the Manage categories page.
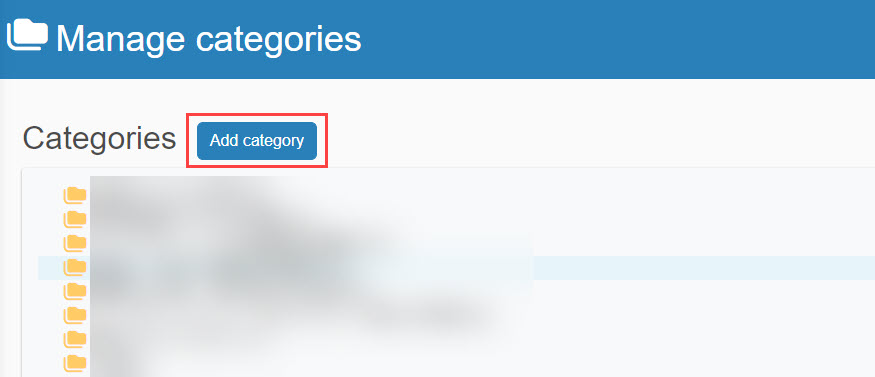
02. Fill in the form
The following window will appear.
Configure each item as needed.
When all settings are complete, click Add.

▼ Name
Enter the name of the category.
▼Image file
You can upload an image associated with this category.
Click Choose File to upload an image.
Click the trash can icon to remove an existing image.
▼ Description
You can add a brief description for the category.
This text can be styled with font colors and sizes, and you can also insert links or tables.
03. Create sub-categories
Right-click on the category you created in 02 and select New.
A popup similar to Step 02 will appear, so configure each item accordingly.
*Categories can be created up to 5 levels deep.
Edit/delete categories
Edit
In the category list, right-click the desired category and select Edit.
A popup window will open allowing you to edit the category.
Note that the editable fields match the creation setup, you can follow the same process as Create category.
Delete
In the category list, right-click the target category and select Delete.
A popup window will open asking you to confirm the deletion.
Review the details and click Delete if you wish to remove it.