Manage content categories
You can organize and classify your content by creating custom content categories.
Required
Management role of Content manager (Edit) for all content
Create category
Follow these steps to create a new content category:
01. Go to Manage content category
In the side menu, navigate to Manage contents > Manage content categories.
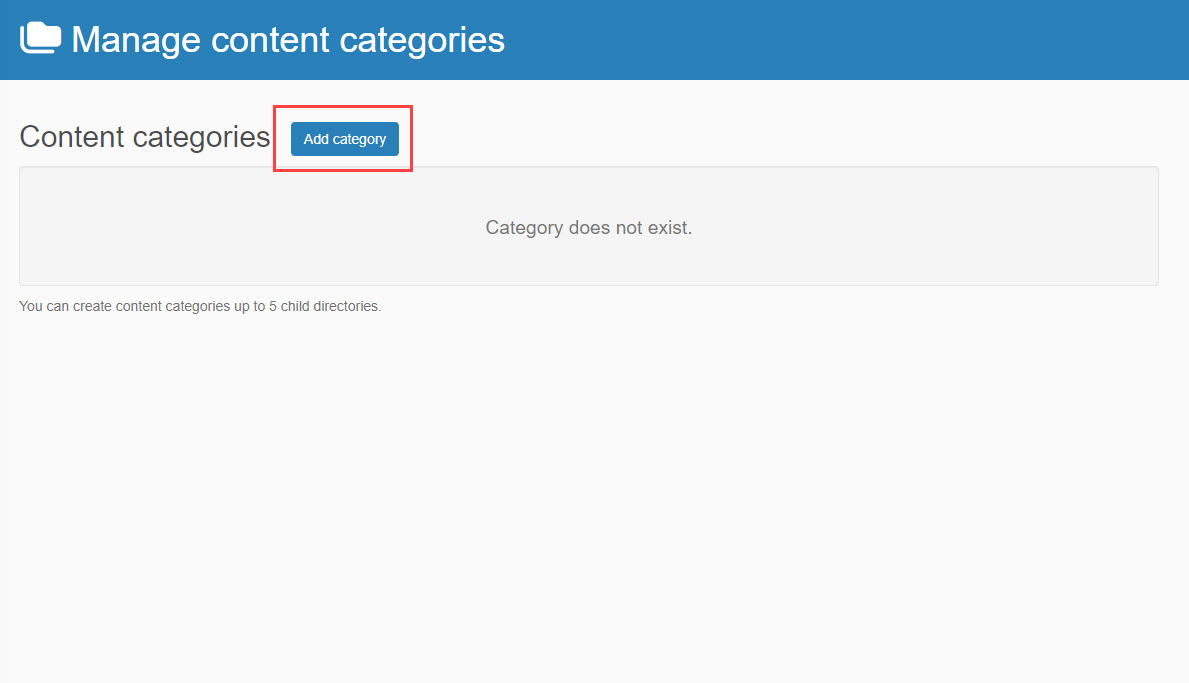
02. Add a category
Click Add category.
03. Enter items
Enter a name of the category.
Upload an image file if you want to set a thumbnail image.
Enter a description if necessary.
Click Add.

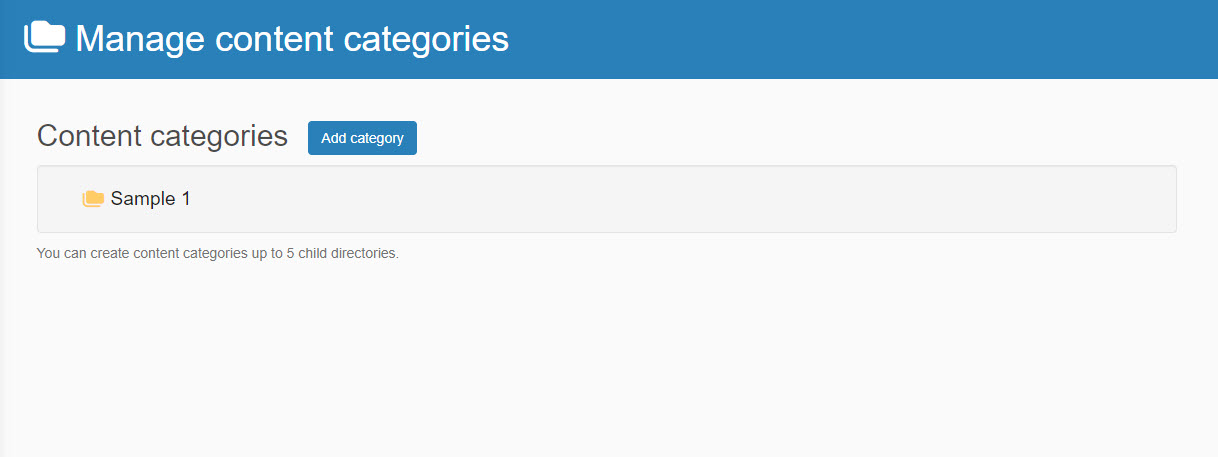
04. Interface on the Manage content categories
The category you created in Step 03 will appear in the category list.
05. Edit/Delete category
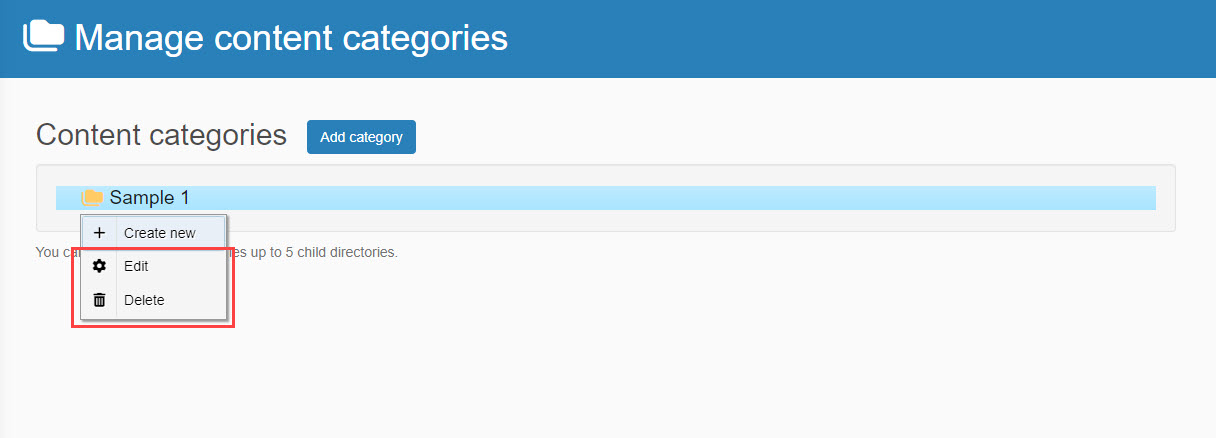
To edit/delete an existing category, right-click on the target category.
06. Create a subcategory
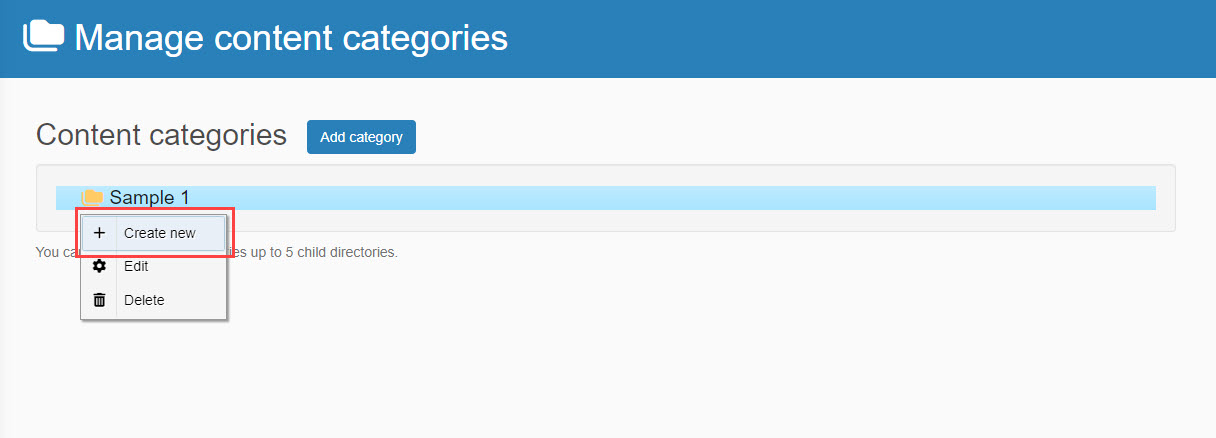
To create a subcategory beneath a parent category, right-click on the parent category and select Create new.
Set category to content
You can map your categories to specific individual content items, entire courses, or folders.
01. Open the settings page
Go to the Manage contents page, click the gear icon next to the target content, and select Appearance of content.
*For more details, refer to Appearance.
02. Learner Interface View
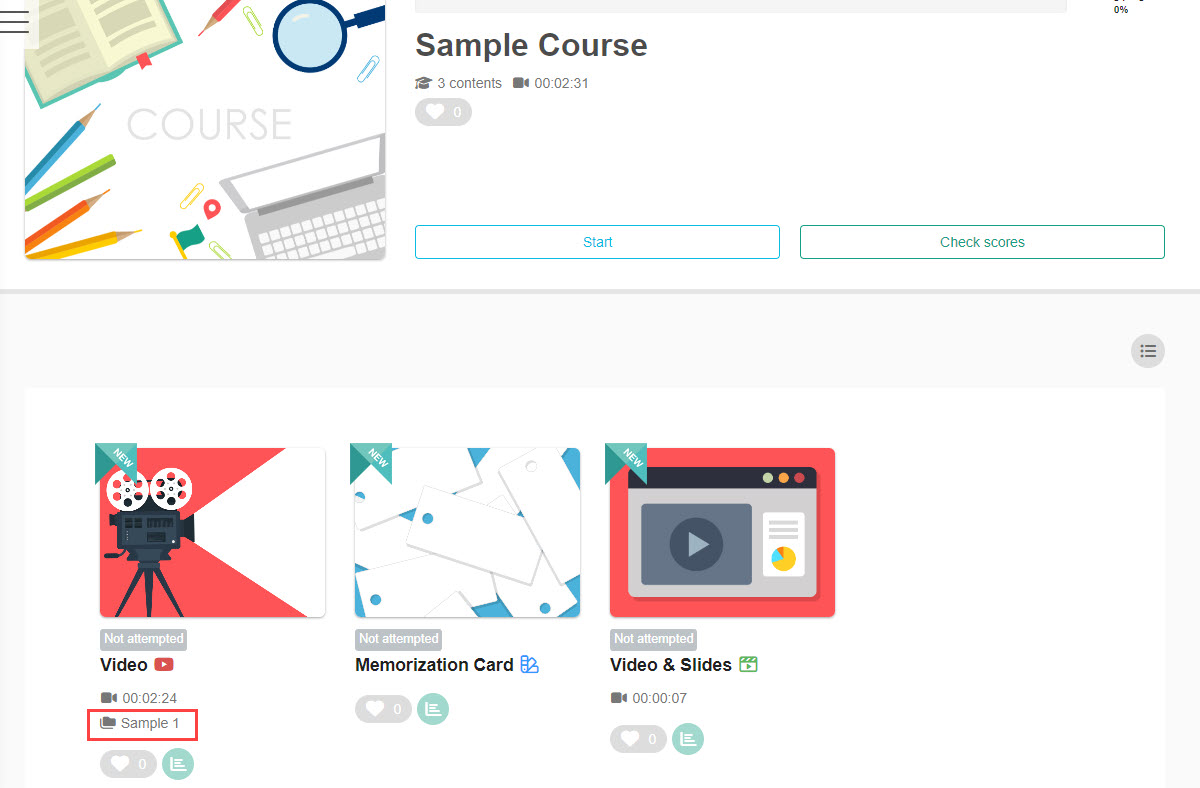
Once configured, the assigned content category tags and thumbnails will display on the learner's Select a course page.