Assign content on the Manage contents
Learners can take content on their pages by assigning content.
This can also be configured fromManage users.
Required
Content manager (Assign)
Steps
01. Go to Manage content
Select Manage contents in the side menu.
Within a course, click the "︙" icon > "Assign content" on the target content.

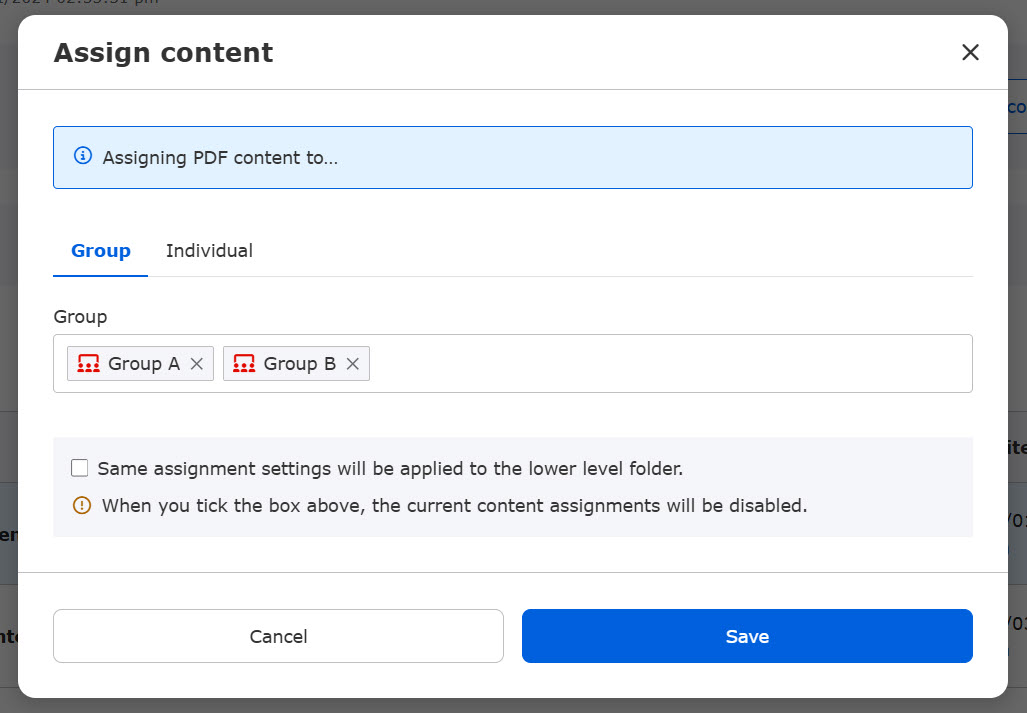
02. Select groups or individuals
Select groups or individuals.
Assign content to group
Click in the "Group" blank and tick the group you wish to assign.
Click ✔ again or click ✕ to deselect.
Assign content to individuals
Select users to assign.
*Batch selection is available on each page.
You can also use the "Refine Search" to search by name/login ID/display name, or by group.
Untick the box to remove a user from your current selection.

Selected users will be listed at the bottom.
Click Unassign to remove them from the list.
Click on "Save" to complete the settings.

*If already assigned to individuals:
To find users who have already been assigned, tick the box in the search area.
After searching users and unselect them, they will be listed in the Selected users section.
Click "Cancel" to assign the user again.
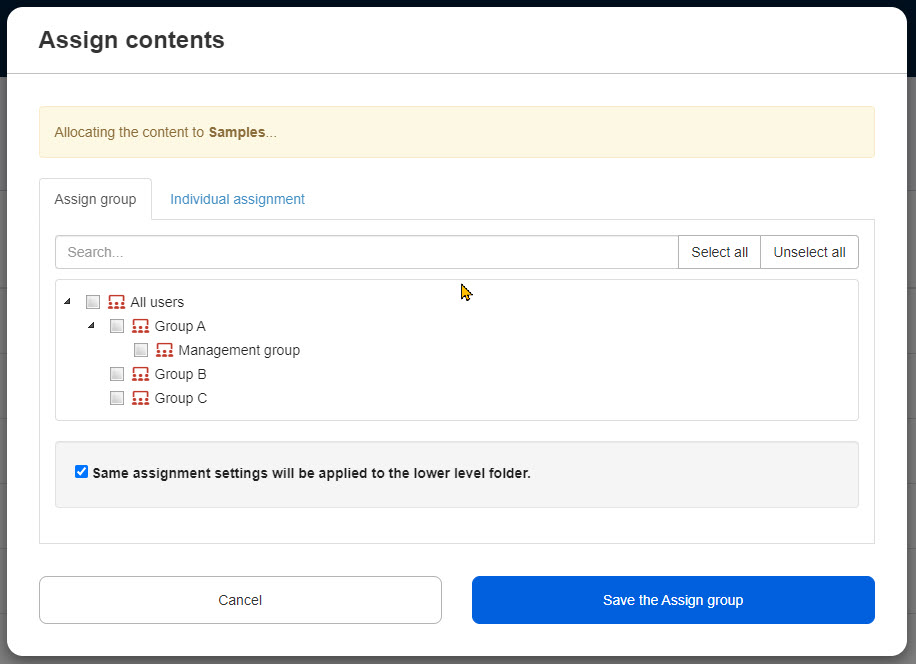
When the course has a folder/folders, the same groups or individuals can be assigned to the folders. To apply the same setting, tick the box.

03. Icon
When the content is assigned, the icon will turn to be blue.
Note
When assigning courses, please be aware of the following two points:
▼ When a folder in a course is assigned
When assigning a folder within a course, be sure to tick the "Same assignment settings will be applied to the lower level folder" to show the content on the Select a course.
*When there are any content which has already been assigned, the settings will be overwritten by ticking the box.
▼ To assign only specific content within a course
When assigning specific content within a course, DO NOT assign the course to group(s)/user(s).
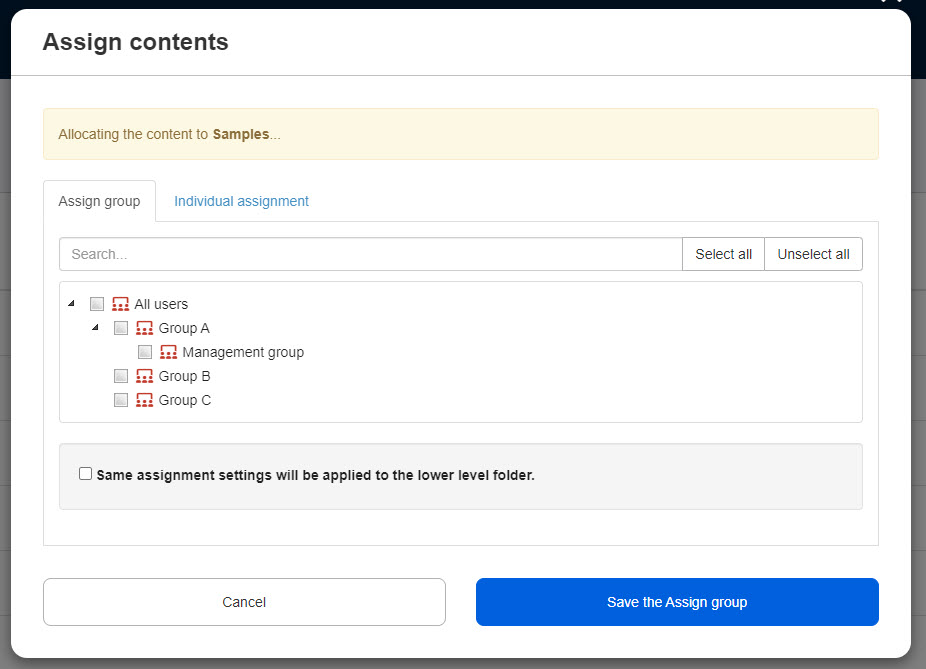
Click on the "︙" icon in a course > "Assign content," and configure the settings.
