SAML integration settings in Microsoft Entra ID
*Please note that this may differ from the latest settings.
This section explains how to set up SAML integration with Microsoft Entra ID.
This setting is done on the Microsoft Entra side.
If you have not yet registered for an account, please click here "Azure Free Account FAQ will help before you add a PDF fiile.
Entra Settings
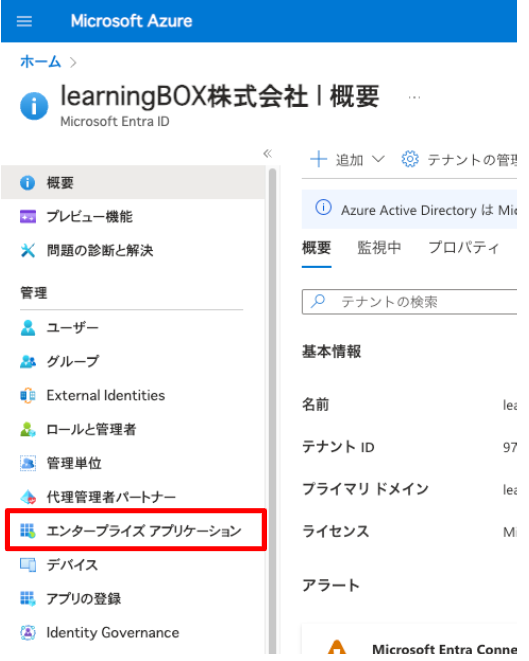
01. Open Enterprise Application
Log in to Azure potal with an administrator account.
Go to the "All Services" screen in Azure and select "ID" > "Azure Active Directory" on the left side of the screen.
The Azure AD "Overview" screen will appear, click on "Enterprise Applications" on the left side of the screen.
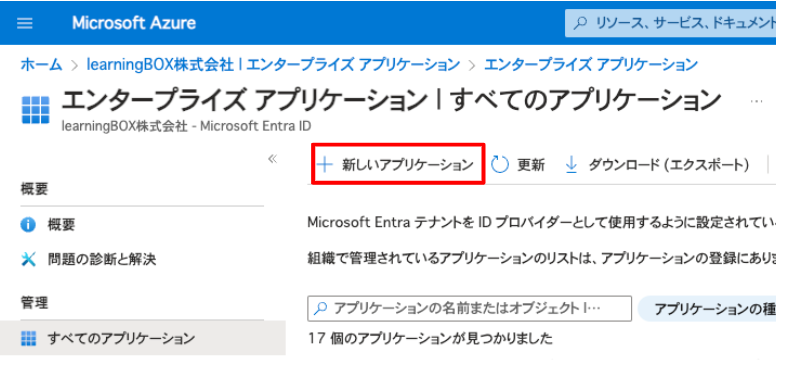
02. Select new application
Click on "All Applications" > "New Application."
03. Click Create Your Own Application
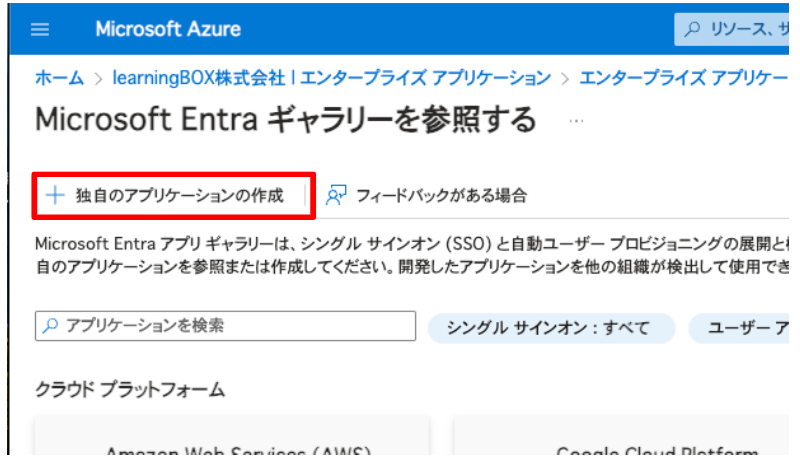
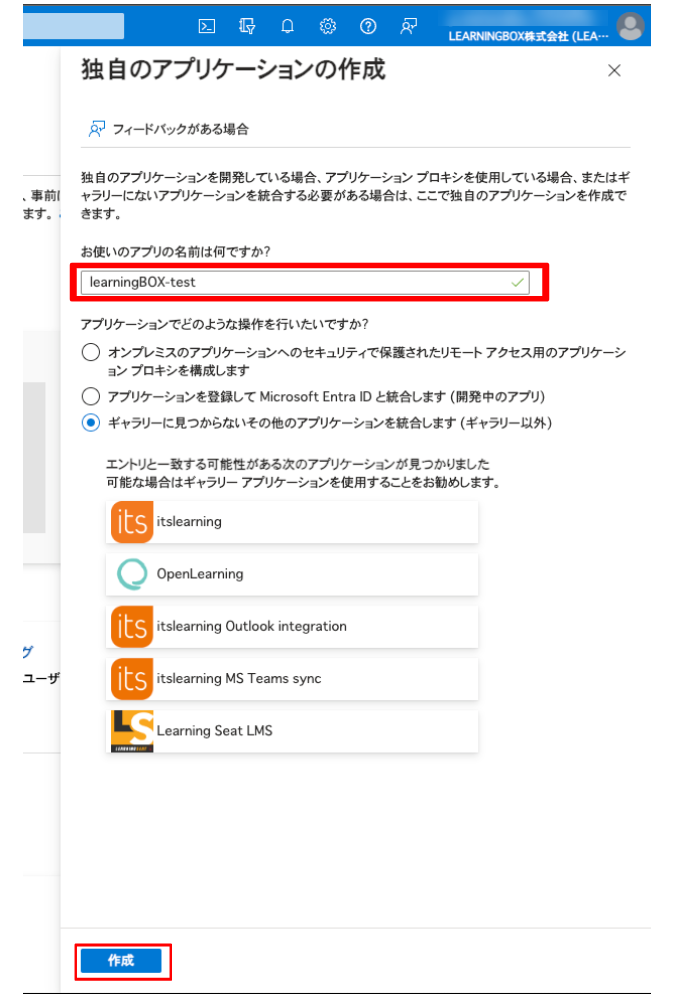
04. Create your own application
First, in the "What is the name of your application?" field, enter the name of the application to be connected.
Then, under "What operations would you like to perform with the application?" select "Integrate other applications not found in the gallery (other than the gallery)".
When completed, click "Create."
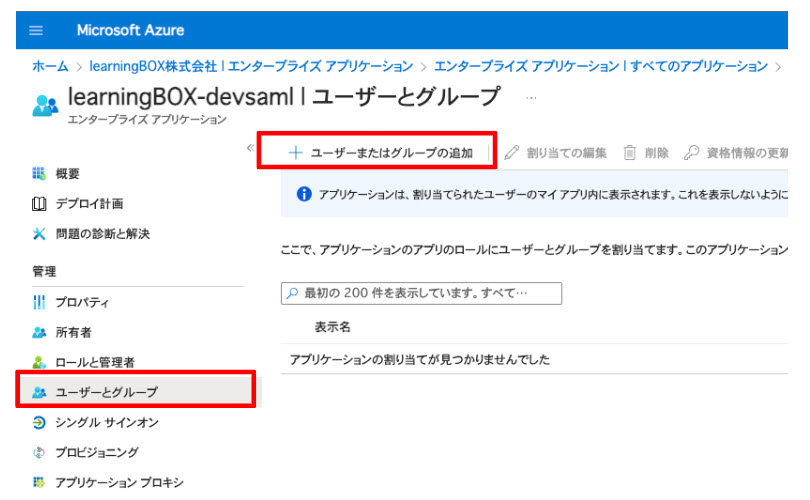
05. Adding Users or Groups
Because you need to allow users to sign in,
Click on "Users and Groups" > "Add User or Group.
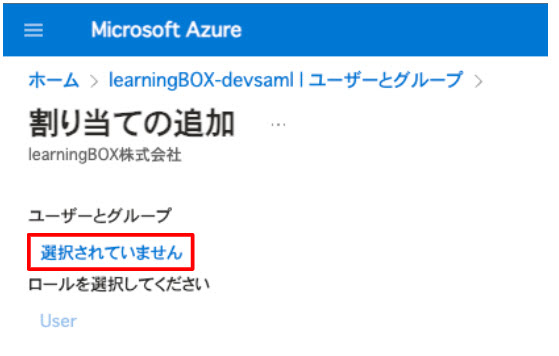
After moving to the "Add Assignment" screen, click on "Not Selected.
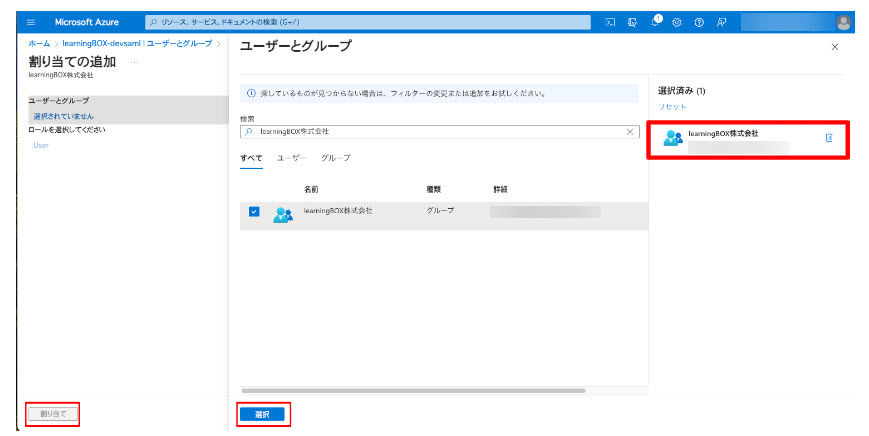
To the right, the "Users and Groups" screen will appear. Enter a user or group to search for, tick the target displayed in the search results, and click "Select".
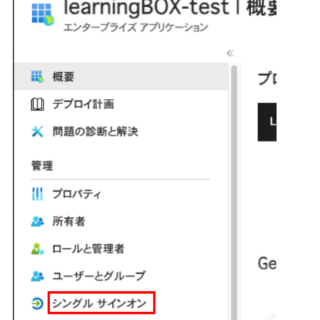
06. Click on "Single Sign On
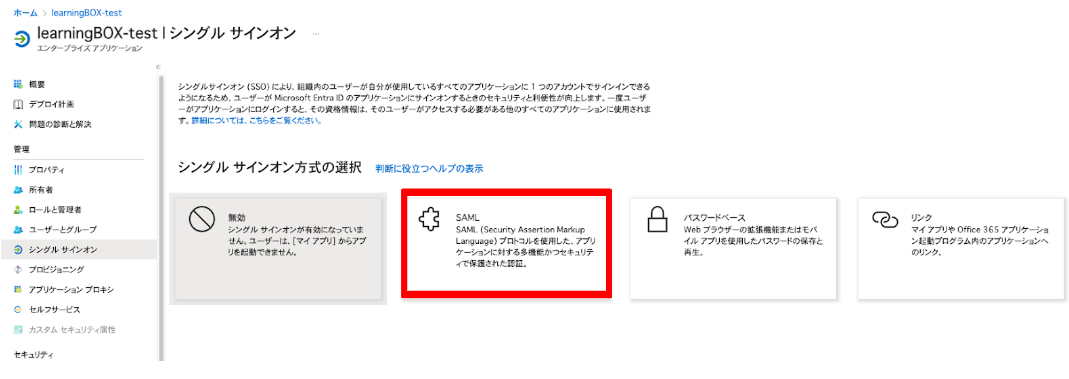
07. Click on SAML
The SAML-based sign-on screen will appear.
08. Click on "Edit
Click on "Edit" to the right of "Basic SAML Configuration."
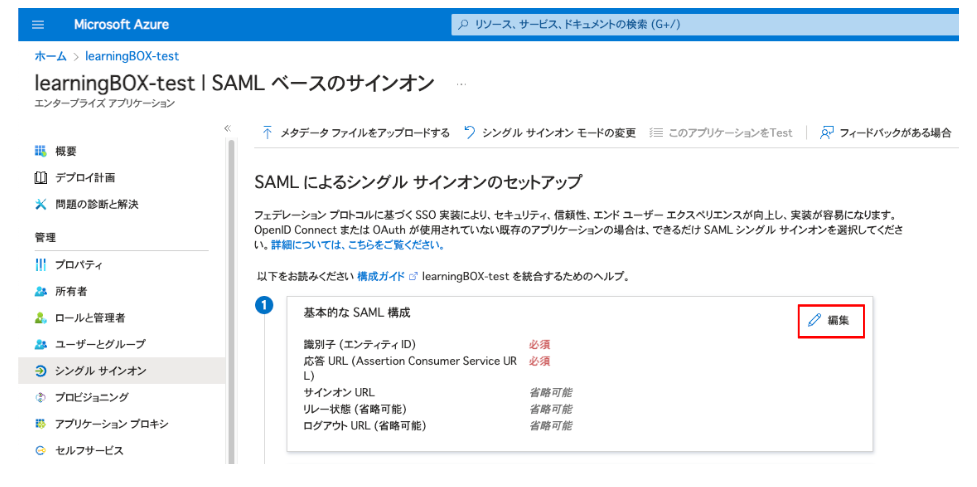
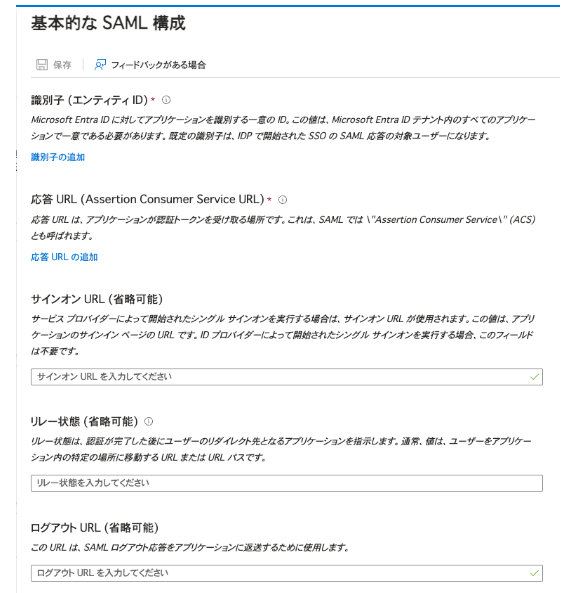
The setup screen will appear.
How to work with learningBOX
01. Go to the settings page
Log in to learningBOX.
Click on "Site Customizer" in the side menu and select "Basic Settings".
On the "Basic Settings" screen that opens, go to the "External System Integration" tab and select "Use SAML".

02.Entra ID setting
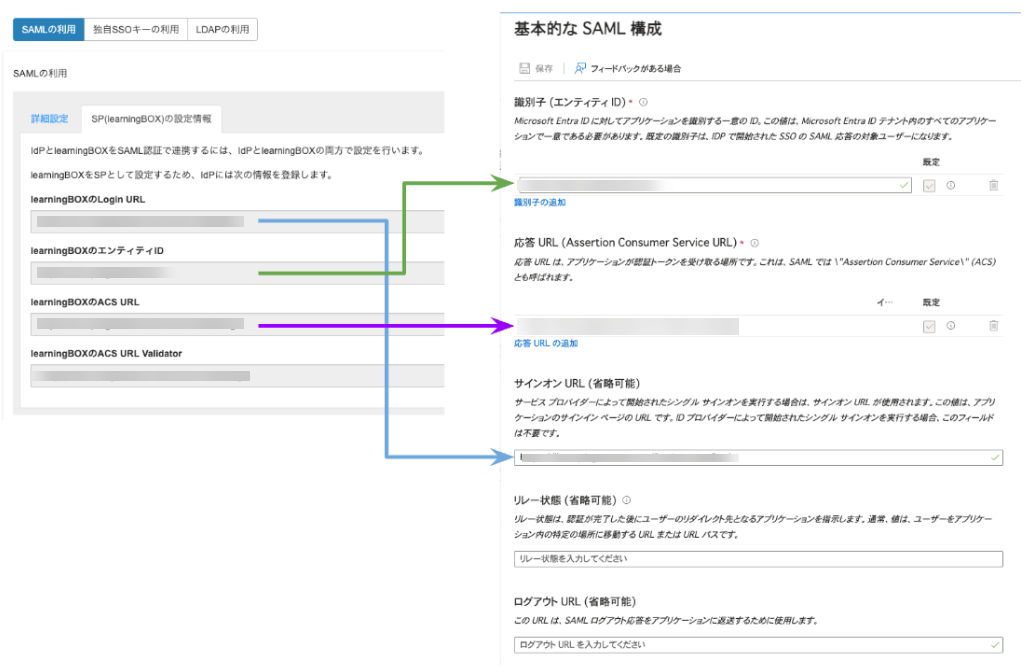
Enter the following information on the learningBOX side into the Microsoft Entra side.
On the learningBOX SAML settings screen, open the "SP (learningBOX) settings information" tab.
Login URL of learningBOX → Sign-on URL
Entity ID of learningBOX → Identifier (Entity ID)
ACS URL of learningBOX → Response URL (Assertion Consumer Service URL)
03.learningBOX settings
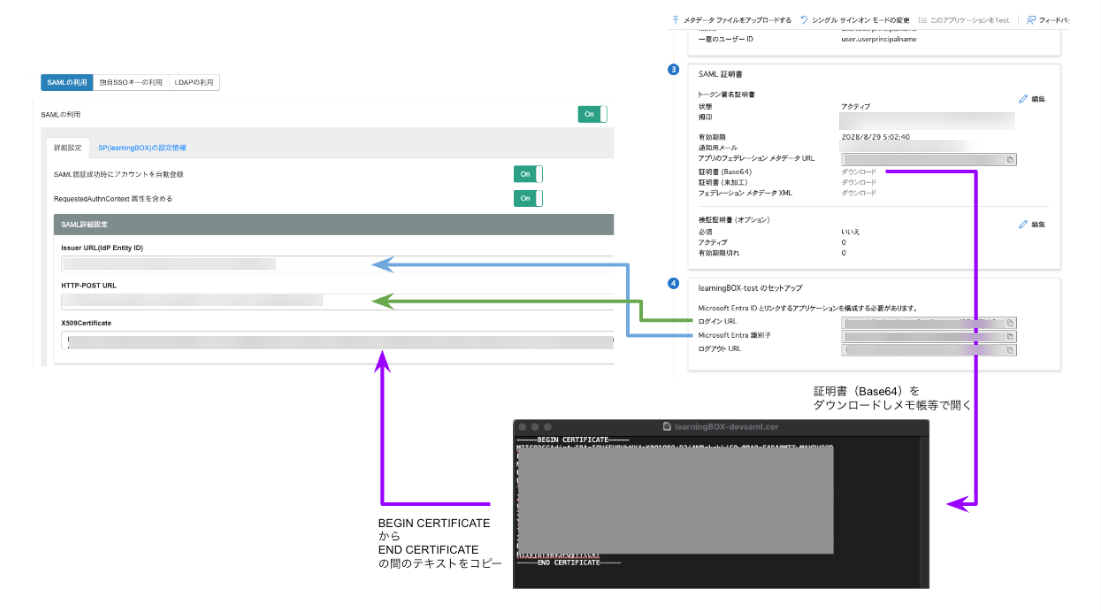
Enter the following information on the Microsoft Entra side into the learningBOX side.
On the SAML settings screen of the learningBOX, open the "Advanced" tab.
Microsoft Entra ID identifier → Issuer URL (IdP Entity ID)
Login URL → HTTP-POST URL
Certificate (Base64) → X509Certificate
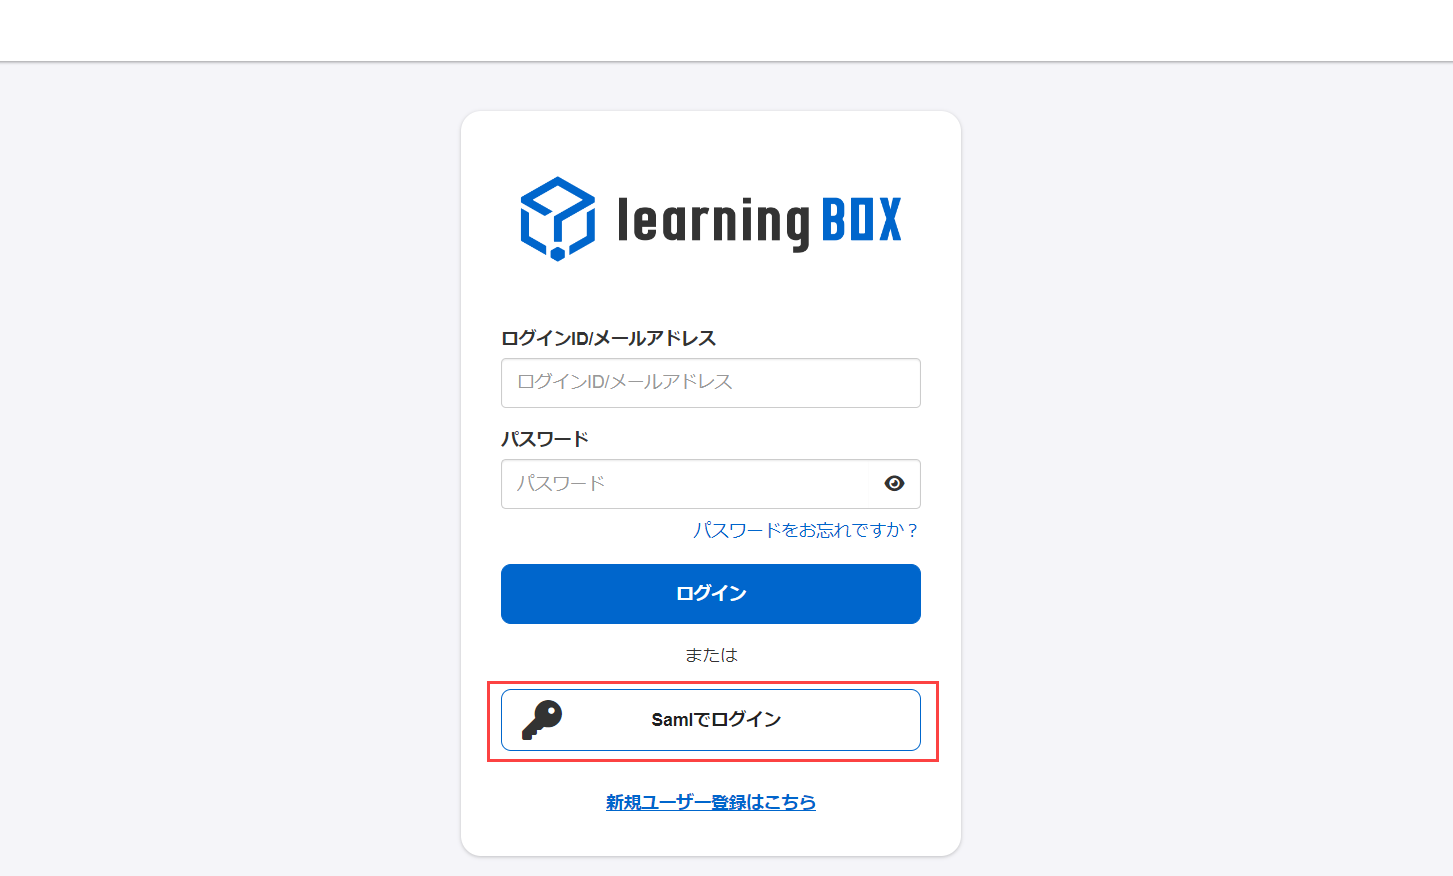
After the setup is complete, you can log in from the dedicated learningBOX page.
Single sign-on is also available from Microsoft Entra.