OneRoster
You can link roster files downloaded from your school administration support system to learningBOX.
User information on the OneRoster standard can be registered and updated in CSV files.
Required
Management roles of Group manager(Edit for all users) + Co-admin
What is OneRoster?
OneRoster is a standard for educational institutions to manage students and faculty information.
This standard is designed to share data among the various systems used in educational institutions.
This allows us to provide data in a standardized format.
*For more details, refer to the following page:
Official: OneRoster | 1EdTech
Integrate data using OneRoster
Before using OneRoster, initial settings are required.
Only the admin is allowed to edit the settings.
*For more details, refer to Settings, OneRoster.
Register/update user information
When the settings are completed, OneRoster will be added to the menu on the Manage users.
File registration
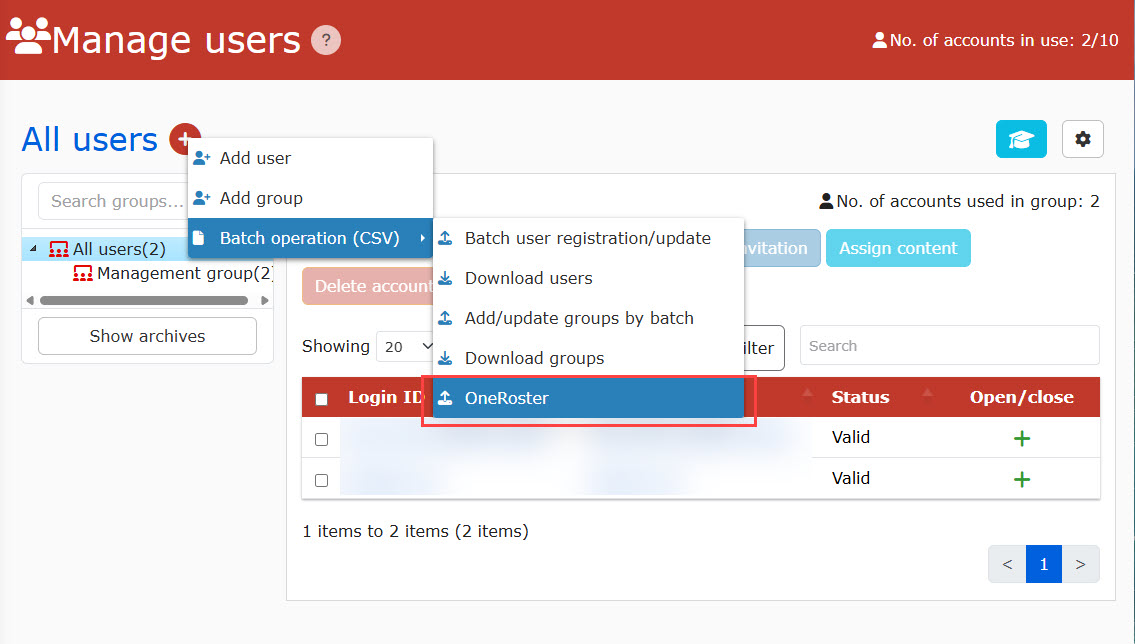
01. Go to the OneRoster
Go to the Manage users.
Click the "+" button > Batch operation (CSV) > OneRoste.
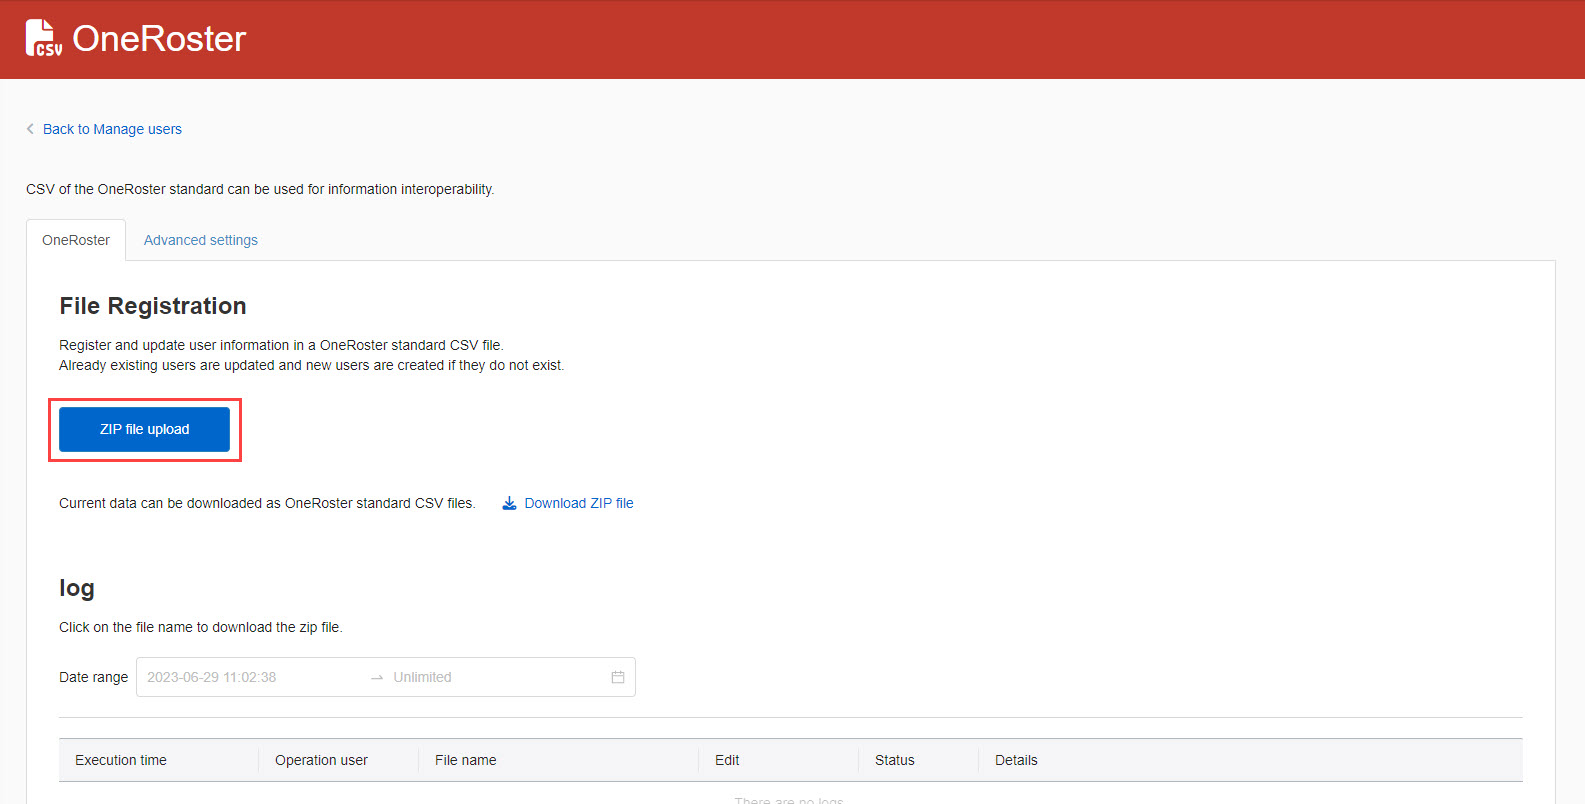
02. Upload CSV file
Click on "ZIP file upload."
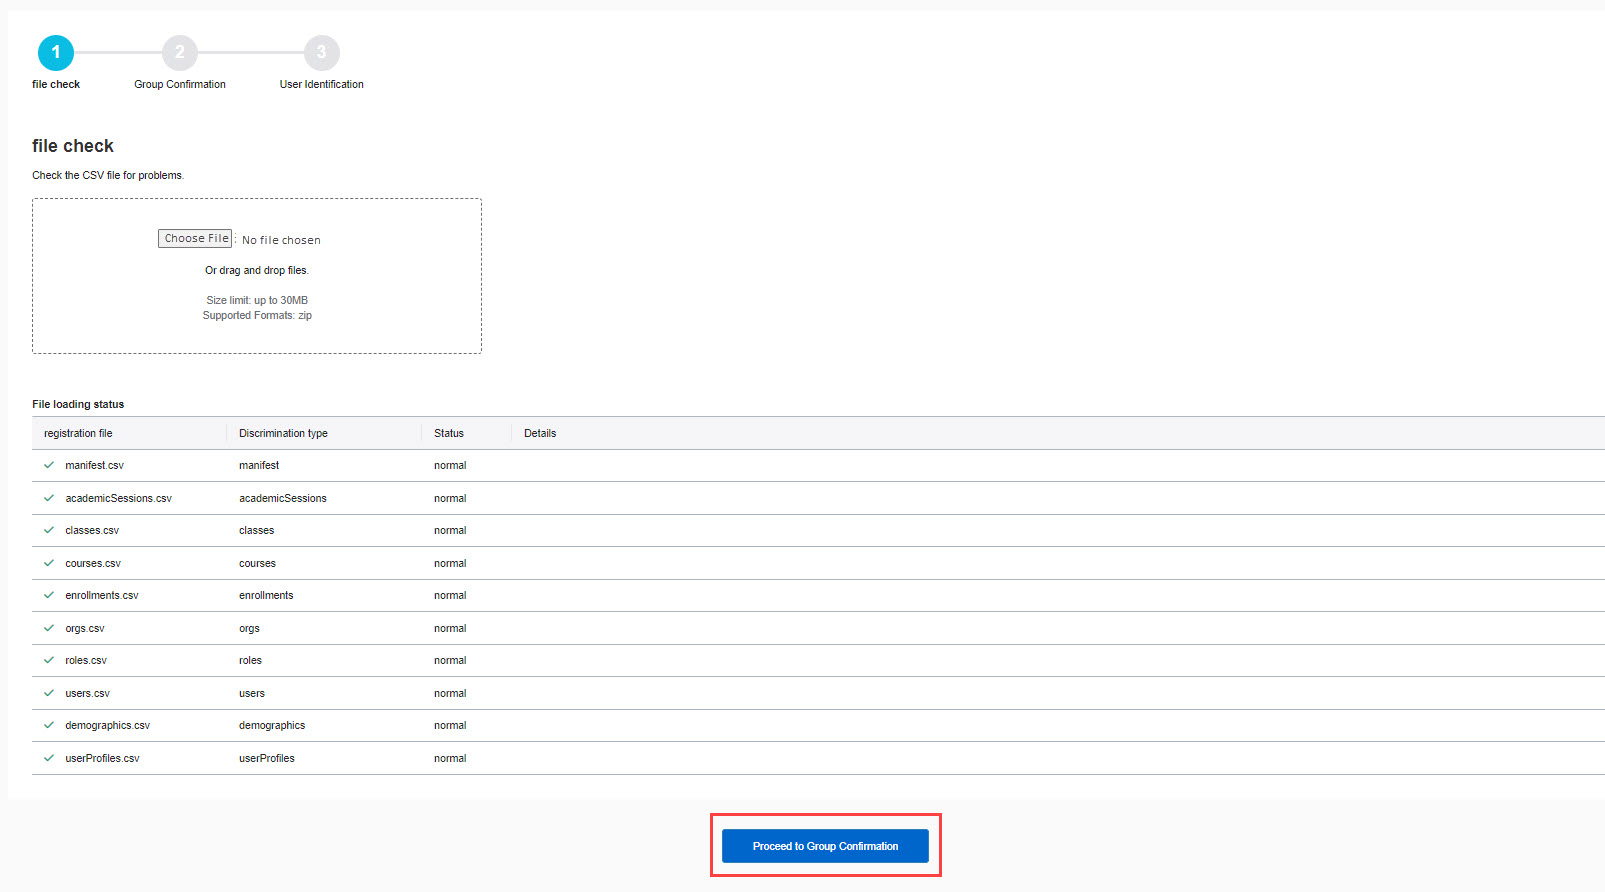
▼File Check
Upload the ZIP file from the "Choose File."
The status will be displayed.
If there are any errors, the status will be "Error."
Click on "Proceed to Group Confirmation."
*Refer to the following page for the items on the CSV file.
Official website: OneRoster Japan Profile (tentative version in Japan)
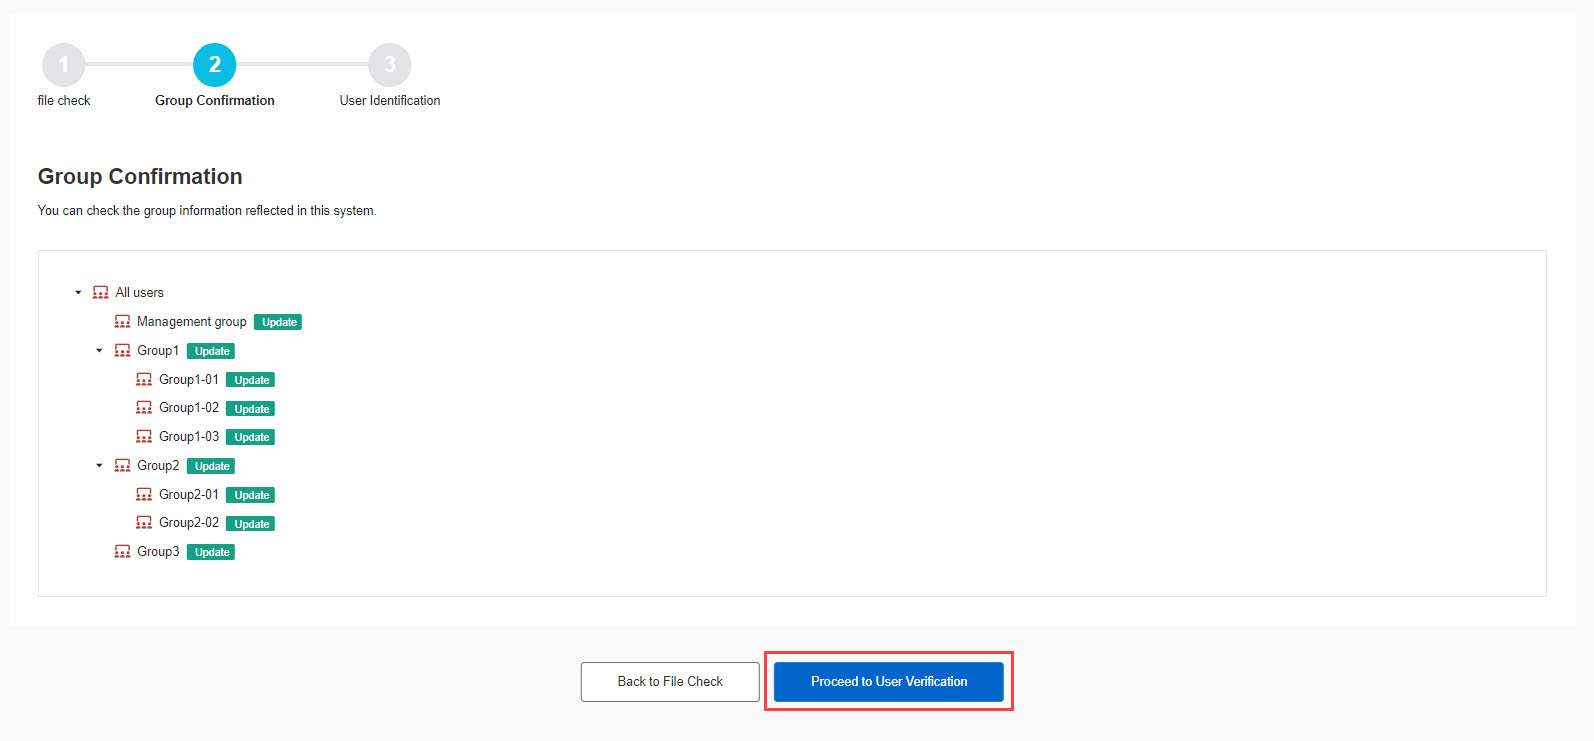
▼ Group Confirmation
Updated group information will be displayed.
Click on "Proceed to User Verification."
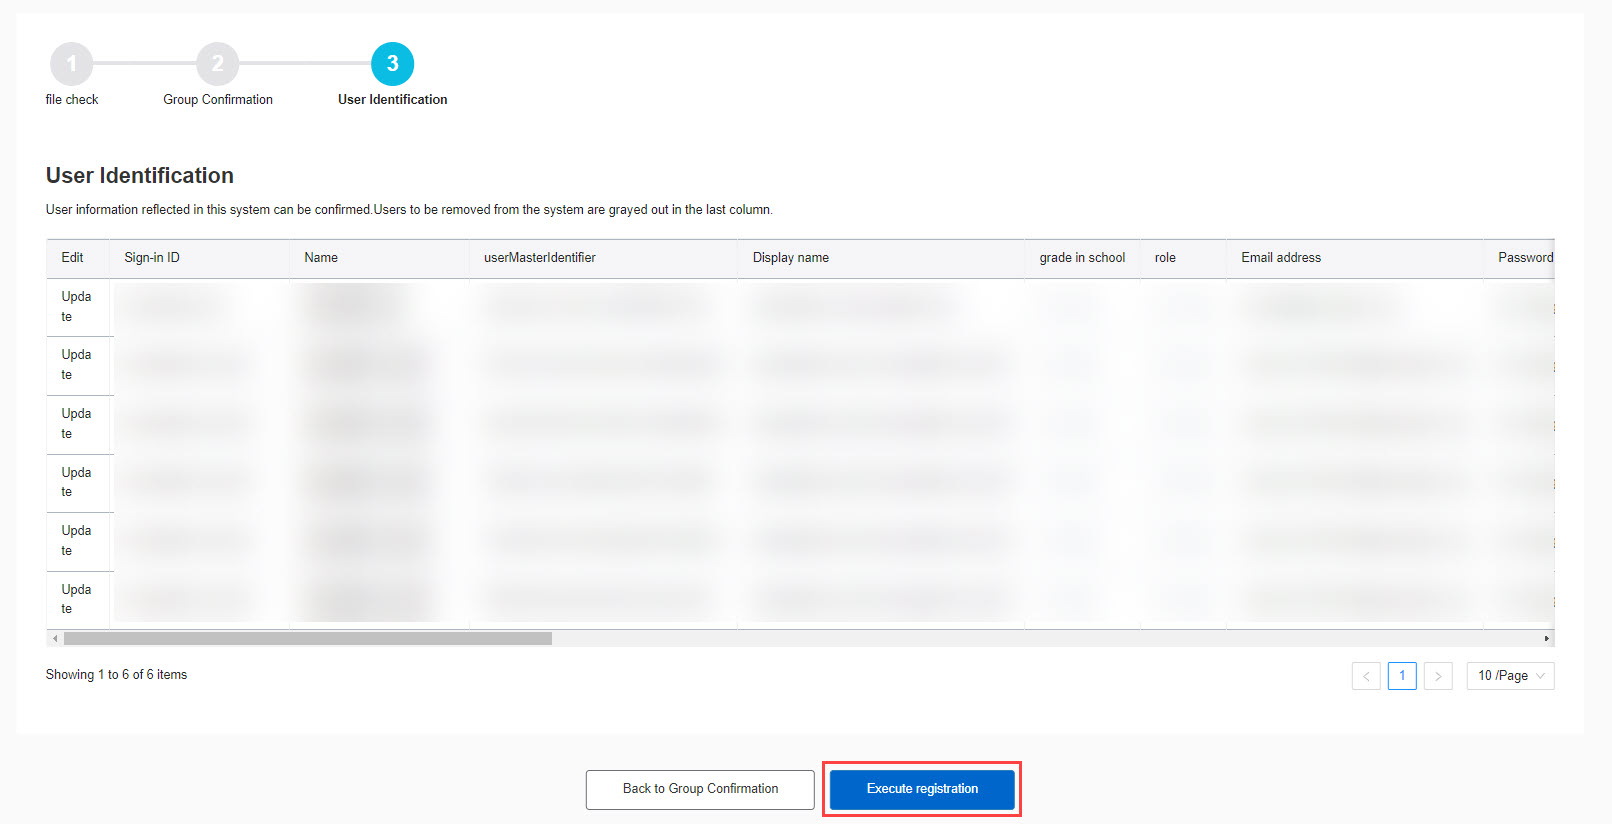
▼User Confirmation
Updated user information will be displayed.
Note that users who will be removed from the system will be grayed out in the last column.
Click on "Execute registration."
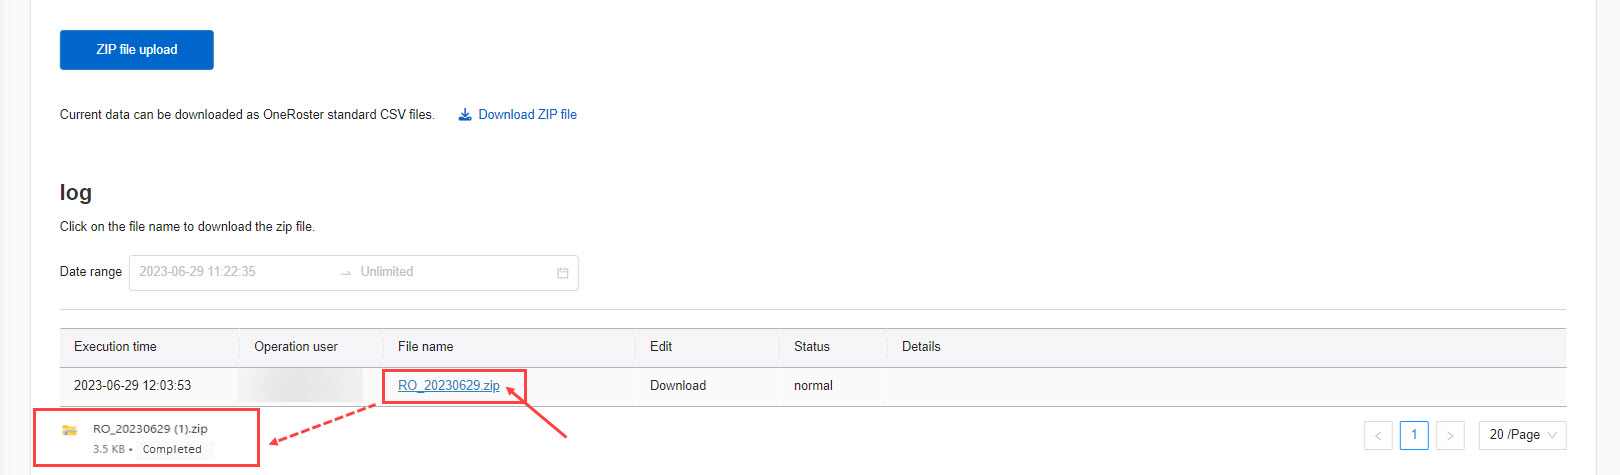
Log
Log will show the previous upload and download information.
To download the ZIP file which was previously registered, click on the file name.
Advanced settings
The following explain the advanced settings.
The default values including the management roles, classes and more can be set.
*Be sure to click on "Save" after editing the items.
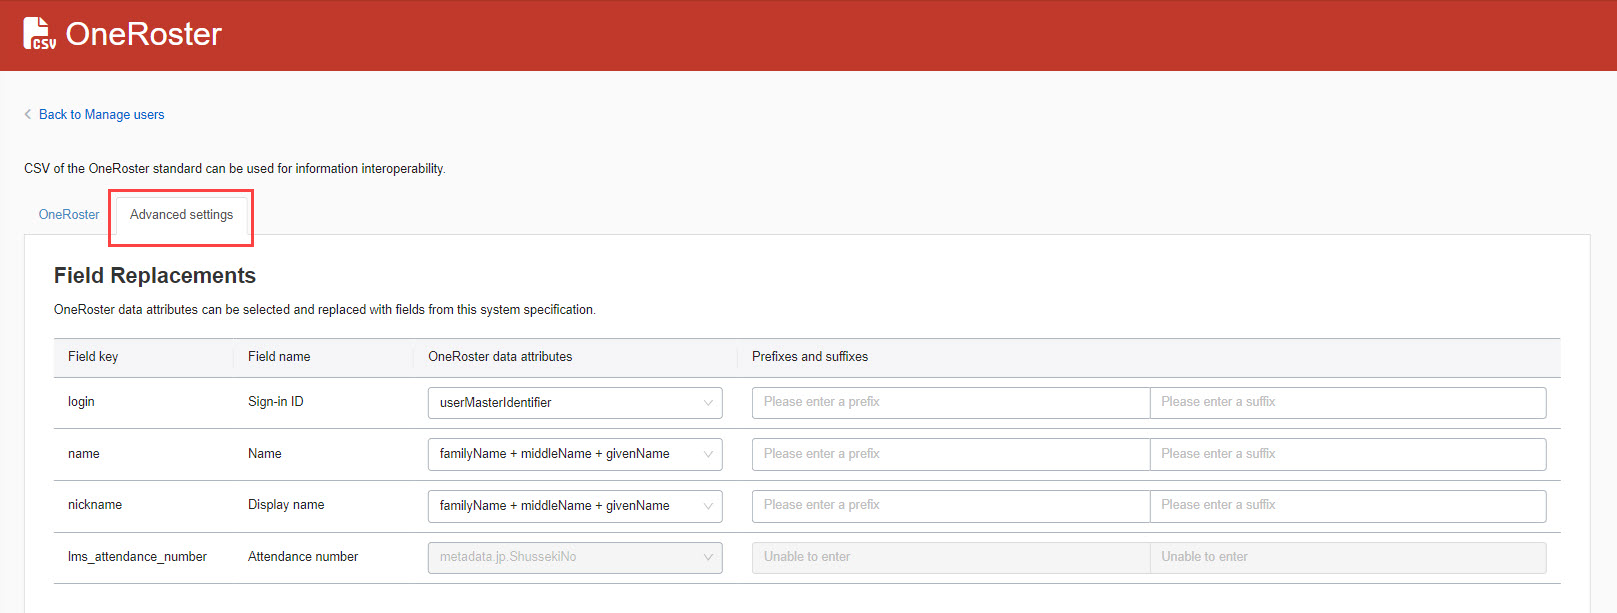
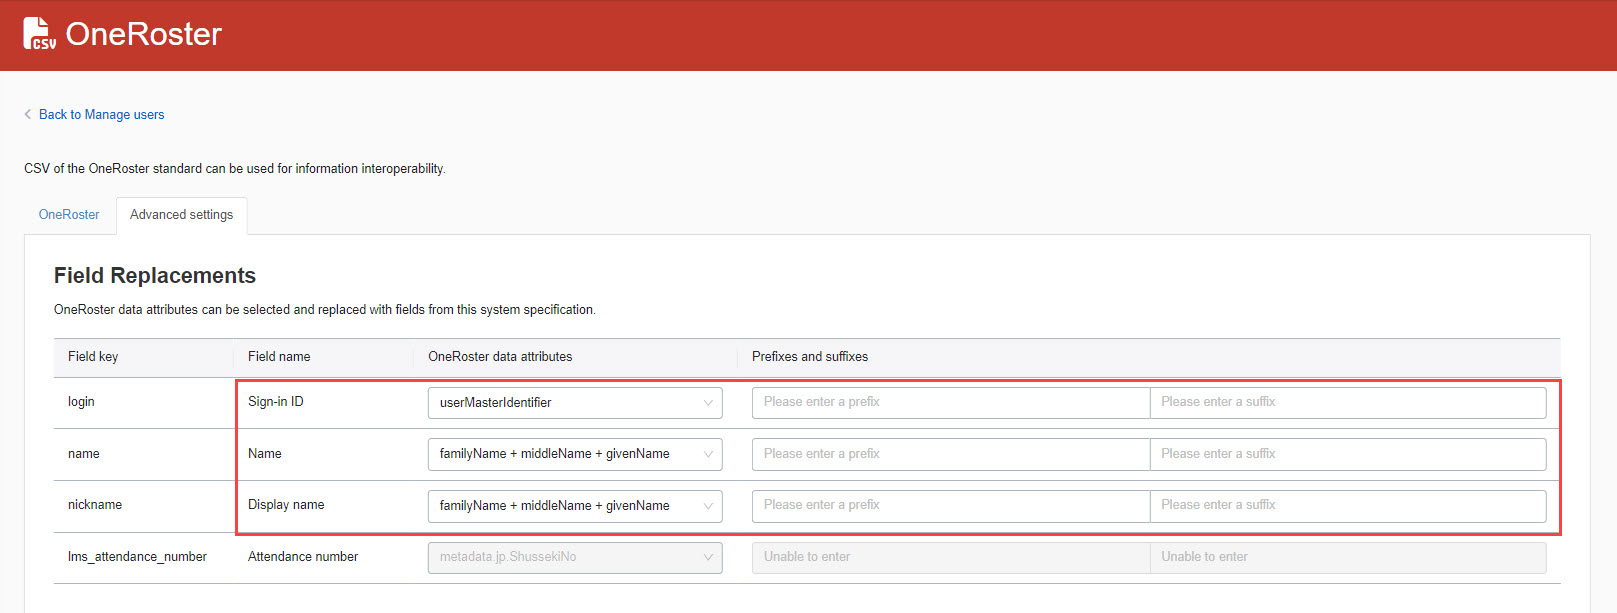
▼Sort fields
The three items that can be replaced are "login ID/name/display name", etc.
A prefix/suffix can also be set.
The maximum number of input characters for each item is 10.
*Items that can be sorted reflect the registration information in the input field settings.
*For more details about the field, refer toInput field settings.
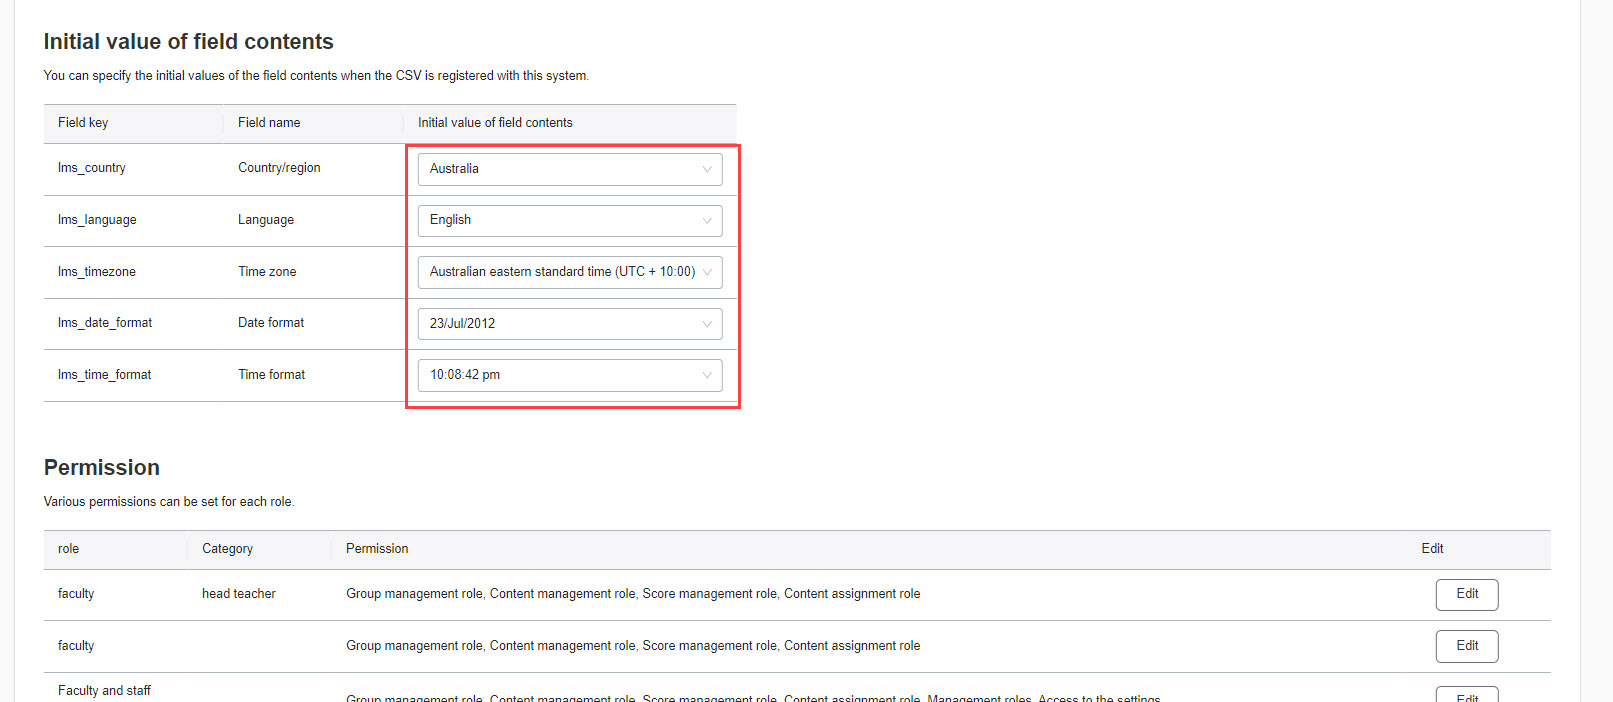
▼Initial value
When registering a new user you can specify initial values for each item (country/region, language, time zone, date format and time format).
*Note that the settings will not be reflected after the update.
▼Management roles
You can specify management roles to assign when registering or updating users.
The following permissions can be assigned when registering users:
- Group manager
- Content manager
- Management role of Grade manager
- Content manager(Assign)
- Other permissions
*You can assign the Role assigner and Co-admin only to faculty members (admins) .
For more information on each management role, refer to Management roles.
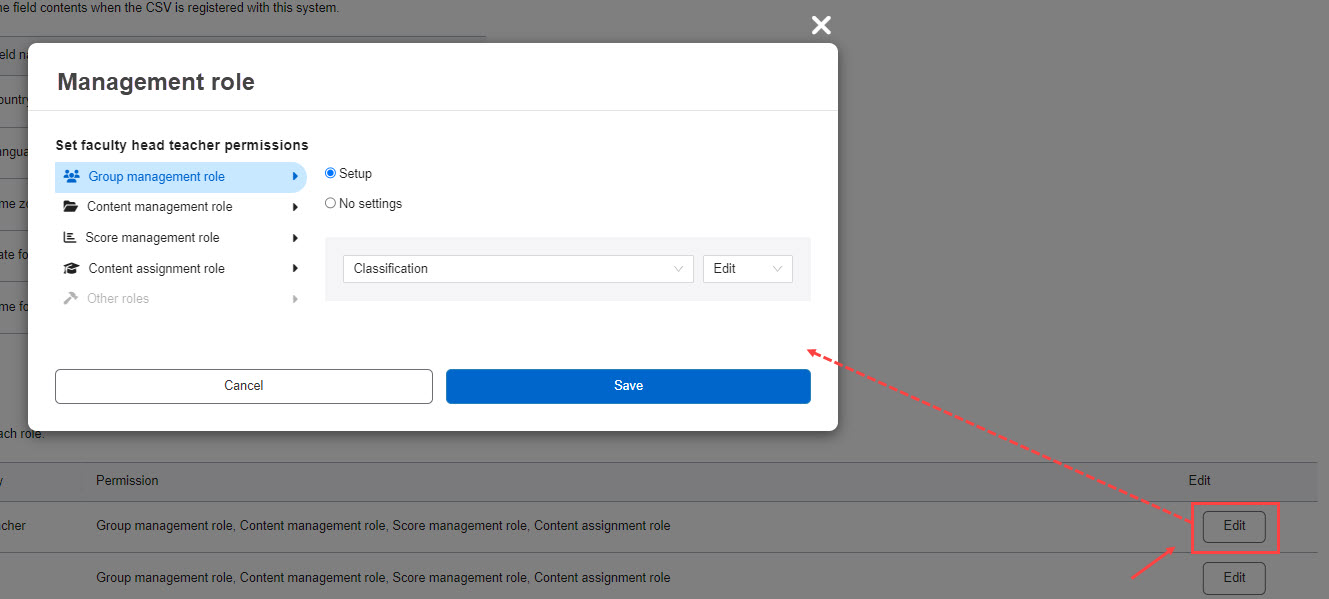
Select the management role(s) to assign.
Save the settings.
▼ Class settings
When registering or updating users, you can set whether faculty, staff, and parents are allowed to belong to a class.
Tick the box(es) if you wish them to belong to a class.
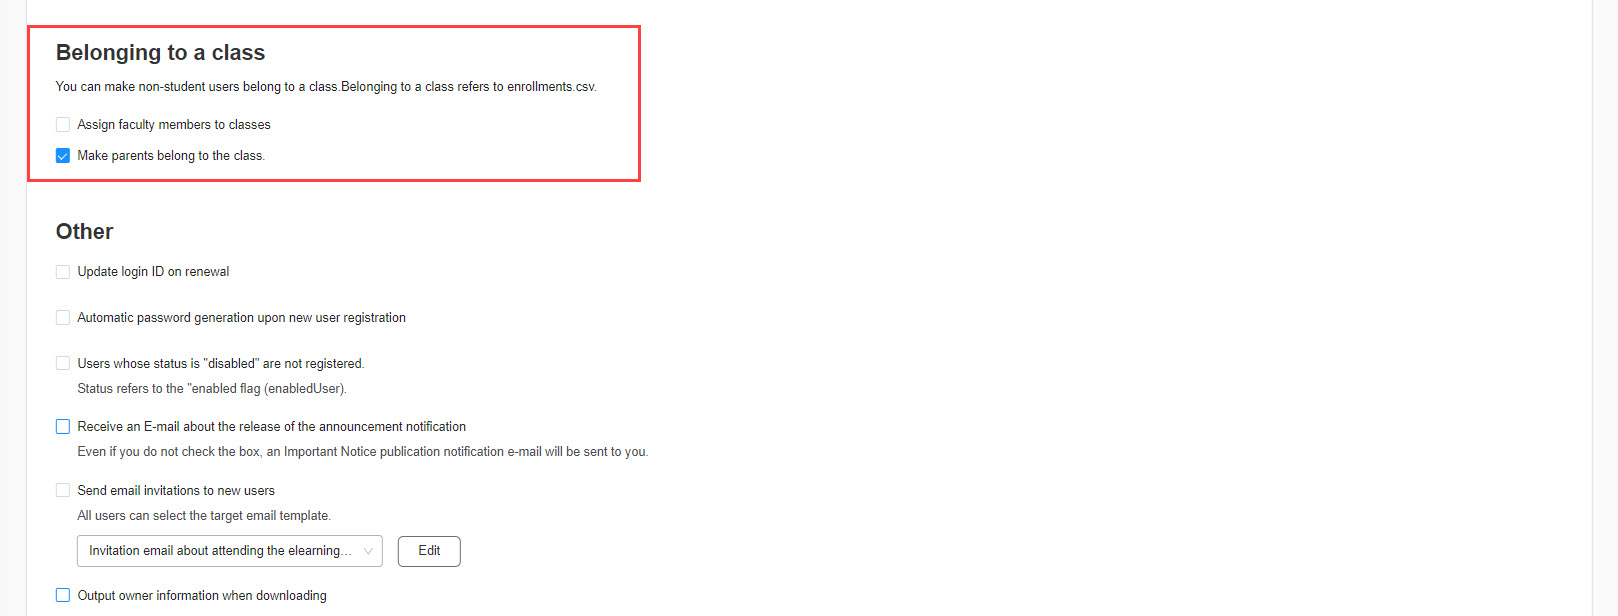
As for class affiliation, refer to "Enrollments .csv" according to the roster information based on "OneRoster CSV/Japan Profile".
*For details, please refer to the following page.
Official website: OneRoster Japan Profile (tentative version in Japan)
▼ Others
Options including passwords and email settings can be set.
Tick the item(s) if necessary.
The Edit button will be shown when you are assigned as a Group manager (Edit all users), Role assigner or Email template manager (All users).
Click Edit to edit the invitation email.
