Receipt
The EC function allows learners to issue receipts for their purchase orders.
Required
Customization options, EC options, EC function access rights
Receipt Setup
The first step is to enter the information of the company to be listed on the receipt in the setup screen.
01. Setting page
On the side menu, select "Receipt Setup".
02. Turn on the toggle key
If you wish to use this function, be sure to turn the "Use Receipt Issuance Function" toggle On.
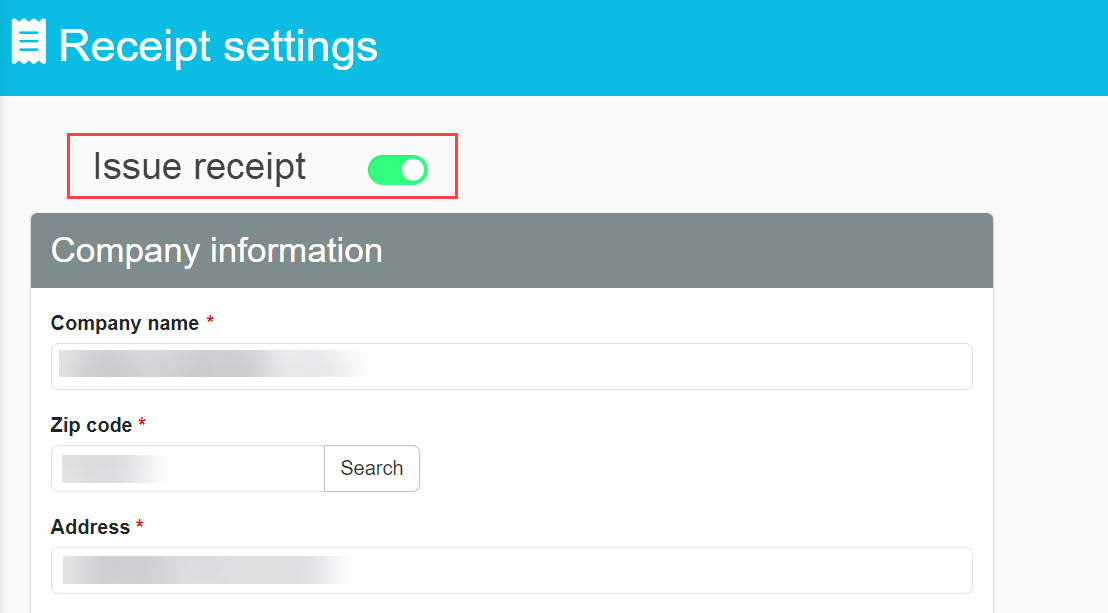
03. Enter company information
Enter the company information to be included on the receipt.
Fields marked with an asterisk (*) are required.
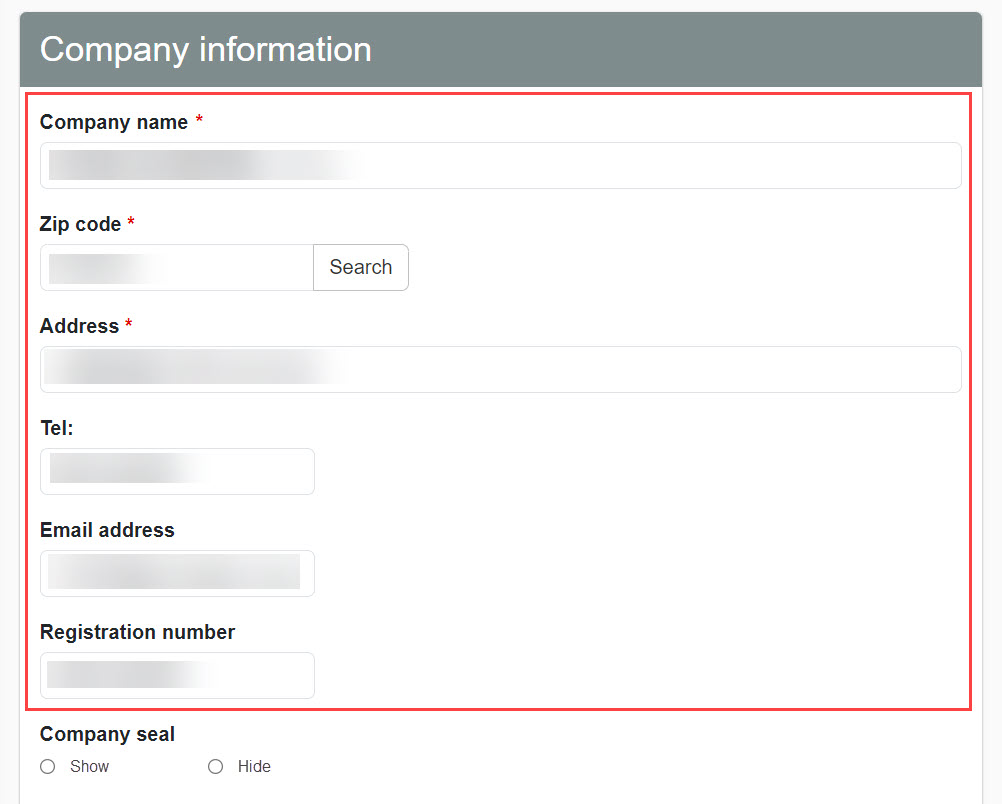
About Registration Number
This is the number notified to a business that wishes to be registered as a qualified invoicing business entity when the business submits an "Application for Registration as a Qualified Invoice Issuing Business Entity" to the district director having jurisdiction over the place of tax payment and is registered by the district director.
*For more information, see the IRS'sWhat is a registration number?.
04. Setup of company seal
To set the company seal on the receipt, select "Change." to select the company seal.
Next, upload the image to be used for the company seal from "Select File".

05. Save and Preview
After completing the settings, be sure to click "Save" in the upper right corner of the screen.
Note that you can confirm the contents of the set receipt by clicking "Preview".
Receipt (learner's side)
Learners who have purchased an item can issue a receipt on the "Purchase History" screen.
*Receipts can also be reissued.
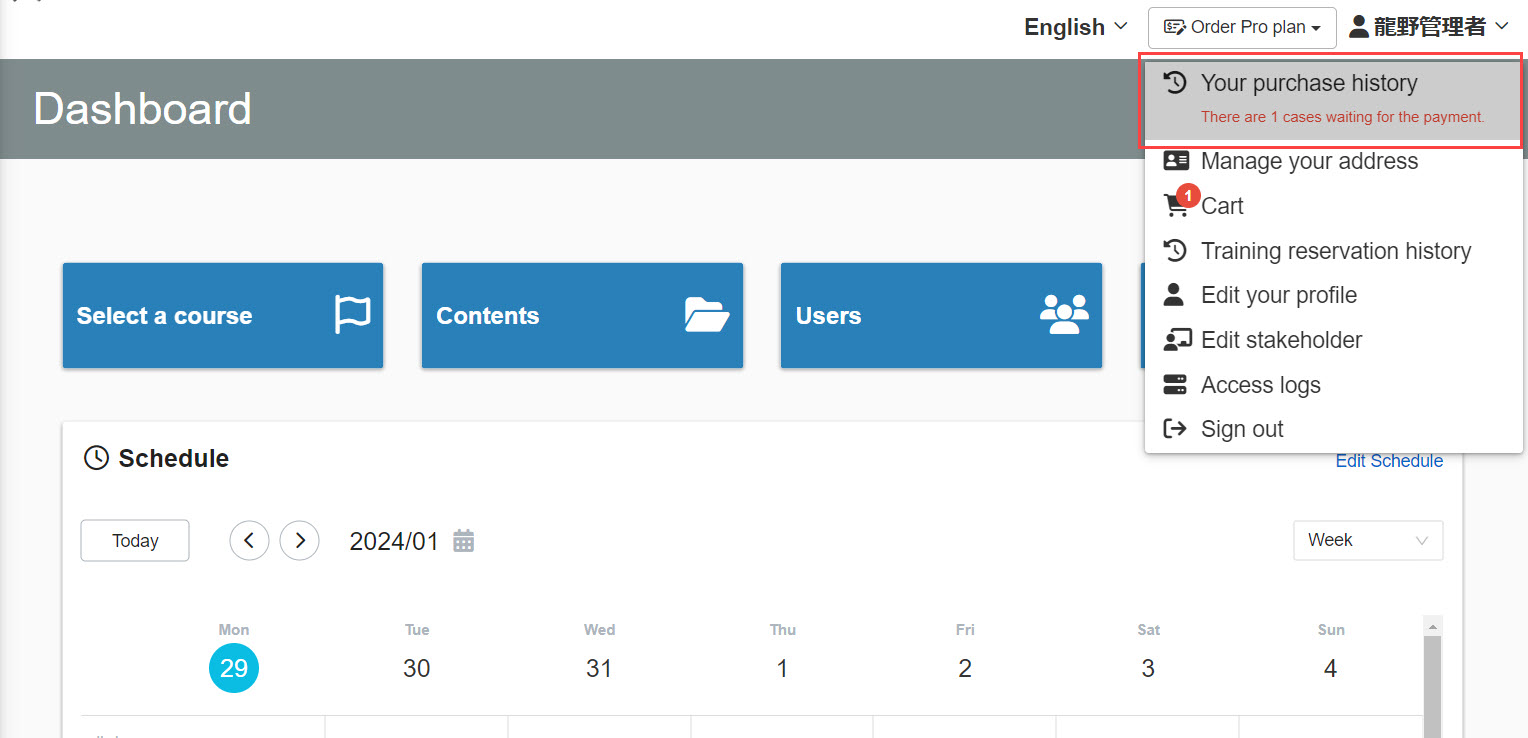
01. Open the purchase history screen.
Click on your account name in the upper right corner of the screen and select "Purchase History.
02. Issue of receipts
Open the "Orders" tab of the "Purchase History" screen.
Click on "Issue Receipt" to the right of the applicable order.

03. Input address information
The following pop-up will be displayed.
Enter the company name, department, title, and address, then click "Publish.
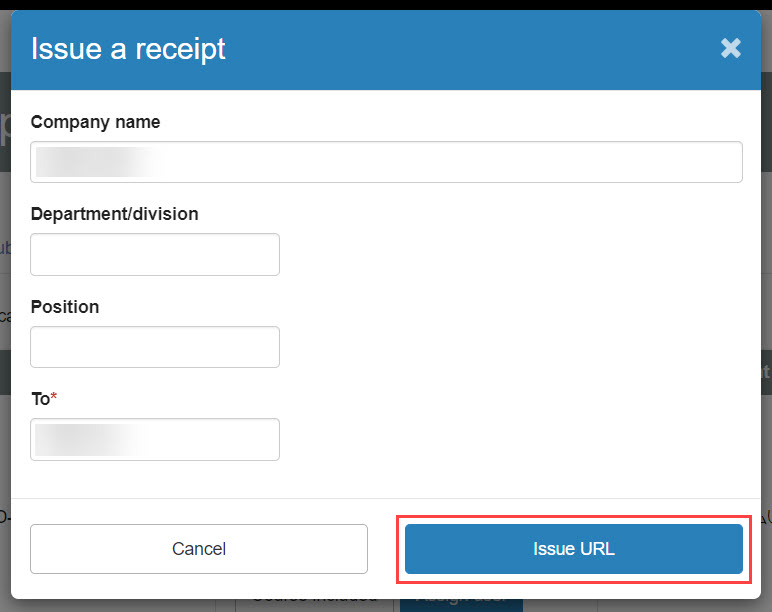
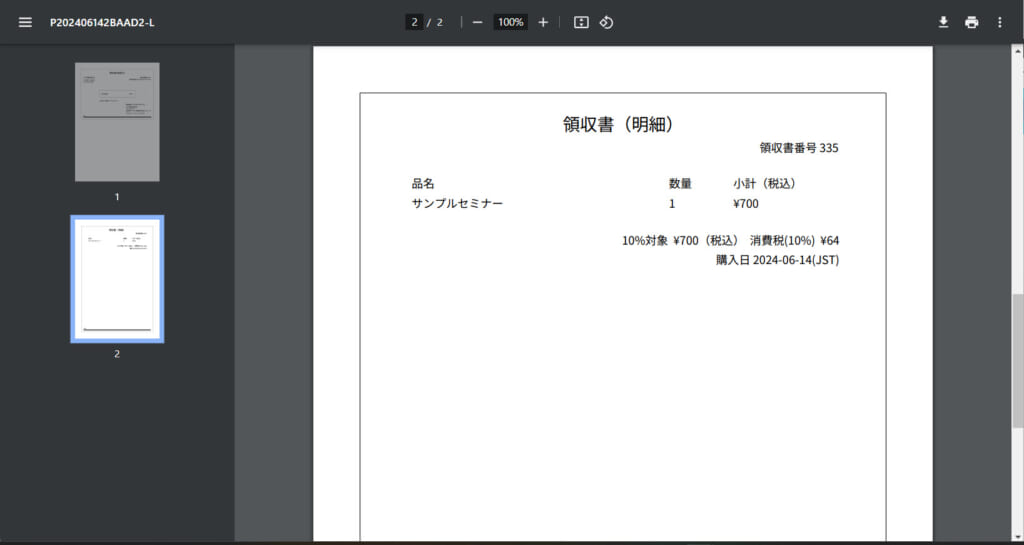
Receipts are issued in PDF format.
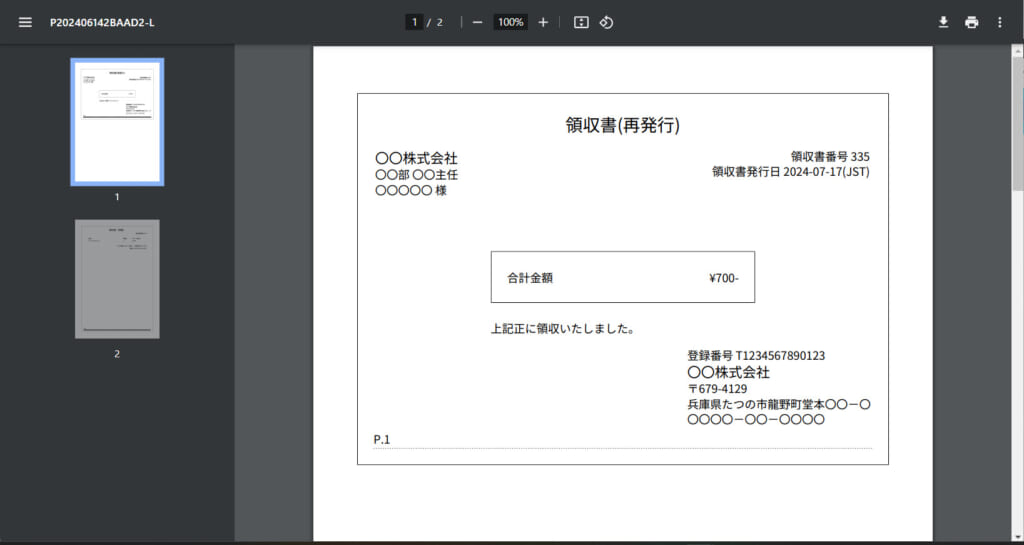
The second sheet of the receipt will contain a detailed statement.
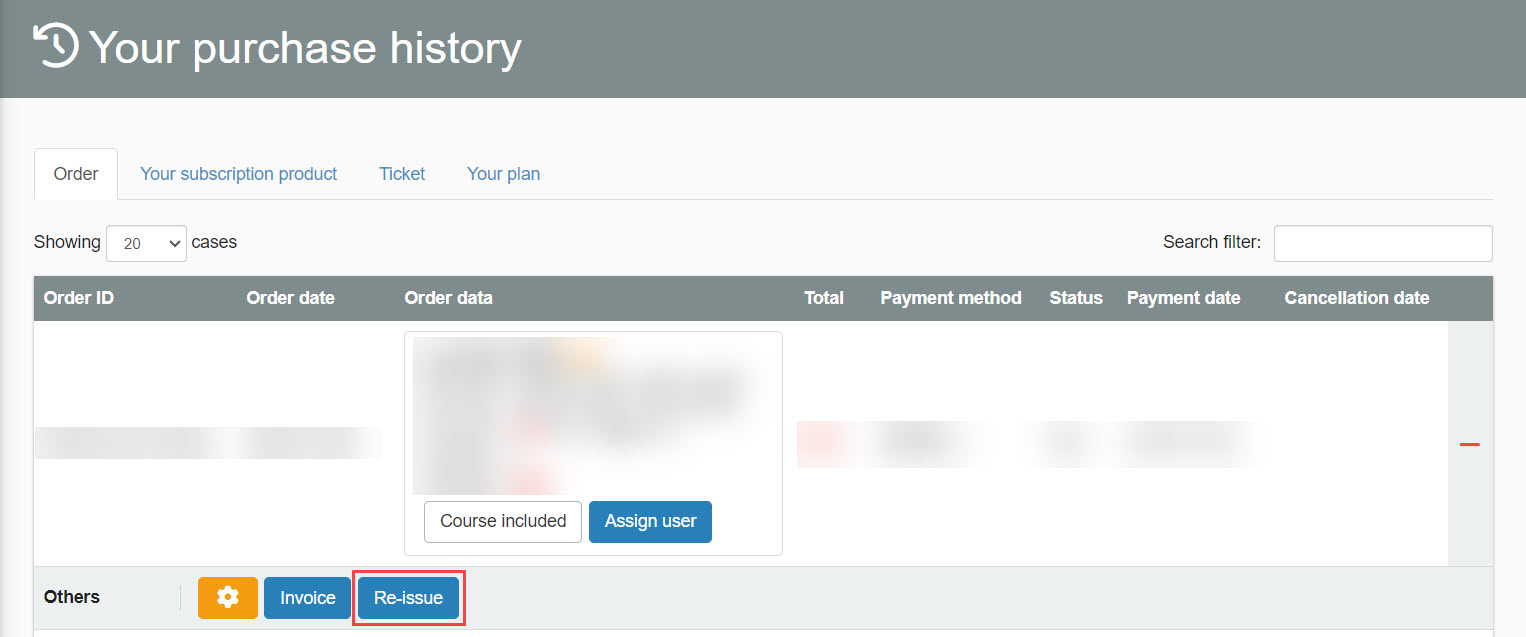
Reissue of receipts
Once issued, receipts can be reissued.
Open the "Orders" tab of the "Purchase History" screen.
Click "Reissue" for the subject order.
Receipt Management
Receipts are managed on the "Sales Management" screen.
Here you can check your receipts and download them all at once.
*For more details, refer to Sales Management.Please refer to "Checking and Downloading Receipts" in the "Receipts" section.