Manage sales (for stakeholders)
The person concerned can check the detailed information about the order of the product/seminar for which he/she has been set as the concerned party.
Here, products/seminars are separated by tabs.
*This screen is opened by selecting "Sales Management (for related parties)" in the side menu.
Required
Customization options, EC options, organizer/stakeholder, EC function access rights
goods
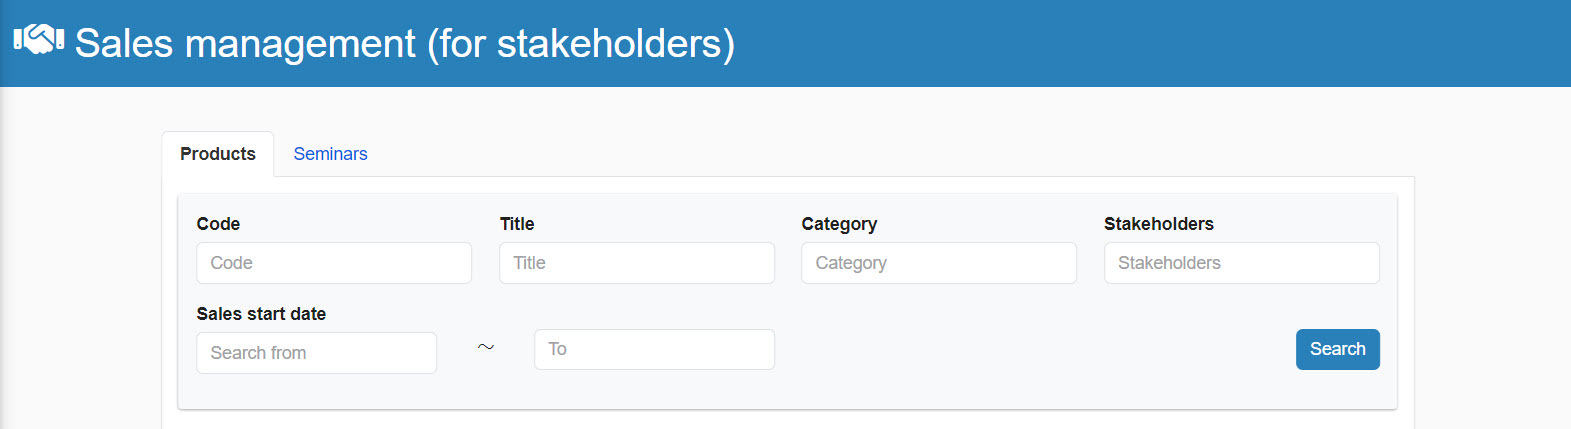
01. Product Search
There is a search field at the top of the screen.
Here you can filter products according to code, title, or other criteria.
02. Listing of products
Products matching the 01 search criteria are listed at the bottom of the screen.
*The information can be exported by clicking on the "CSV Export."
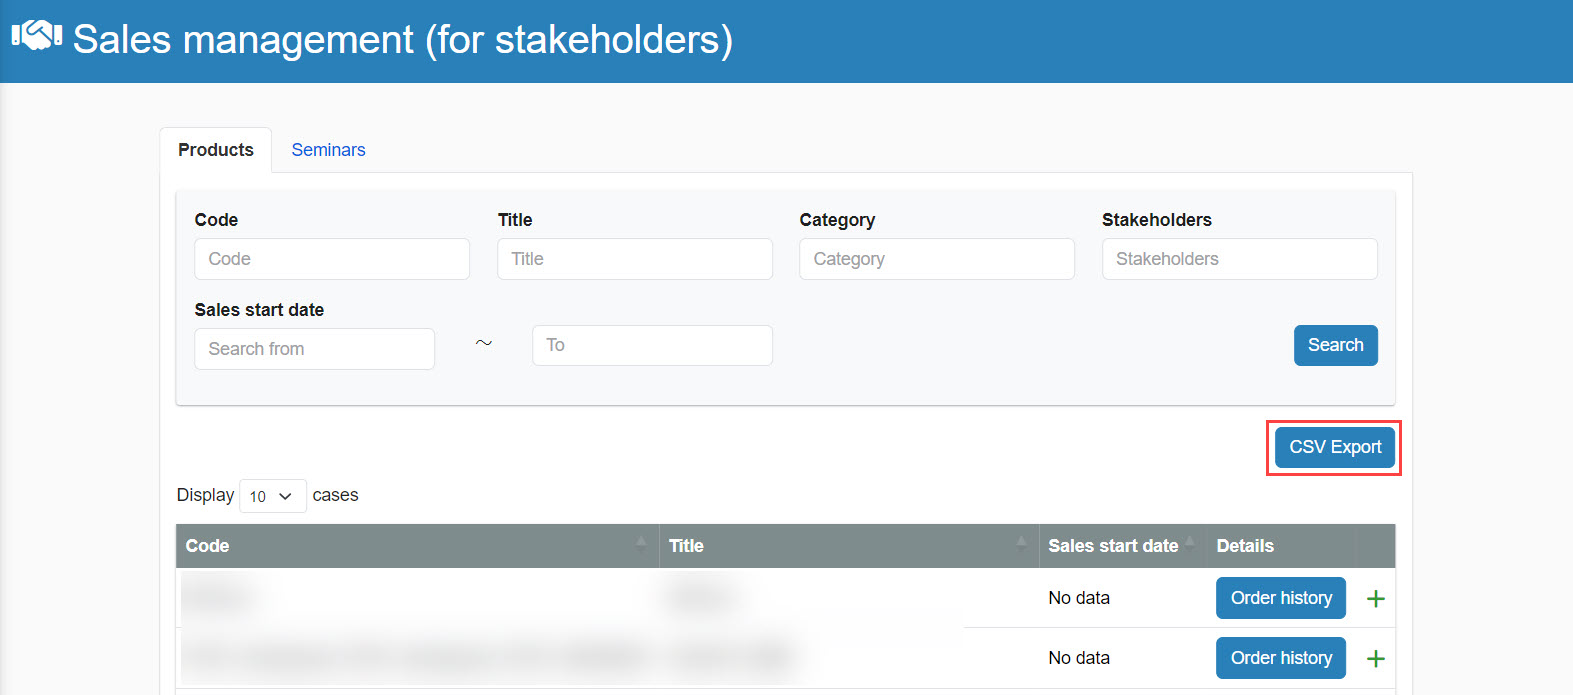
03. Check order history by product
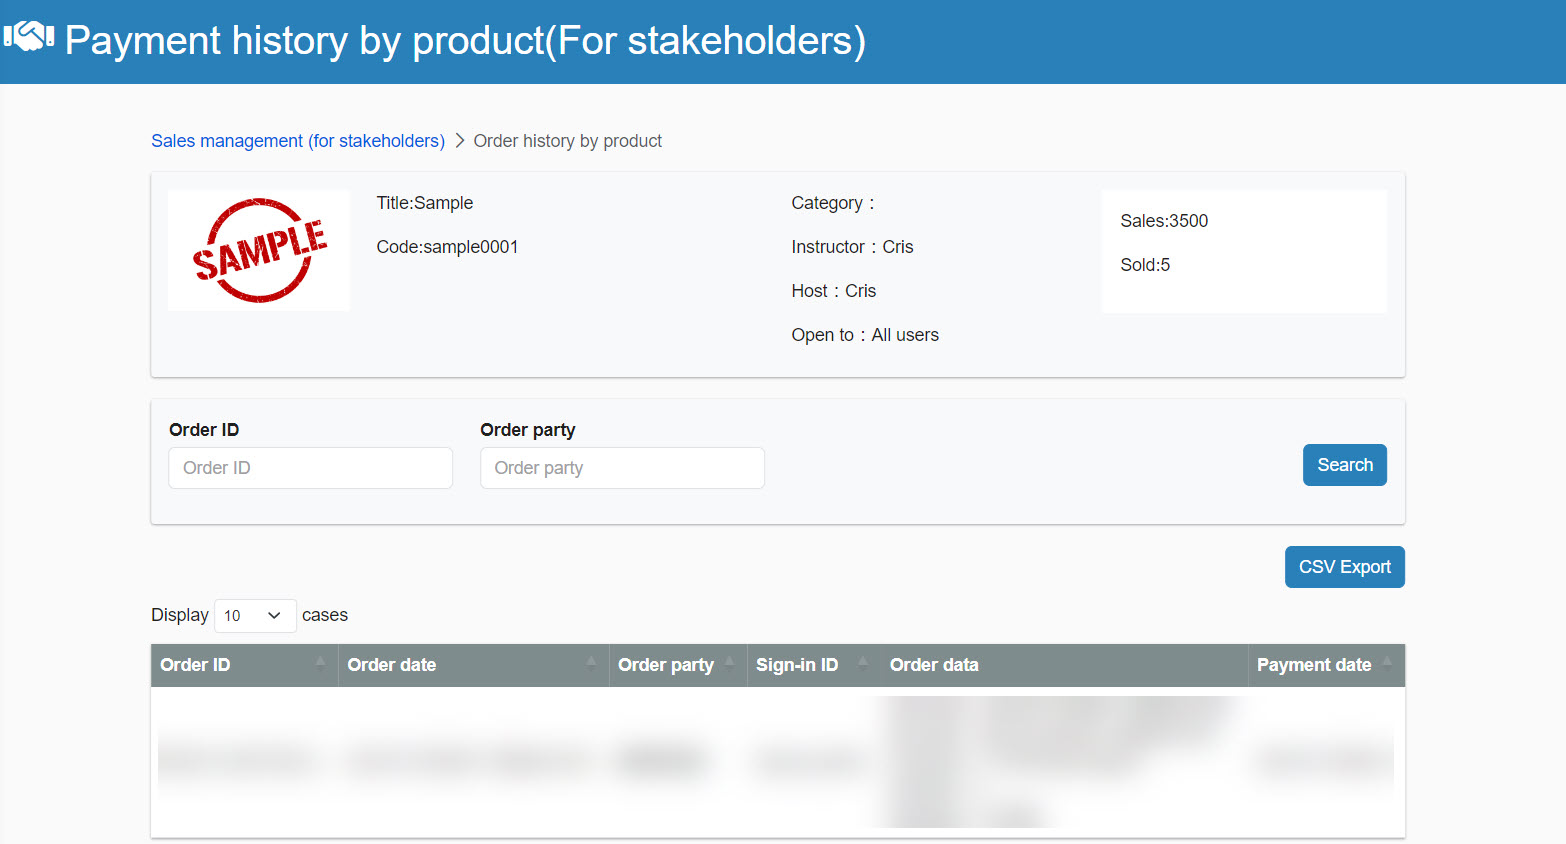
Click the "Order History" button for each product to open the following screen.
You can check the status of your order here.
It is also possible to search based on "Order ID/Order Person" information or download the displayed contents from "CSV Output".
Seminar
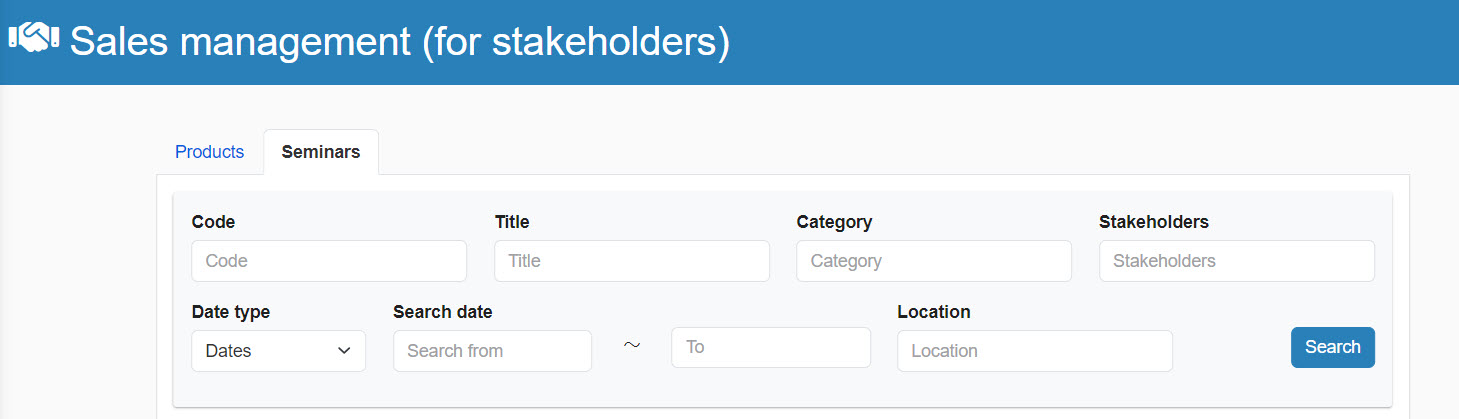
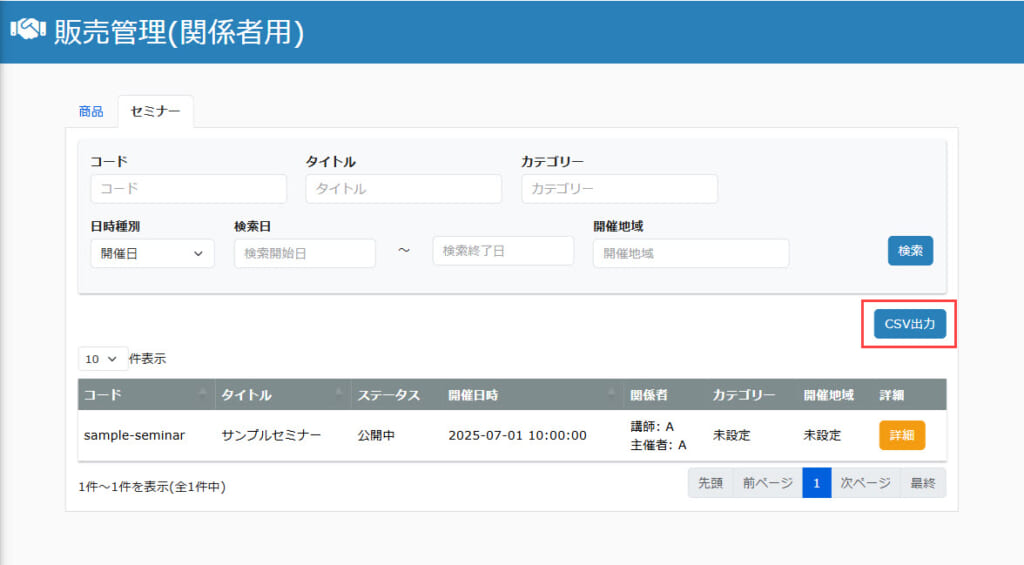
01. Seminar Search
There is a search field at the top of the screen.
Here you can narrow down the seminars according to code, title, and other criteria.
02. Listing of seminars
Seminars that match the 01 search criteria are listed at the bottom of the screen.
*The information can be exported by clicking on the "CSV Export."
Check order status by seminar
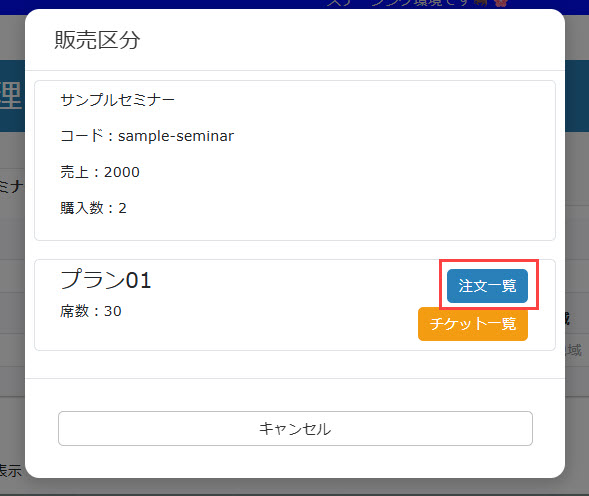
01. Open the Order List screen.
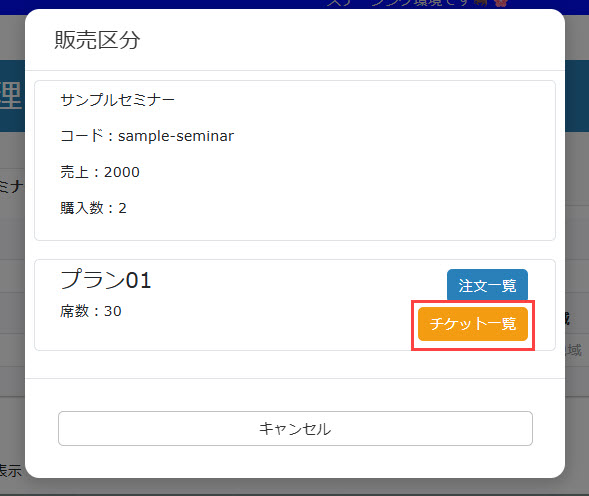
On the "Sales Management (For Related Parties)" screen, click the "Details" button for each seminar to open the following pop-up window.
Please click here "Order List".
You will then see the "Order List" screen, where you can check the status of your orders for each seminar.
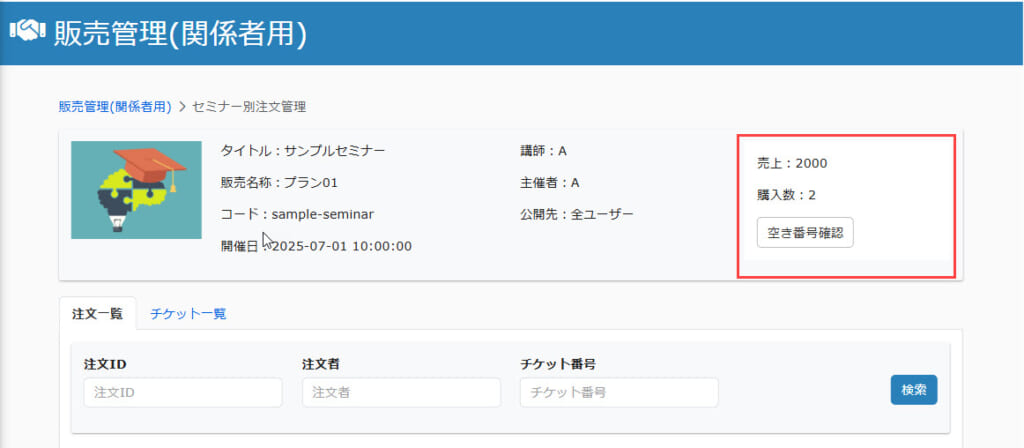
02. Check order status
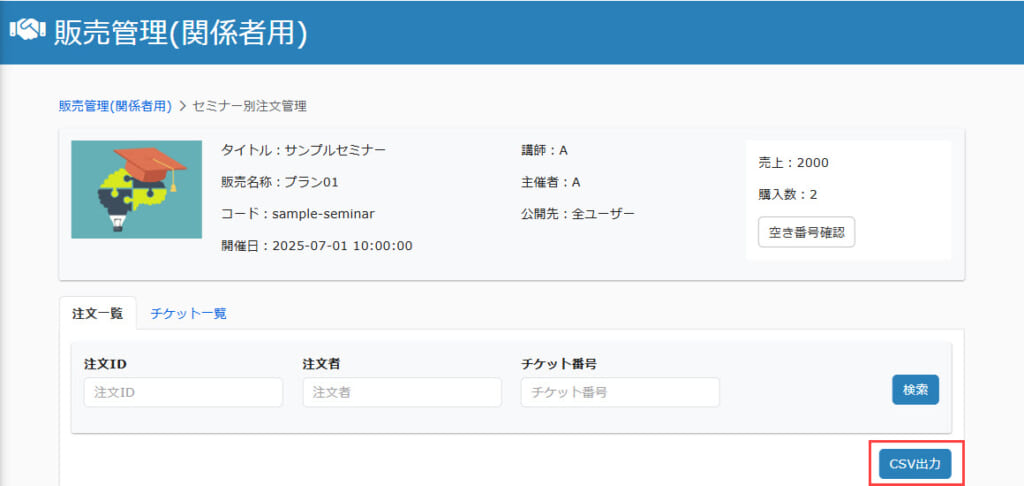
In the upper right corner of the screen, you can see the number of seminars sold/seminars purchased.
You can also click on "Check Availability Number" to check the availability of seats for the seminar at the venue.
03. Order Retrieval
You can narrow down the orders to be displayed based on information such as order ID and the person who placed the order.
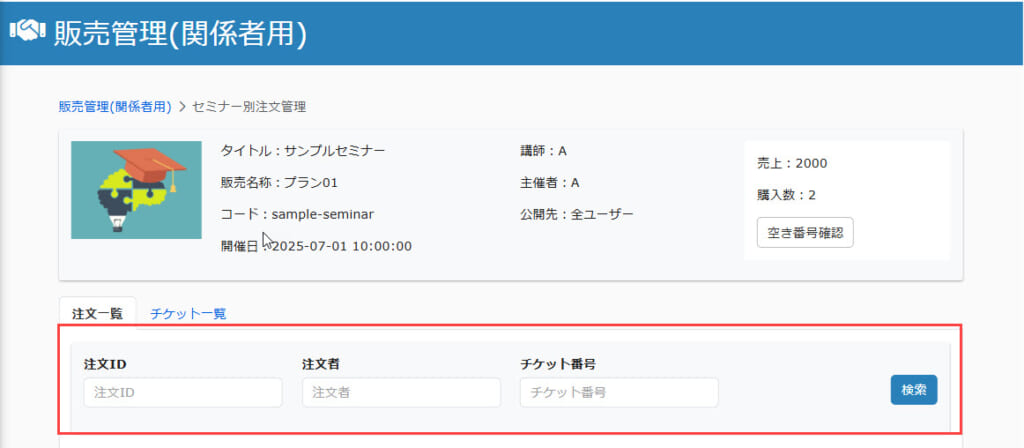
04. Listing of orders
Orders matching the 03 search criteria are listed at the bottom of the screen.
*The information can be exported by clicking on the "CSV Export."
Manage attendance by seminar
For each seminar, the following operations are available
- Confirm ticket
- Manage attendance
- Scan QR code for attendance
<Confirmation of Ticket
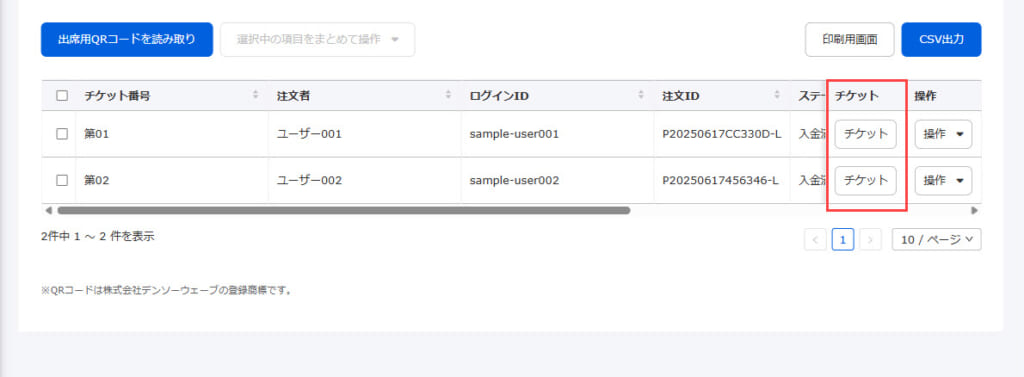
01. Ticket list
On the "Sales Management (For Related Parties)" screen, click the "Details" button for the seminar in question.
Click on "Tickets" on the pop-up window.
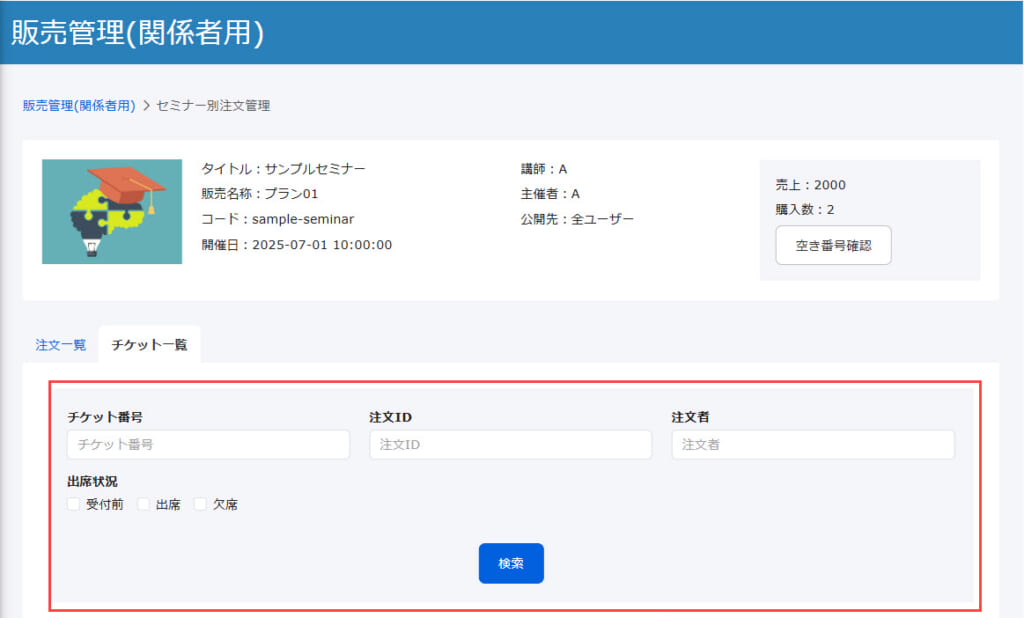
02. Search ticket
You can narrow down the tickets to be displayed by ticket number, order ID, or other information.
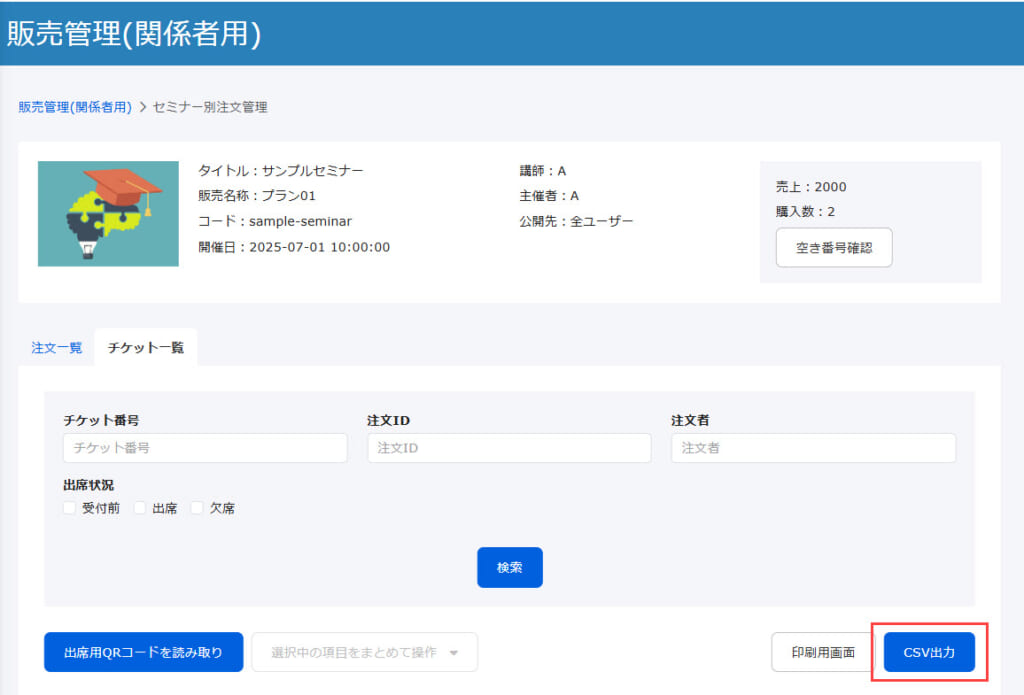
03. Ticket list
Tickets will be listed under the search field.
*The information can be exported by clicking on the "CSV Export."
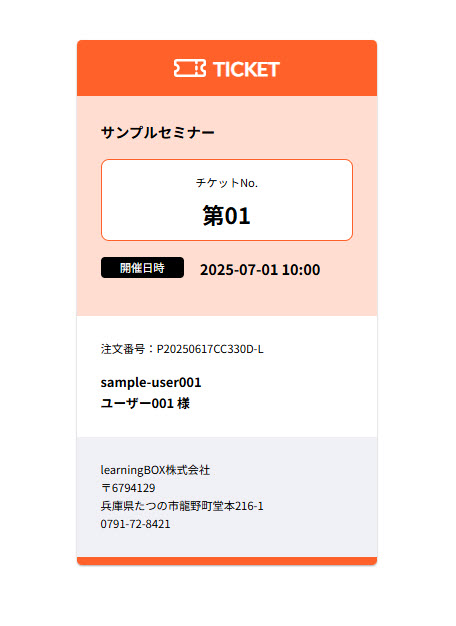
04. Confirm the ticket details
Click on the button for the ticket in question.
Ticket details will be displayed in another tab.
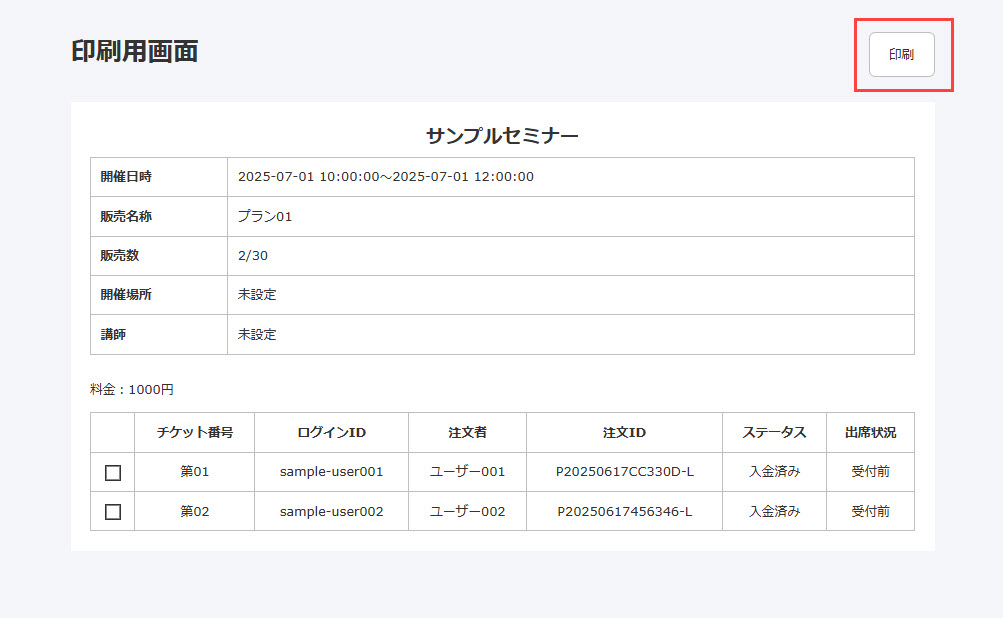
05. Print ticket list
You can preview the ticket list by clicking the button in the red frame.
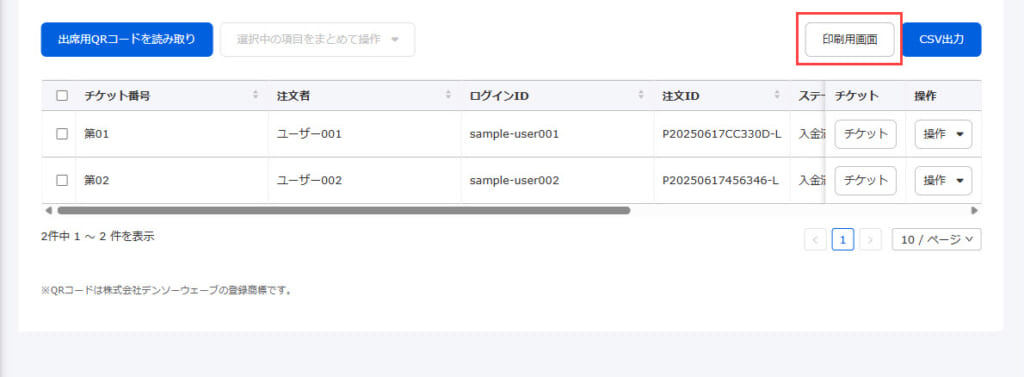
Click "Print" to print the page.
<Attendance Management
You can manage seminar attendance.
The following two methods are available:
▼ How to do it individually
On the "Tickets" tab, click "Action," and select "Change attendance status."
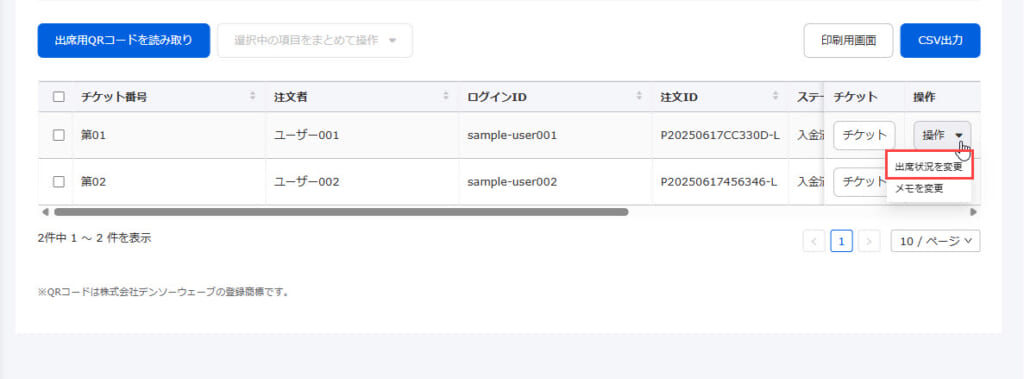
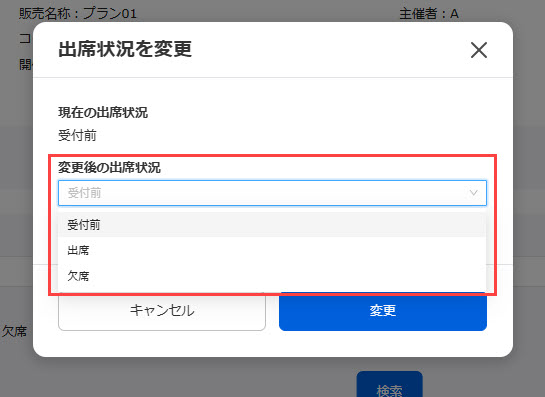
The following window will be displayed.
In this window, you can check the current attendance status.
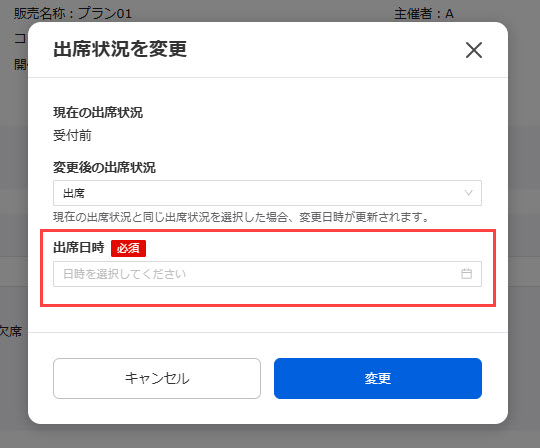
Select an attendance status after change from the list.
When "Attend" is selected, specify the date and time from the calendar.
When all settings are completed, click "Edit."
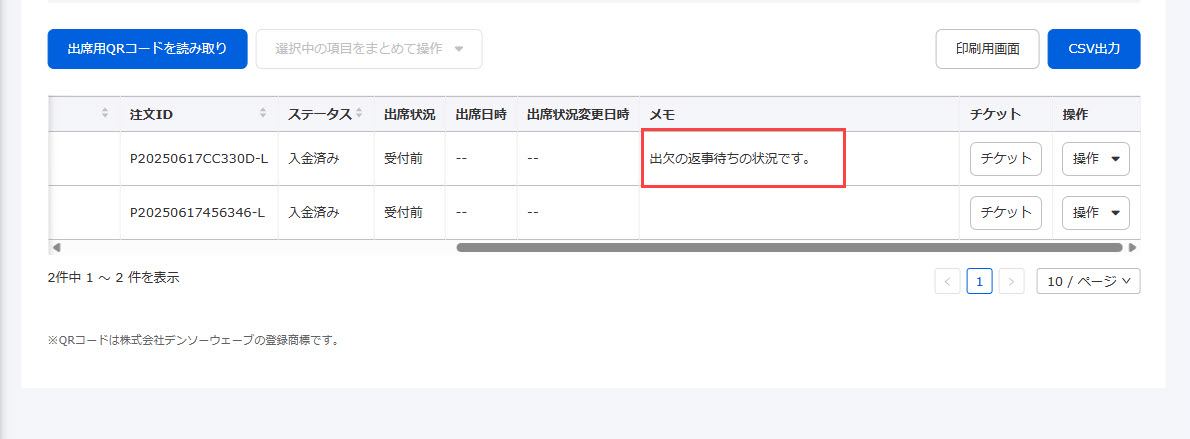
You can leave a note if necessary.
Click on "Actions" and select "Change note."
The following window will be displayed.
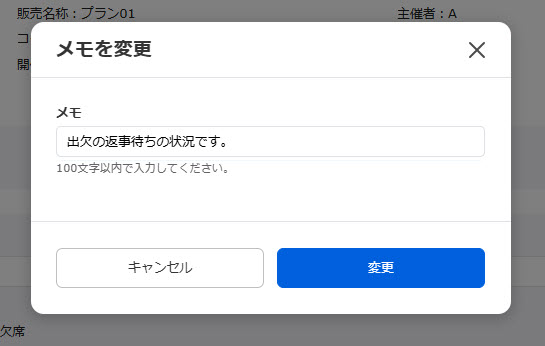
You can review the notes in the note section.
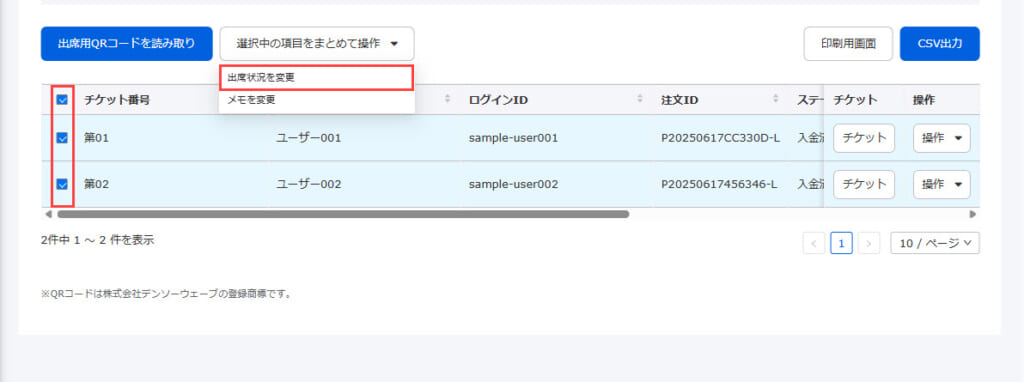
▼ How to do it in batches
Select items to change the attendance status.
Click "Action" and select "Change attendance status."
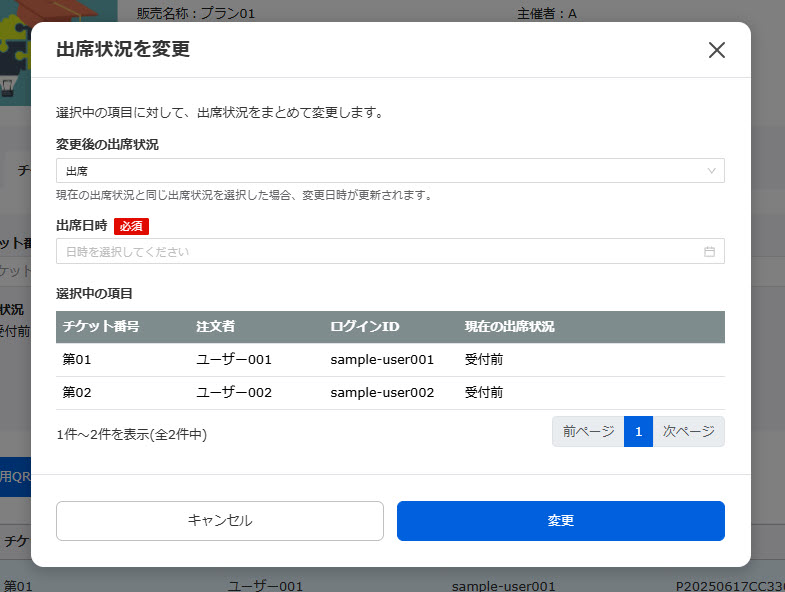
The following window will be displayed.
The attendance status for each ticket will be listed.
Select an attendance status after change from the list.
If you select "Attendance," please specify the date and time of your attendance from the calendar.
When all settings are completed, click "Edit."
You can leave a note if necessary.
Tick the boxes you wish to leave a note on.
Click on "Action" and select "Change note."
The following window will be displayed.
You can review the notes in the note section.
<Read the QR code for attendance
When the attendance status is "Registered" or "Absent", the status will be changed to "Attend" by scanning the QR code by the learner.
*If the attendance status has already been "Attend," this action is not available.
▼ Steps
On the Ticket page, click on "Scan attendance QR Code.
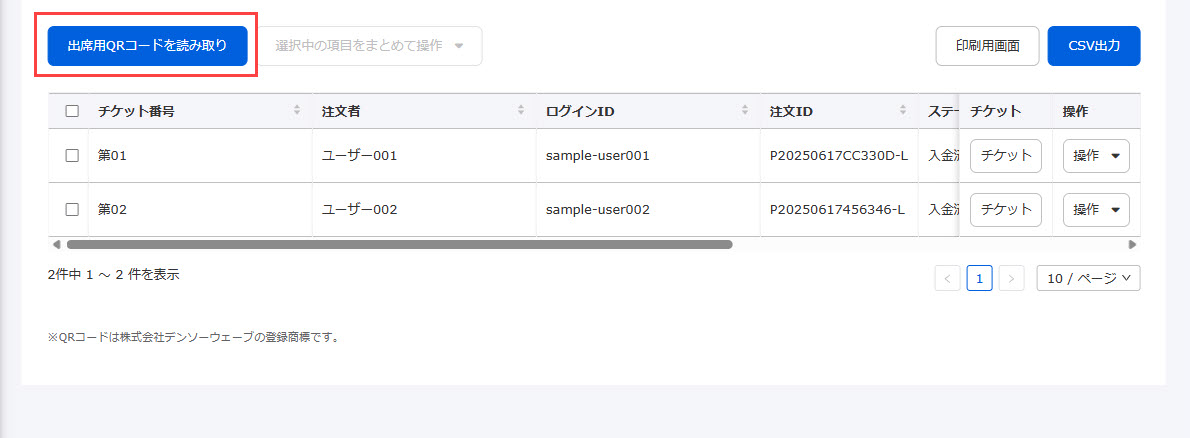
The QR code will be displayed.
If the code is successfully scanned, the ticket information will be displayed.
Change the attendance status to Attend.
You can change the camera by clicking the gear icon in the upper right corner of the QR Code scanner.
The selected camera will be applied to the next and subsequent actions.
Action by learners
Learners who have purchased a seminar can display the QR code of the seminar whose attendance status is "Not Accepted" or "Absent" on their own screen.
*For more details, refer to Purchase historyPlease refer to "Displaying QR Codes" in the "QR Code" section.