Grading workflow
You can apply a grading workflow that requires approval at each stage after a learner completes content.
Additionally, you can create custom prompts as supplemental information to help the AI perform more accurate analysis when generating feedback.
Required
Management role of Grade manager (Edit all users & content)
Access the setting page
Select "Manage grades" > "Grading status" from the side menu.
Click on "Grading workflow" in the upper right corner of the page.

Apply grading workflow
The steps are as follows:
1. Approval before grading
2. Grading
3. Approval after grading
Each of these is explained below.
Approval before grading
You can approve or reject the submissions before grading.
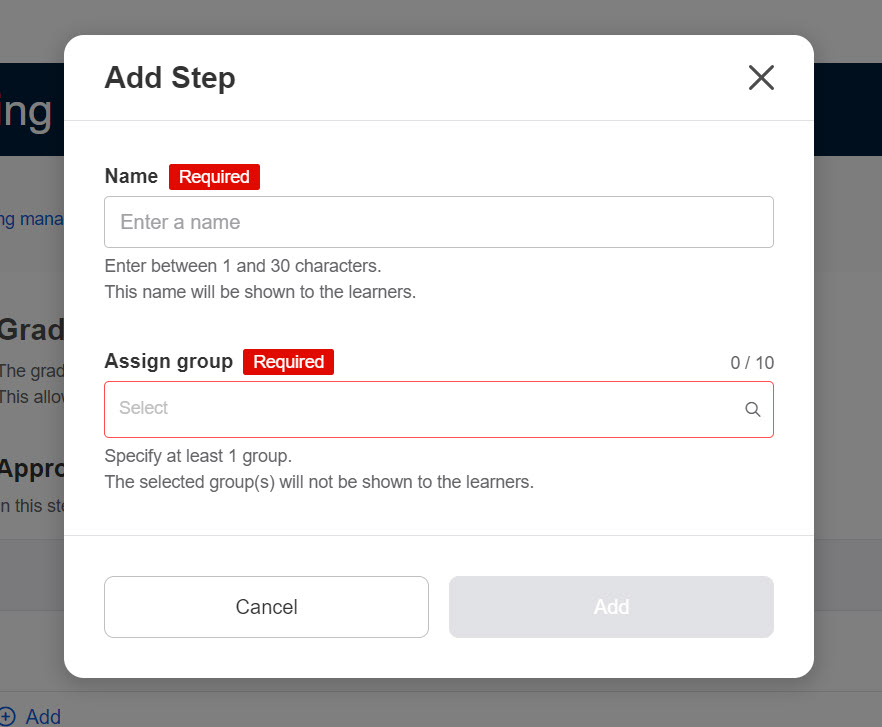
Click on "+Add."

Enter the step name and select a group(s) you are in charge of.
*Up to 5 steps can be added.
The number displayed in "Assigned group" represents how many groups were selected for that step.
Click it to view a list of the group names.
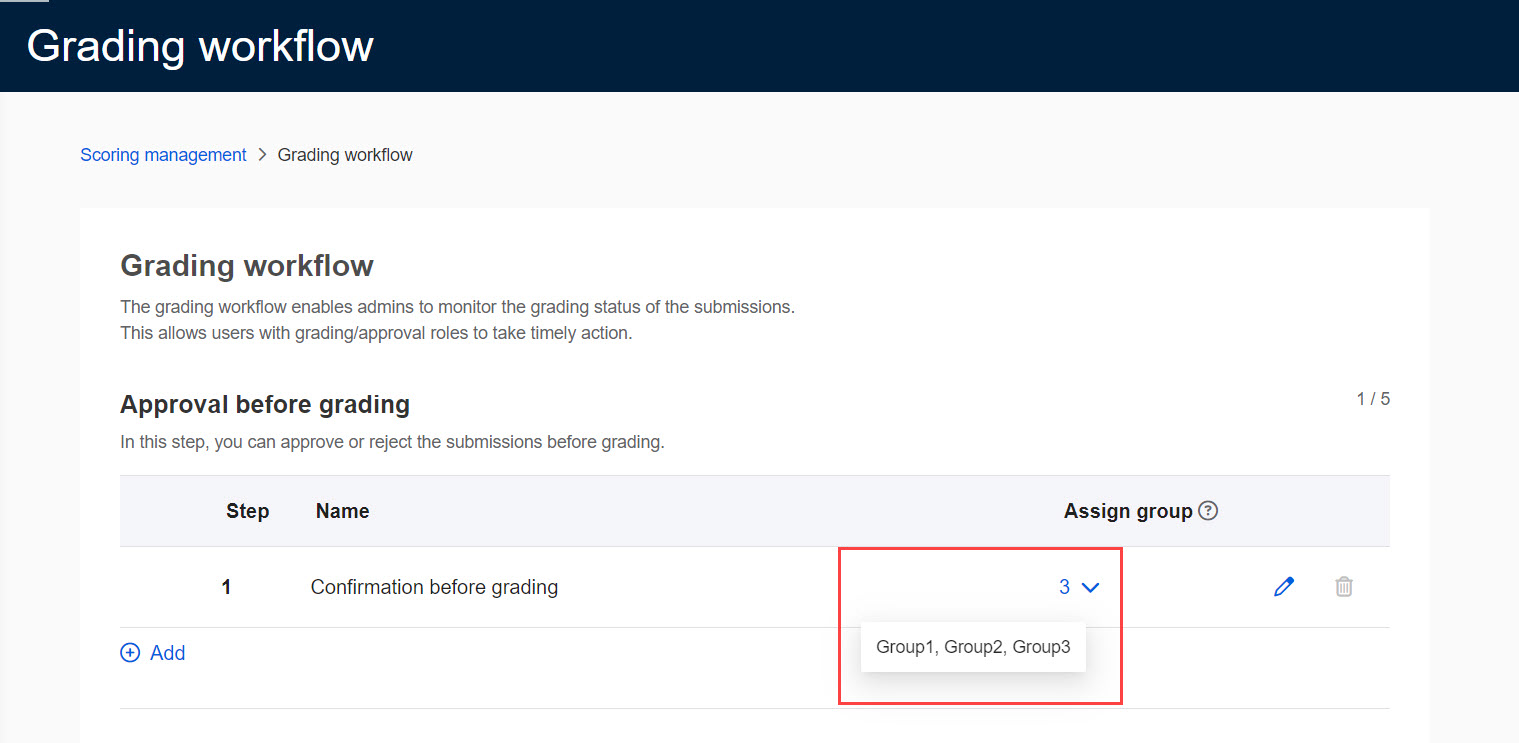
At least one step must be set for the "Approval before grading."
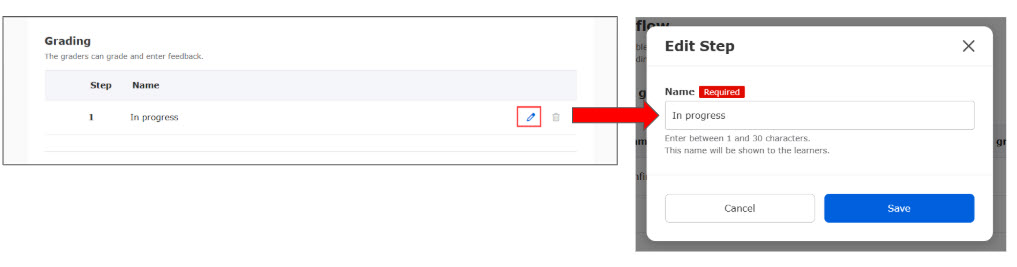
Grading
You can edit the name of the "Grading" step by clicking the pencil icon.
Approval after grading
You can set an approval phase for completed grades before they are returned to the user.
*For more details, refer to Approval before grading.
The "Approval after grading" is optional.
Save your changes once all settings are complete.
Note
- Editing these settings will not affect submissions currently in progress within the flow.
- Step names cannot be duplicated within the same phase, but can be duplicated across different phases.
AI report analysis and feedback settings
Custom prompts can be created for the following two types of feedback:
- Section feedback
- Overall feedback
Each is separated by tabs.
For the settings, refer to the following:
01. Create custom prompt
Click on "+ Create custom prompt."

02. Fill in the form
The following window will appear.

Fill in each item.
▼Title (Required)
Enter a title for the custom prompt (up to 60 characters).
▼ Description
Enter a description of the prompt's features or purpose (up to 1,000 characters).
▼Prompt (Required)
Enter the prompt (up to 300 characters).
03. List of custom prompts
The custom prompts you have created will be listed.

04. Edit/delete custom prompts
You can edit or delete your created custom prompts.
Select the "︙" icon > "Edit/Delete"

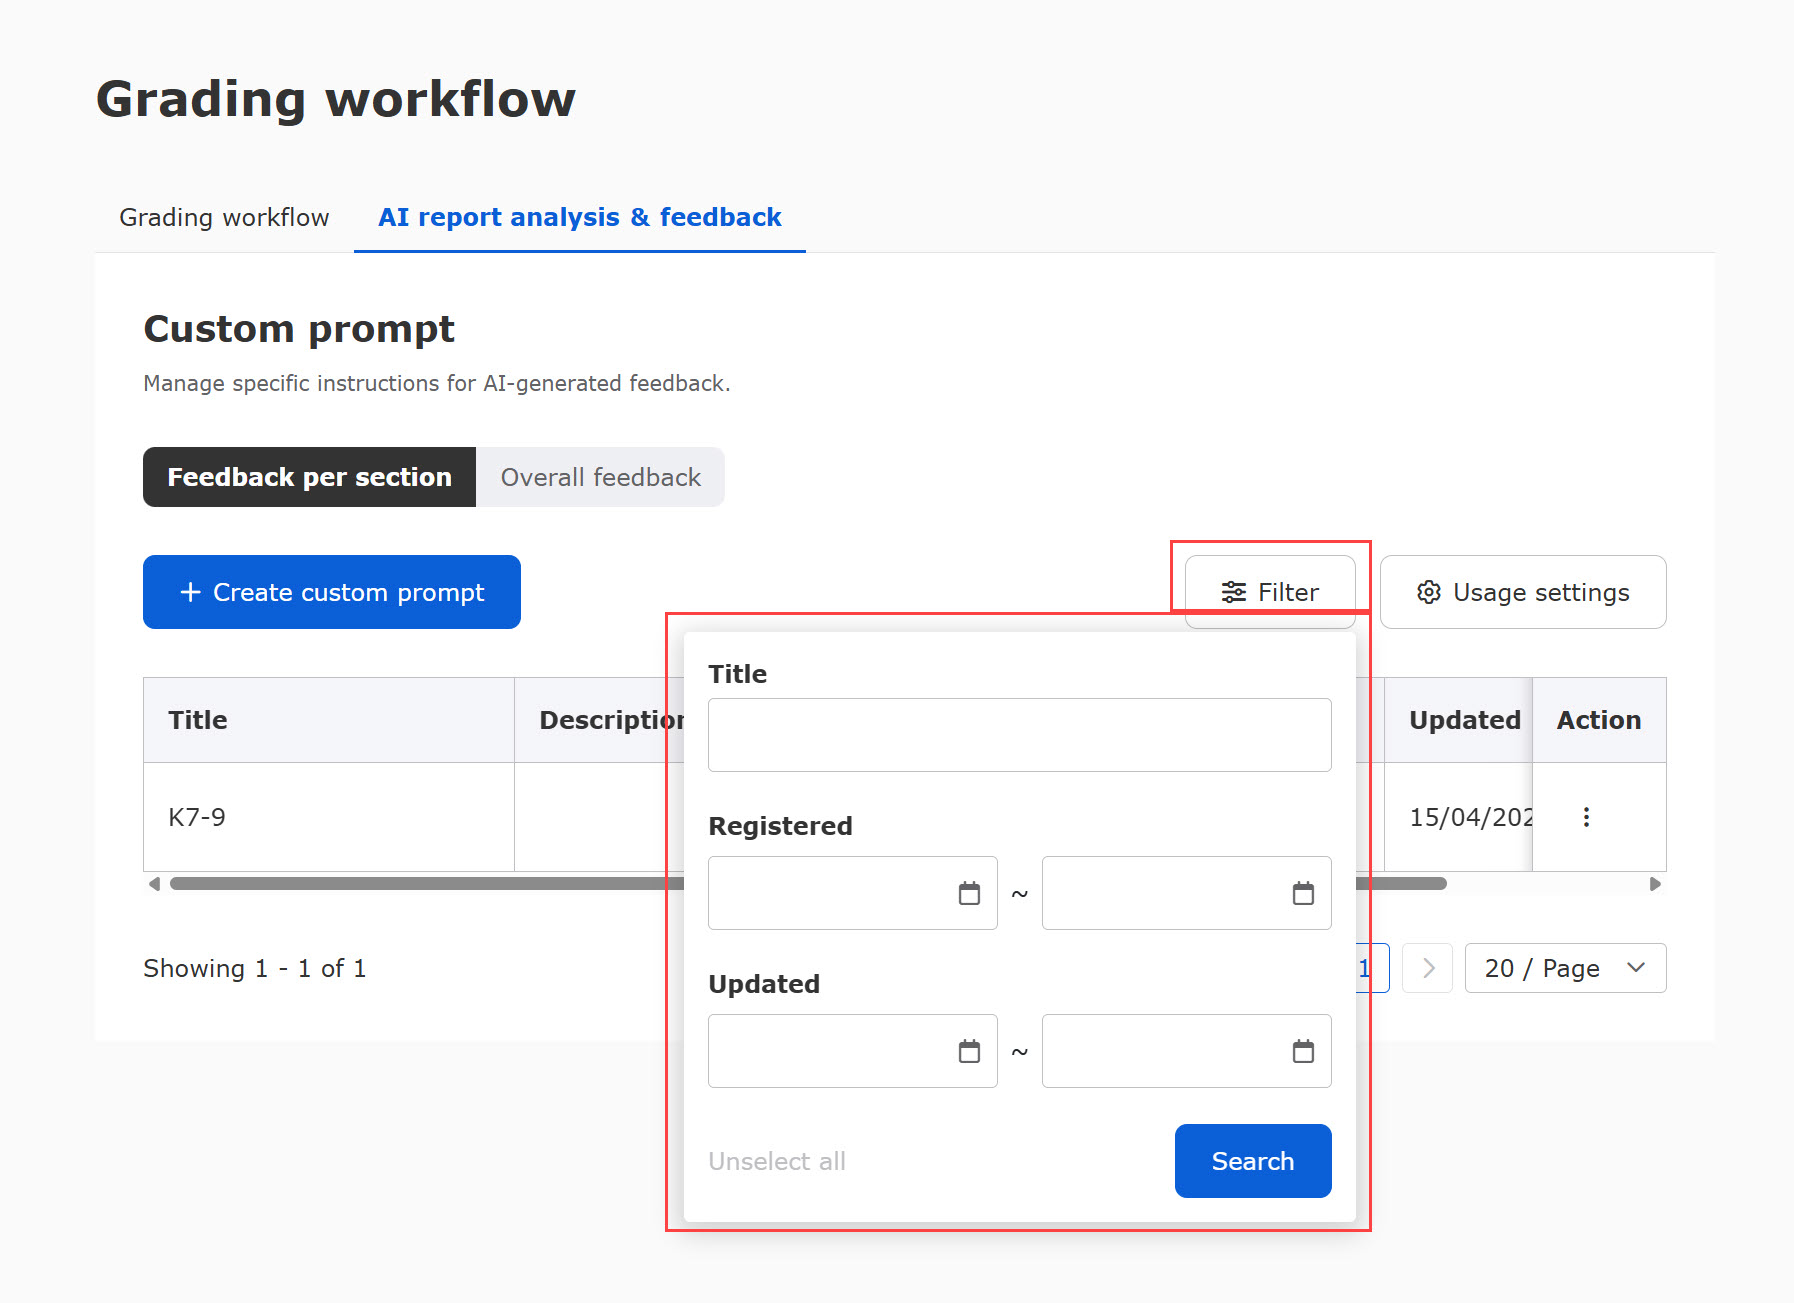
05. Filter custom prompts
You can filter the displayed custom prompts.
The following three items are available:
- Title
- Registered
- Updated
06. Usage settings
Click on "Usage settings."
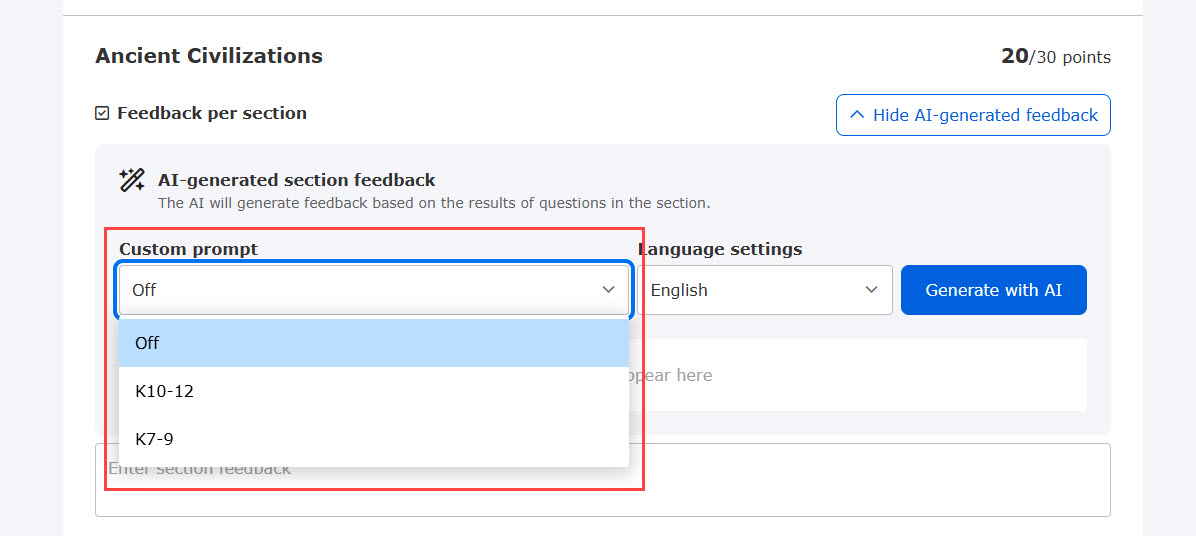
You can set whether a custom prompt is mandatory when the AI generates feedback.
The following two options are available:
- Required: Custom prompts are required
- Optional: You can choose not to use custom prompts

▼If required
You must select one of your created custom prompts.
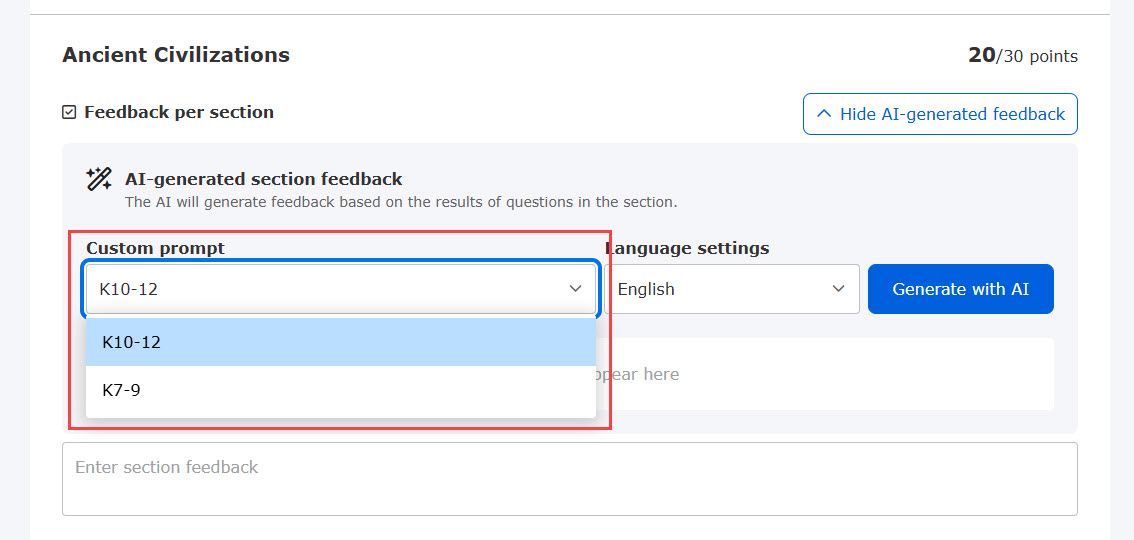
▼If optional
You have the choice to skip using a custom prompt.