SCORM
SCORM 1.2 complaint content can be uploaded to learningBOX.
Upload SCORM content
01. Create a course
First, create a course in the Manage contents.
*To find how to create a course, refer to Course/Folder.
02. Open the SCORM page
Click on a course you created.
In the upper left corner of the screen, select "+ New" > "Teaching Materials" > "SCORM Teaching Materials".
03. Settings

Enter a title.
Click on "Choose File" to upload your SCORM file.
Click on "Create."
Download SCORM content
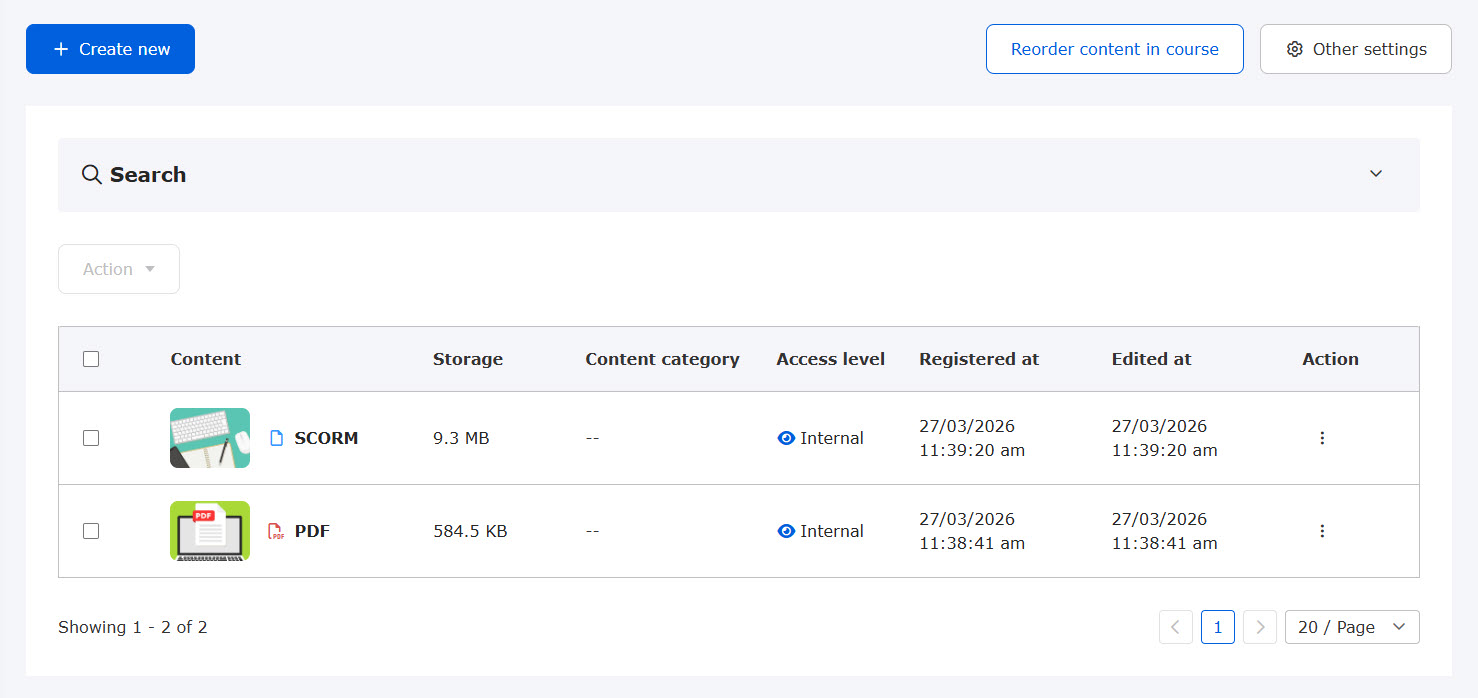
The created SCORM materials can be downloaded.
Select Manage contents on the side menu.
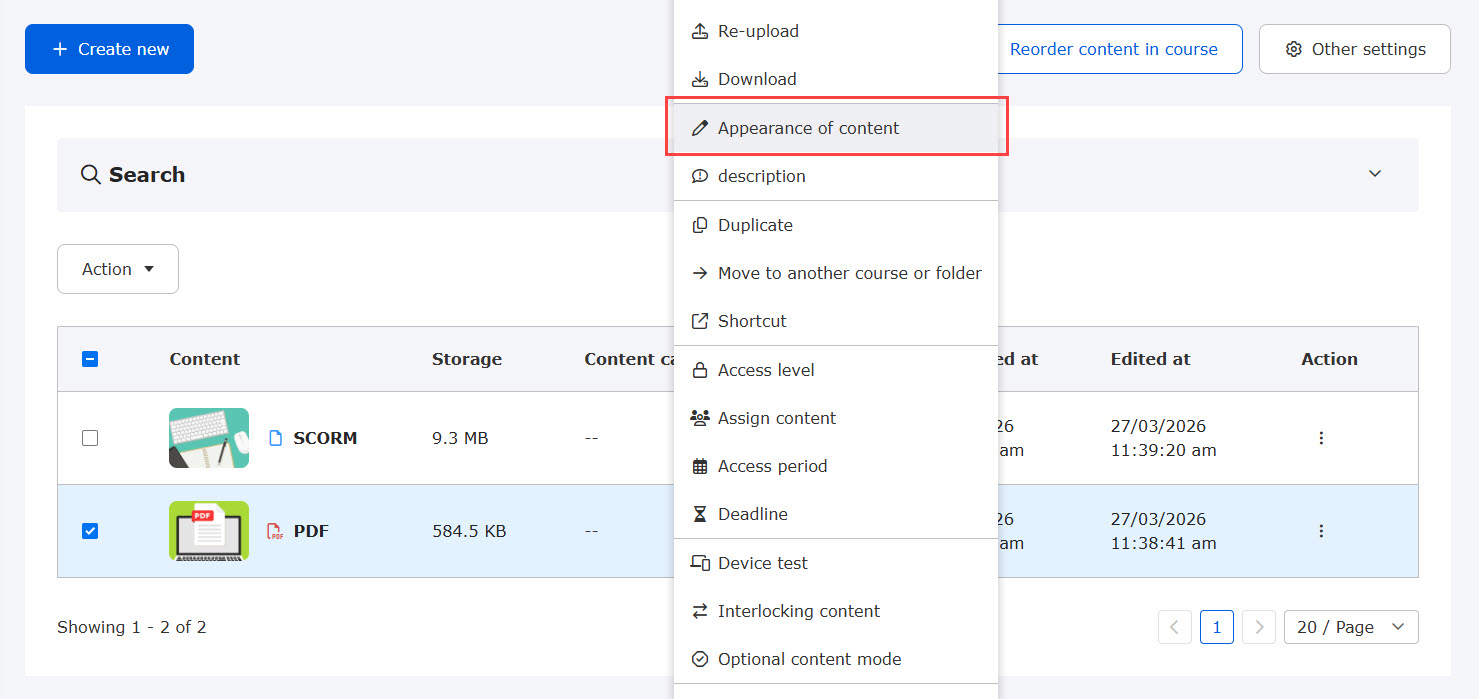
Right-click on the target SCORM material or select the "︙" icon > "Download".
It will be downloaded in zip format.
Re-uploading SCORM content
Re-uploading allows you to overwrite the SCORM content that you have created.
Select Manage contents on the side menu.
Right-click on the target SCORM material or select the "︙" icon > "Re-upload".
Redirect to content
When using SCORM content, you can specify and redirect to another content.
01. Set the destination code
In your SCORM, specify any code in the "sco_code" column.
"sample_01" is entered as an example.
Enter the code as follows:
02.Upload SCORM content
Click on the course.
In the upper left corner of the screen, select "+ New" > "Teaching Materials" > "SCORM Teaching Materials".
After entering the title, upload the SCORM material from "Select File" and click "Create".
03. Create a destination content
Create content which you want to redirect to.
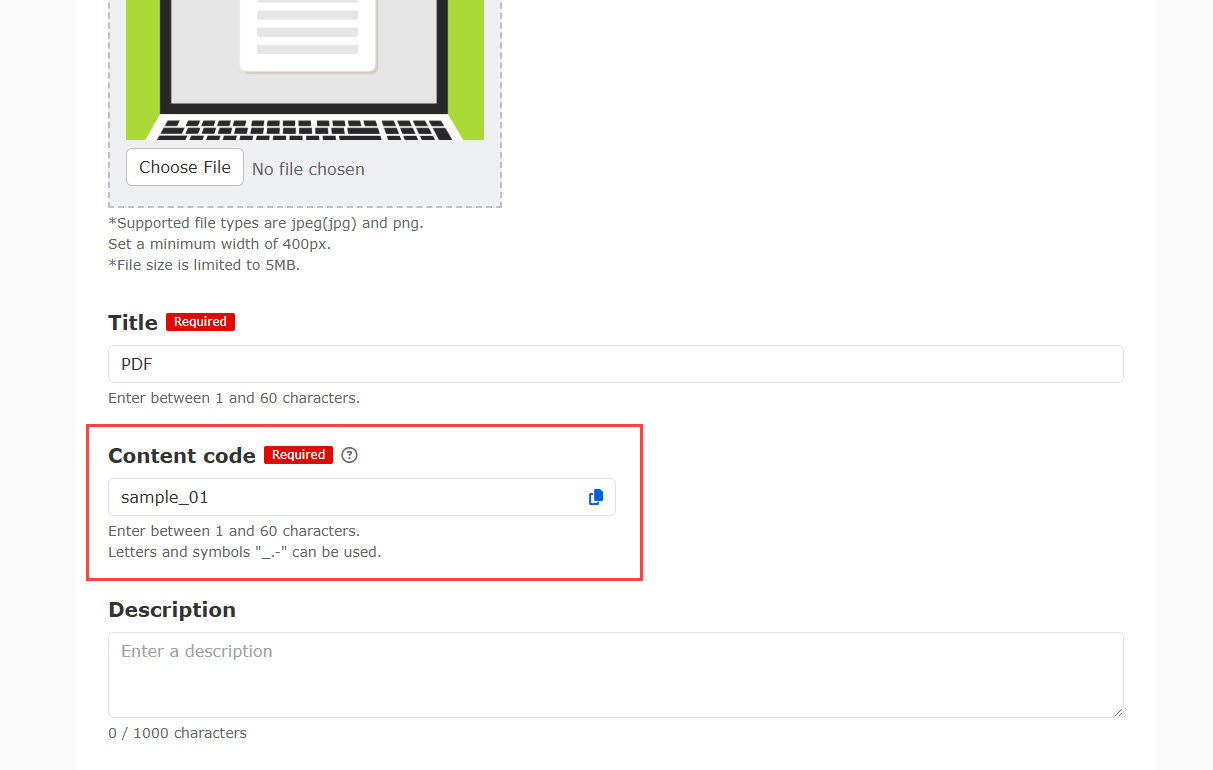
In the following image, a PDF file is uploaded as an example.
04. Open the Basic Information page
Set the "content code" for the created content.
Right-click on the target content or click on the "︙" icon and select "Edit Basic Content Information".
05. Set content code
Enter the code specified in Step 01 and save it.
In this case, "sample_01" is entered.