Edit user
This page explains how to edit user information.
The user information includes Basic information, Profile picture, and Detailed information.
Required
Management role of Group manager (Edit)
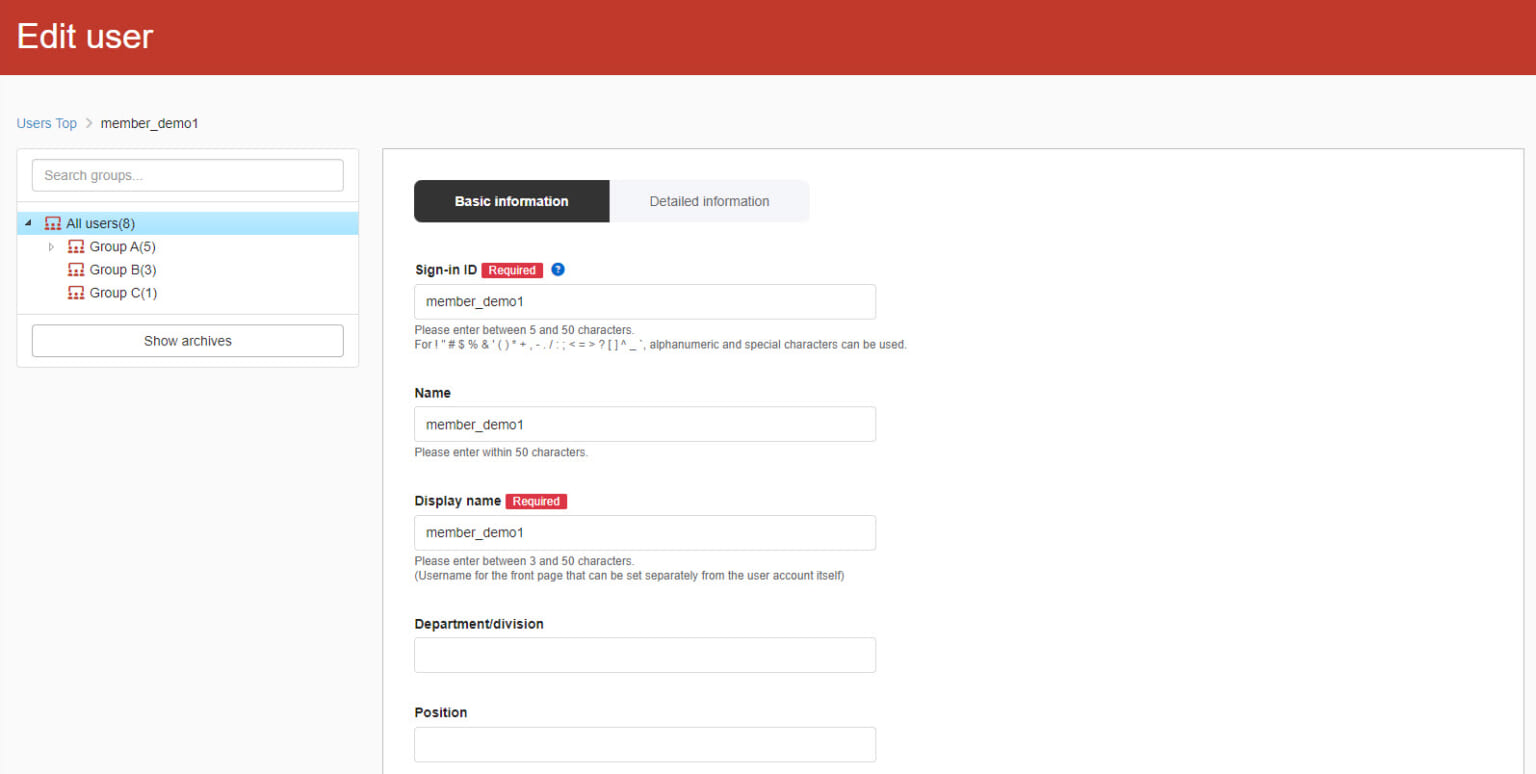
Basic information
Basic information includes the sign-in ID, email address, groups and so on.
01. Go to Manage users
Click on the user name and select the Basic information tab.
02. Edit user information
Edit the item(s) on this page.
*For more details on each item, refer to Add user.
03. Resend invitation email
This page explains how to resend an invitation email to users.
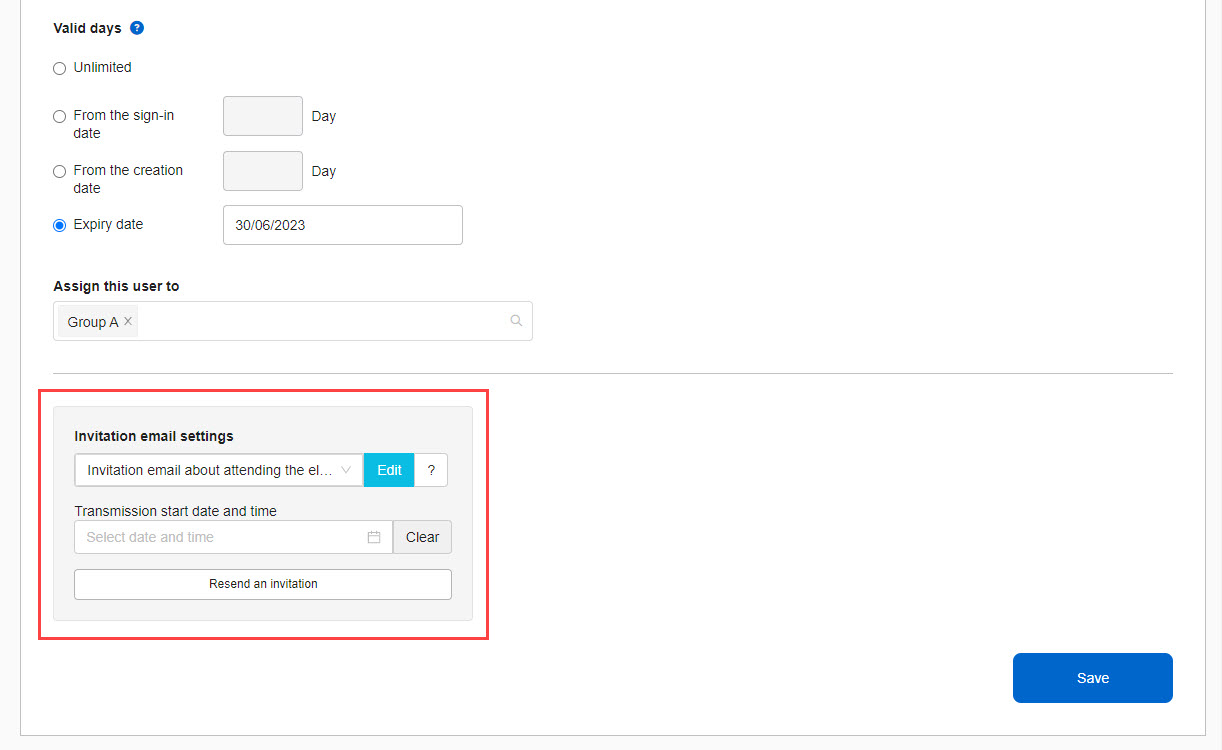
Scroll down to the Invitation email settings, and edit or select a template.
To specify the date to resend an invitation, click on the "Select date and time." When the settings are completed, click "Resend an invitation."
Password change
You can allow users to change their registered passwords when resending invitation emails.
*For more details, refer to Password settingsPlease refer to "Setting up a password change when resending an invitation e-mail" in the "How to change your password when resending an invitation e-mail" section.
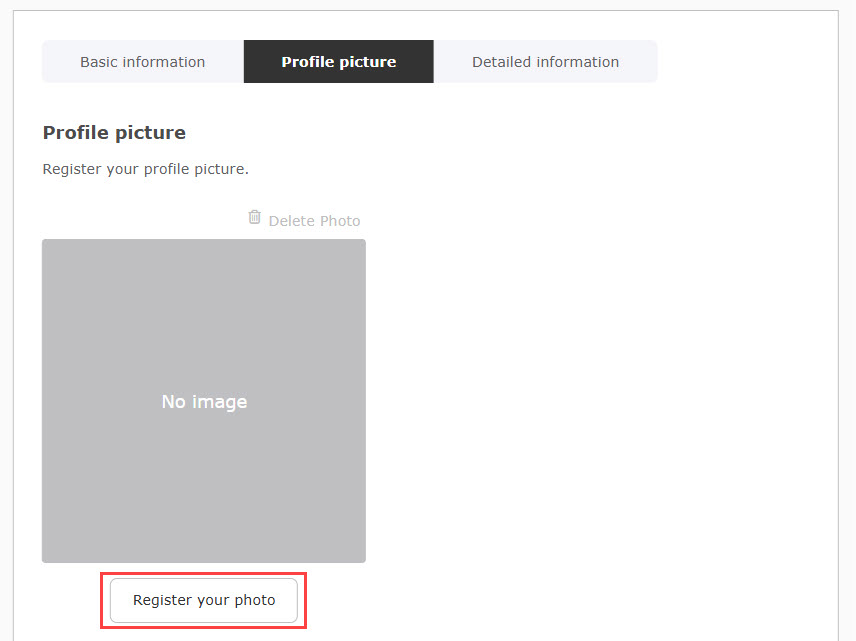
Profile picture
The user's own photo can be registered.
The "Personal Photo" service is available for customers who sign up for a Standard or higher plan and then purchase the "Personal Photo" service. Account sign-up settingsYou must activate the usage settings on the "Use" screen.
01. Go to the registration form
Click on the Register your photo.
02. Register a photo
Drag and drop, or upload a file from Upload file.
When the upload is complete, click the Crop picture.

After the cropping, click the Next.
After the facial recognition by AI, click the Register.
03. Delete photo
Click the Delete profile picture to delete.
04.Consent to the use of the person's photograph
If you wish to use your own photo for fraud prevention or certification, please check the Consent to Use box.
*Be sure to obtain confirmation from the user before making any changes to the consent settings.
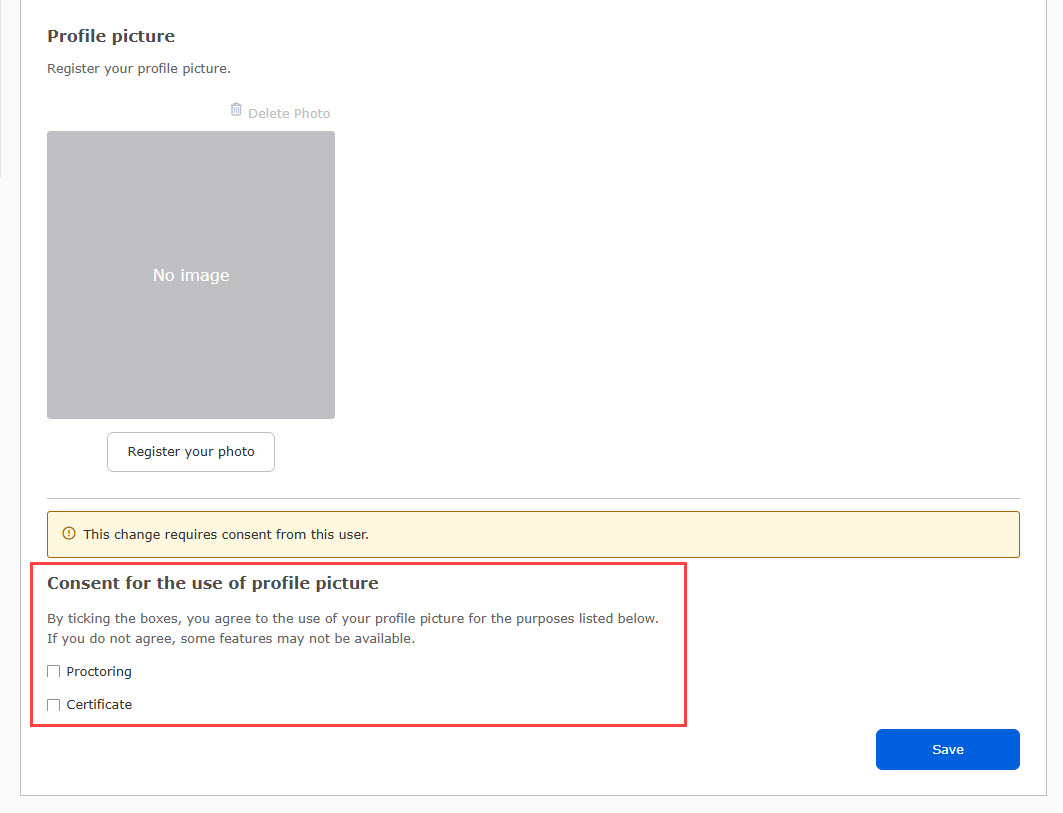
Even if your own photo is registered, if you have not ticked the "Consent to use your own photo" box, an alert will appear on the learning screen of the target content.
Detailed information
This section allows you to give a permission to the user to view other users' grades.
The detailed information will be listed.
Save the settings.
Required
Group manager(Edit) + Role assigner
*Role assigner is required when you give a permission to users to view other users' grades.
01. Select the Detailed information tab
Click on the user name and select the Detailed information tab.
02. Settings
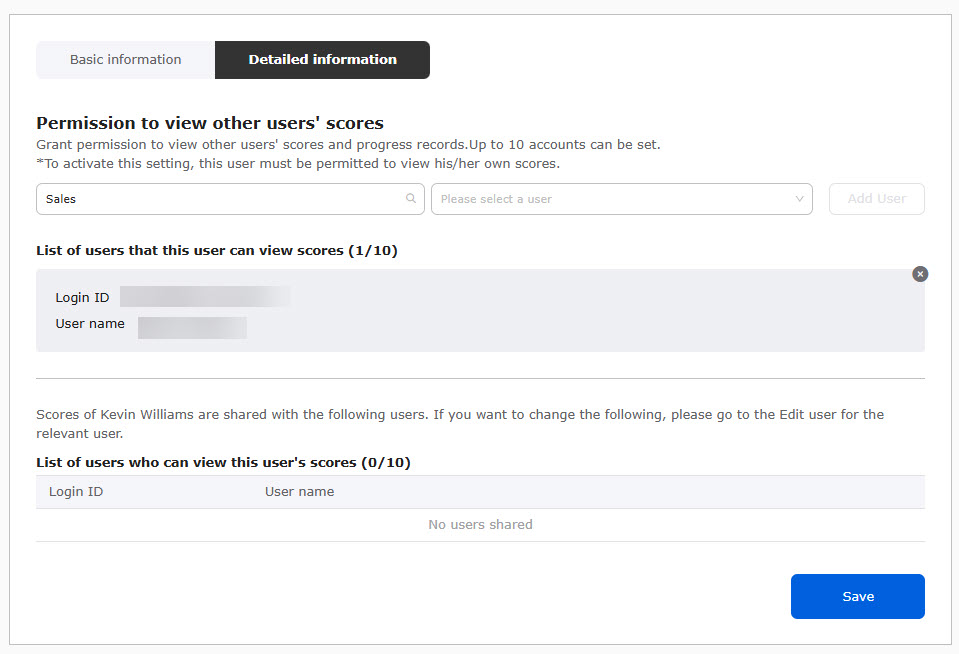
▼Permission to view other users' grades
The permission allows users to view others' grades and progress records.
Click on "Filter by group" to select a group.
Select a user by clicking on the field saying "Please select a user," and click "Add user." *Up to 10 accounts can be selected.
To delete the setting, click the "✕" button.
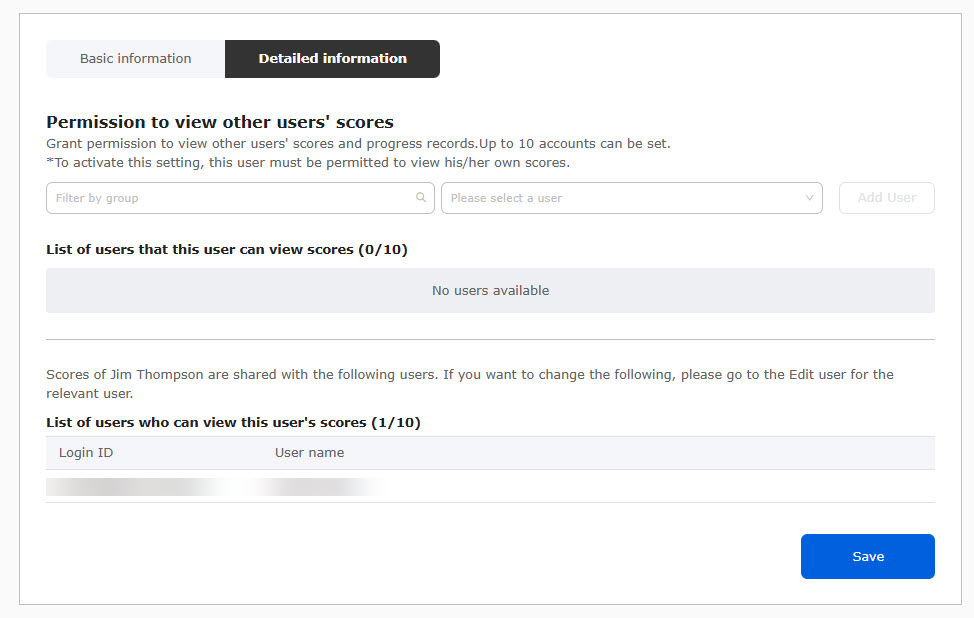
▼Check users who share grades
You can see who is sharing the grades.
To change the settings, go to the Detailed information of the user who shares the grade.
Check the others' grades
Go to the Check grades.
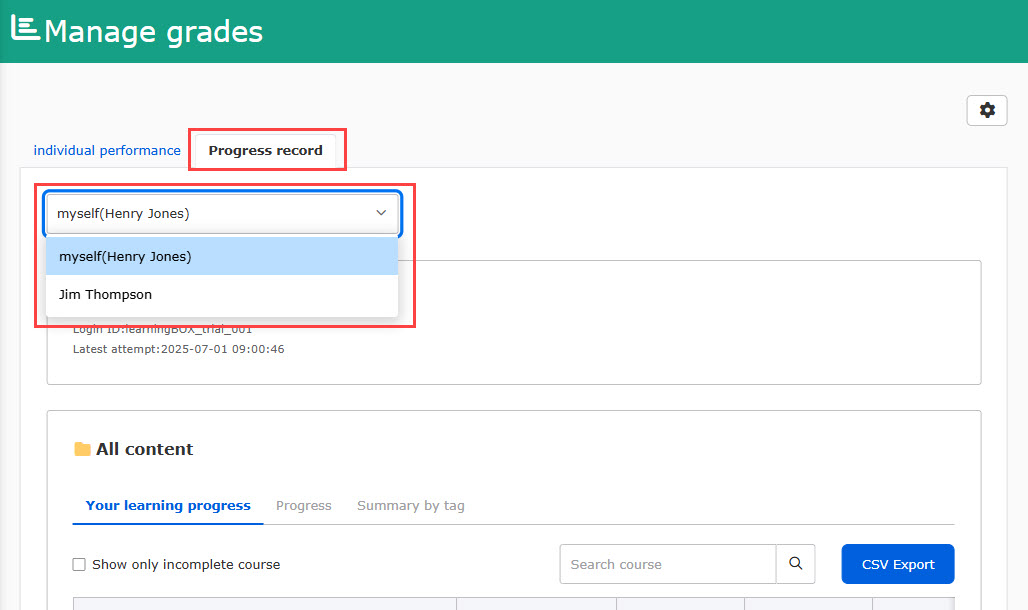
When you have a permission to view others' grades, the Individual performance tab will be shown. Select the user from the list.
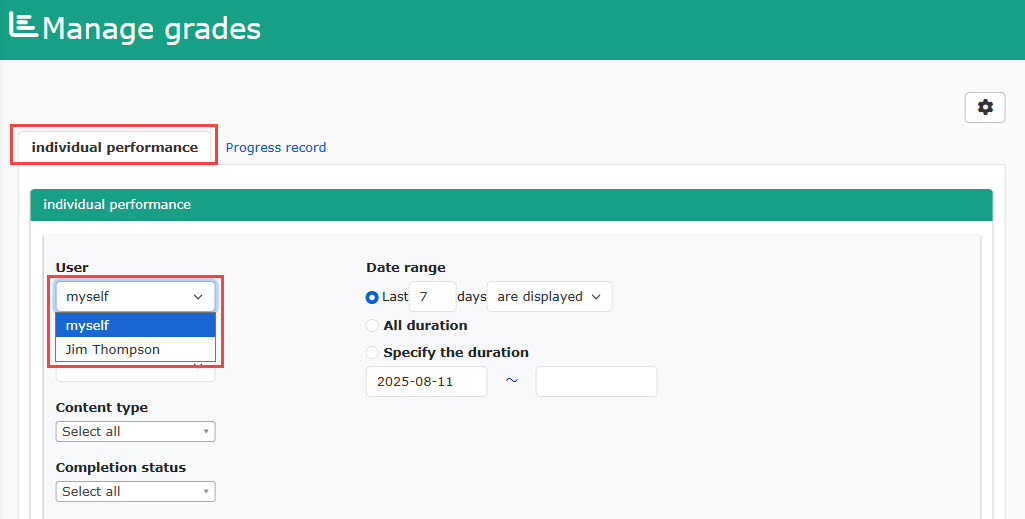
Also, you can select a user in the Progress record.