permissions
You can set permissions to only allow viewing of user/group information, content information, and other users' performance information.
Group manager(View)
Authority Settings
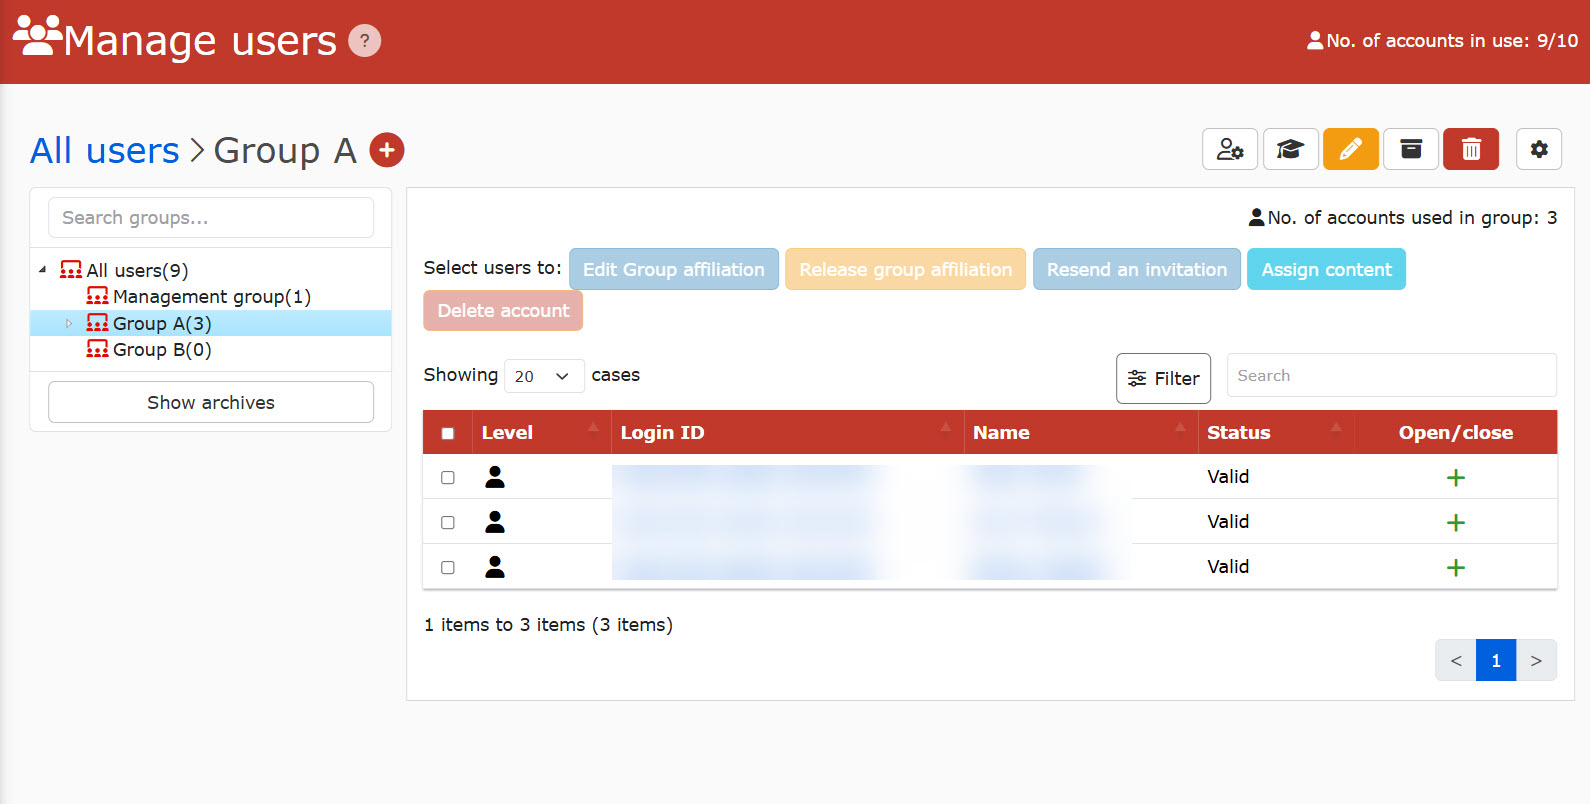
01. Go to Manage users
Click on the "Manage users."
02. Open the group management authority setting screen.
Click on the icon for the group of users to whom you want to grant viewing privileges.

03. Setting of viewing privileges
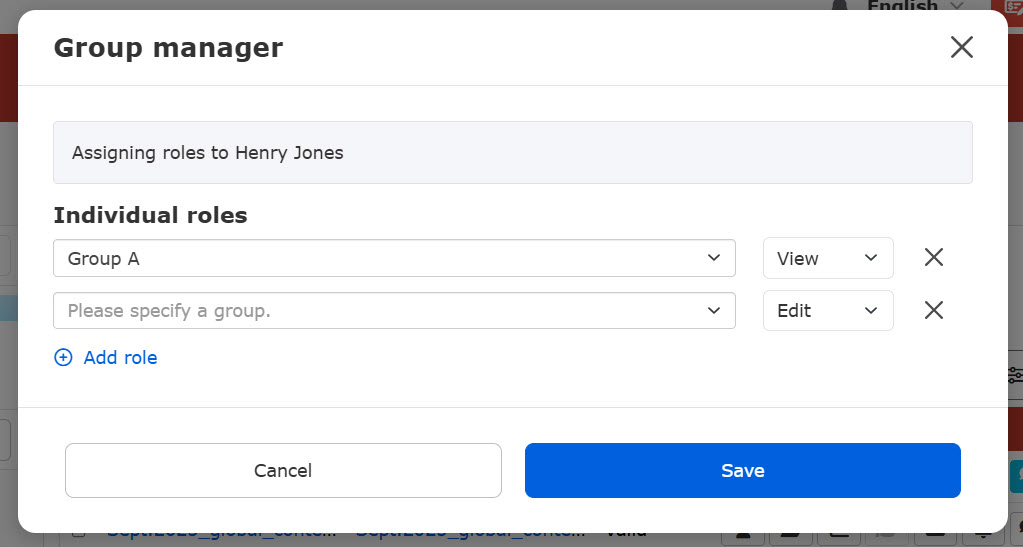
Select the group for which you want to authorize and set the authorization to "View".
To set viewing privileges for multiple groups, click "+Add Privileges" to add them.
- View permissions cannot be set for all users
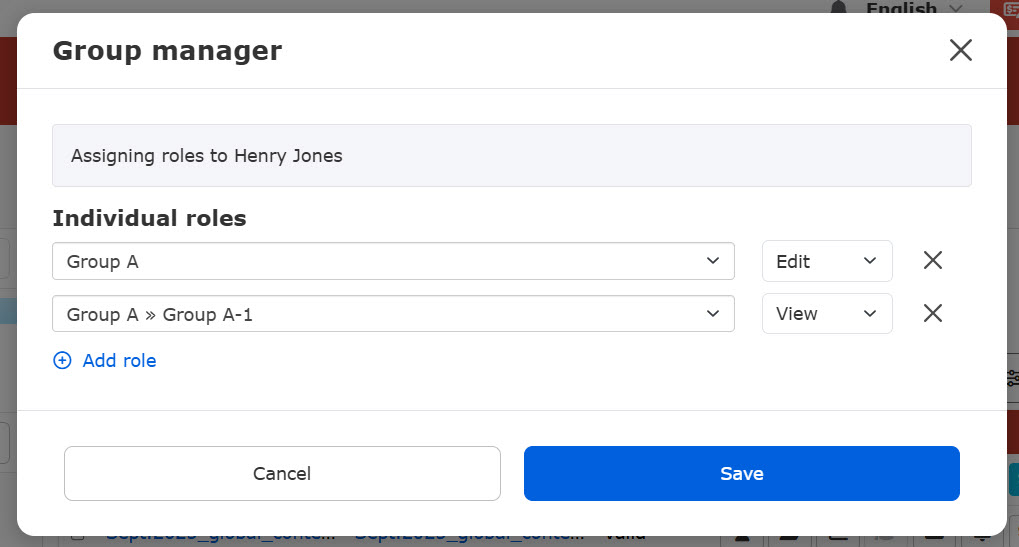
- Permissions set for an upper-level group also apply to lower-level groups. (It is not possible to remove a specific group at a lower level from the list of privileges.
- If you set up separate permissions for the upper and lower groups, the edit permission takes precedence.
*Because editing privileges take precedence, the setting of the second column for viewing privileges is invalid and is regarded as editing privileges.
5. Save the settings.
Display on user screen
Users with viewing privileges can view user information for the target group.
Groups and users cannot be edited/deleted.
Content manager(View)
Authority Settings
01. Go to Manage users
Click on the "Manage users."
02. Open the contents management authority setting screen.
Click on the icon of the file for the user to whom you want to grant viewing privileges.

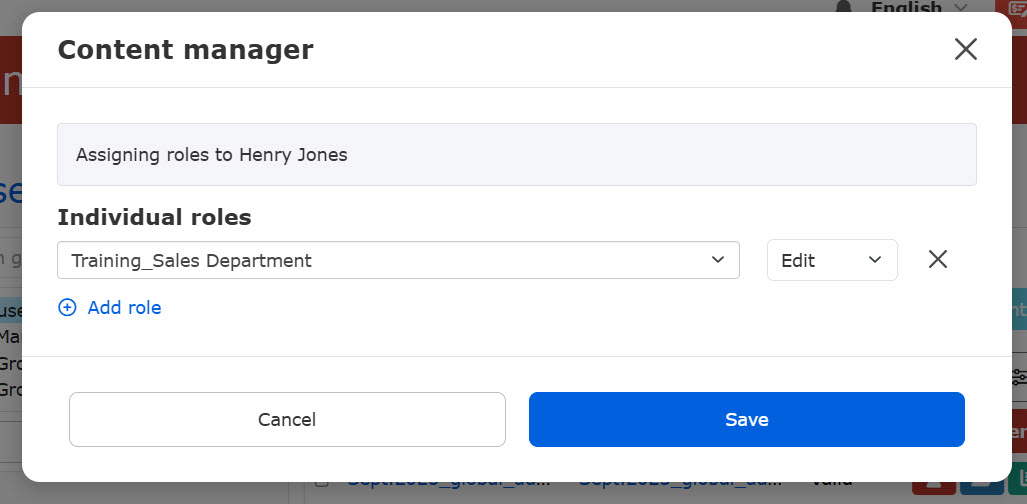
03. Setting of viewing privileges
Select the content for authorization and set the authorization to "View".
To set viewing privileges for multiple contents, click "+Add Privileges" to add them.
Display on user screen
Log in as a user with content management viewing privileges.
01. What Content Management Can Do
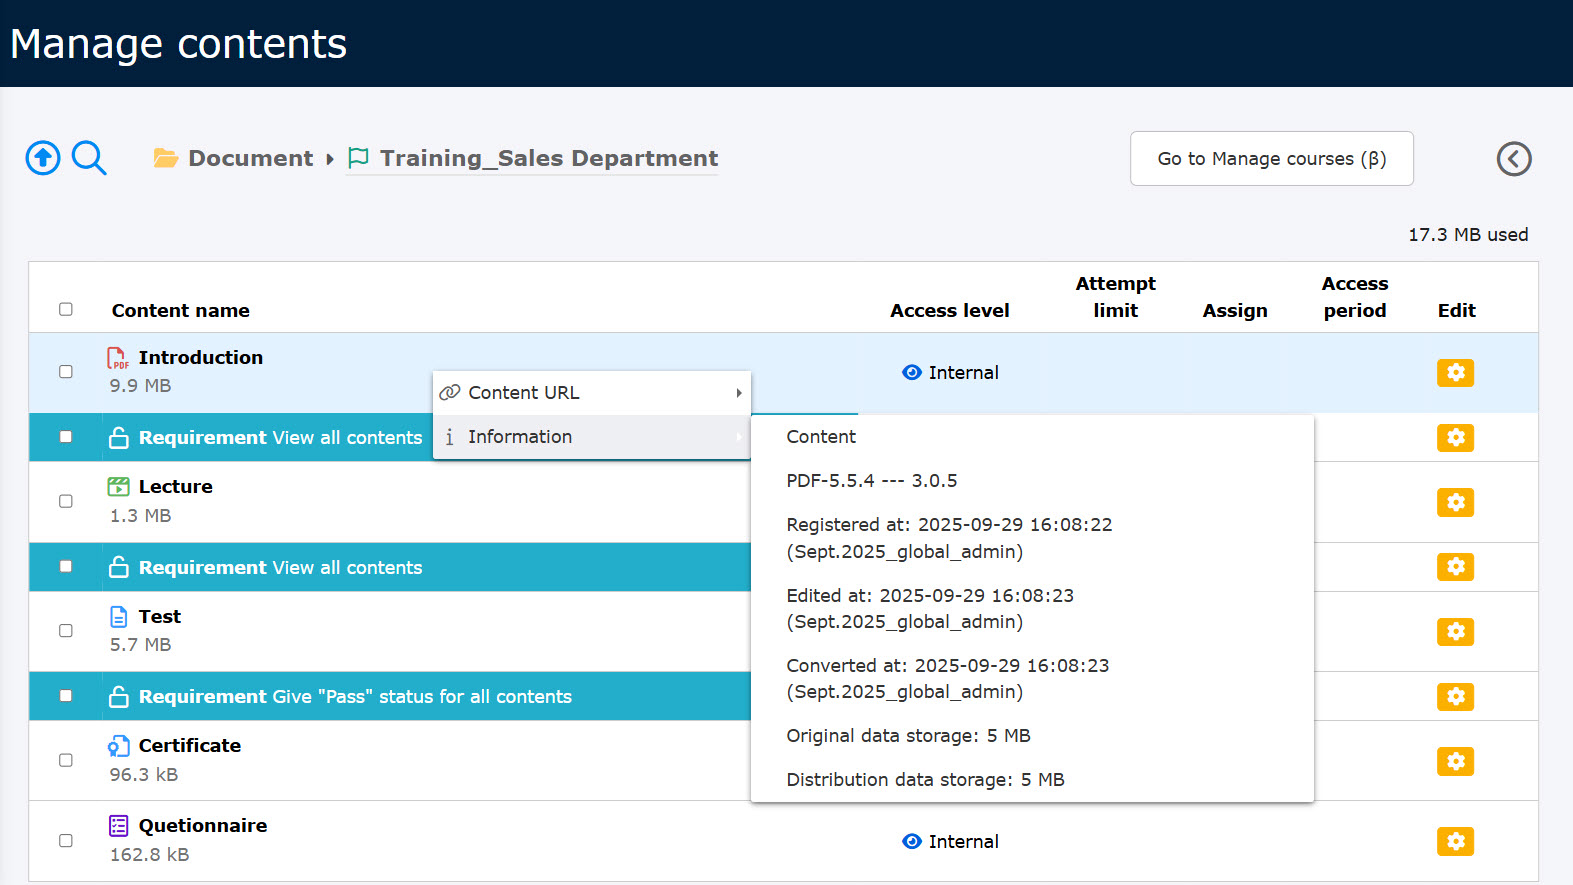
You can see what courses are available and click on a course to see what content it contains.
You can also right-click on a course or content, or click on the gear icon for more information.
02. Other Functions
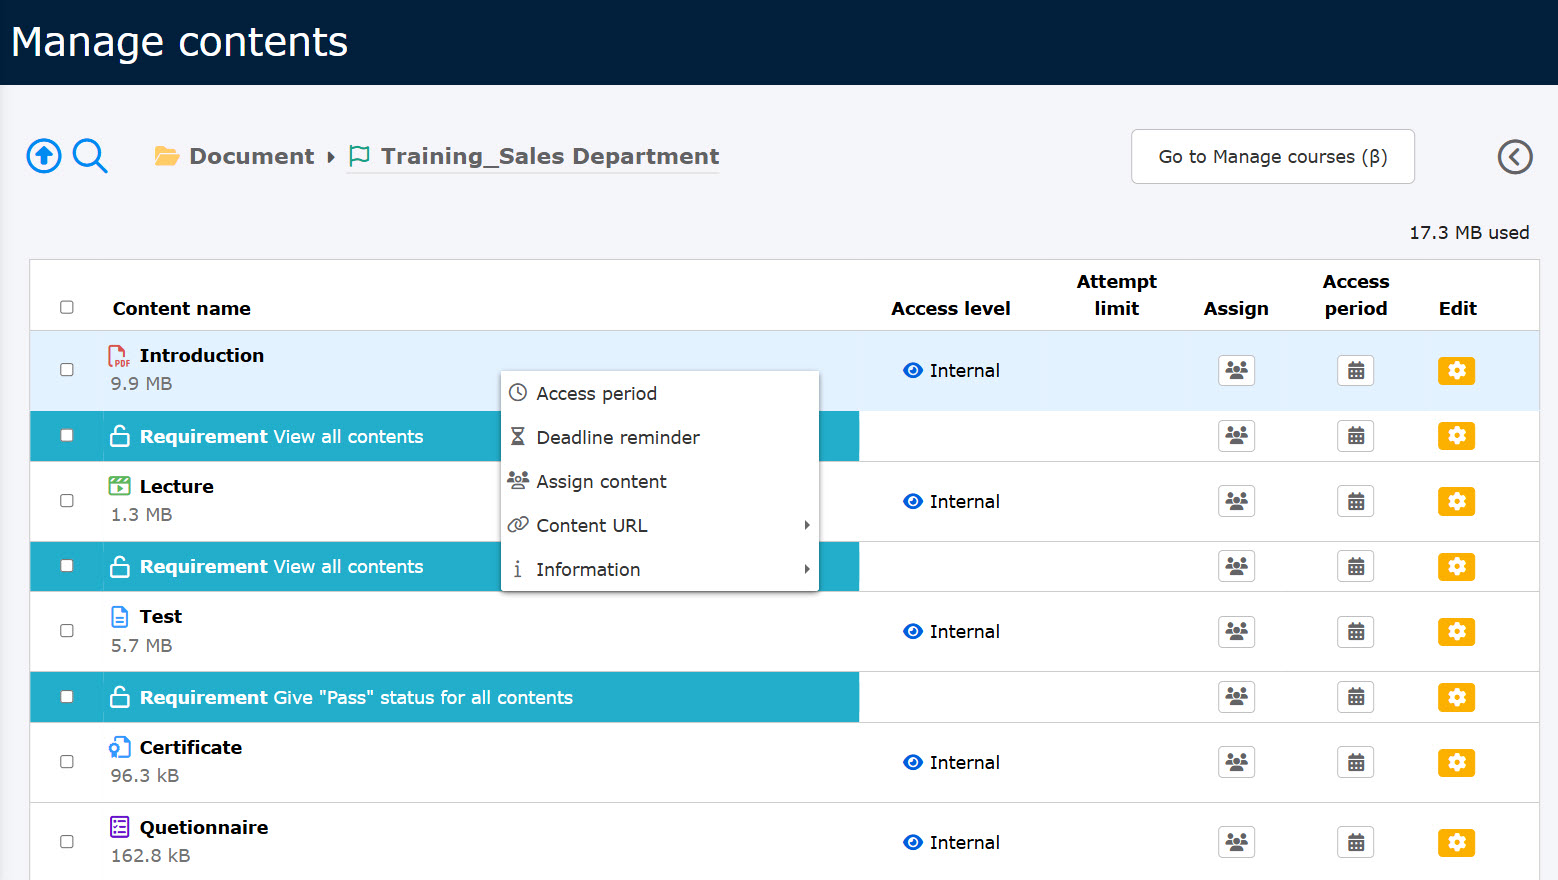
Content Allocation Authorization is required for the "Open Period," "Response/Submission Deadline," and "Content Allocation" settings.
Once authorization is granted, each content will have its own icon.
You can also right-click on the content or click on the gear icon to view it as a menu, respectively.
03. Content Category Management
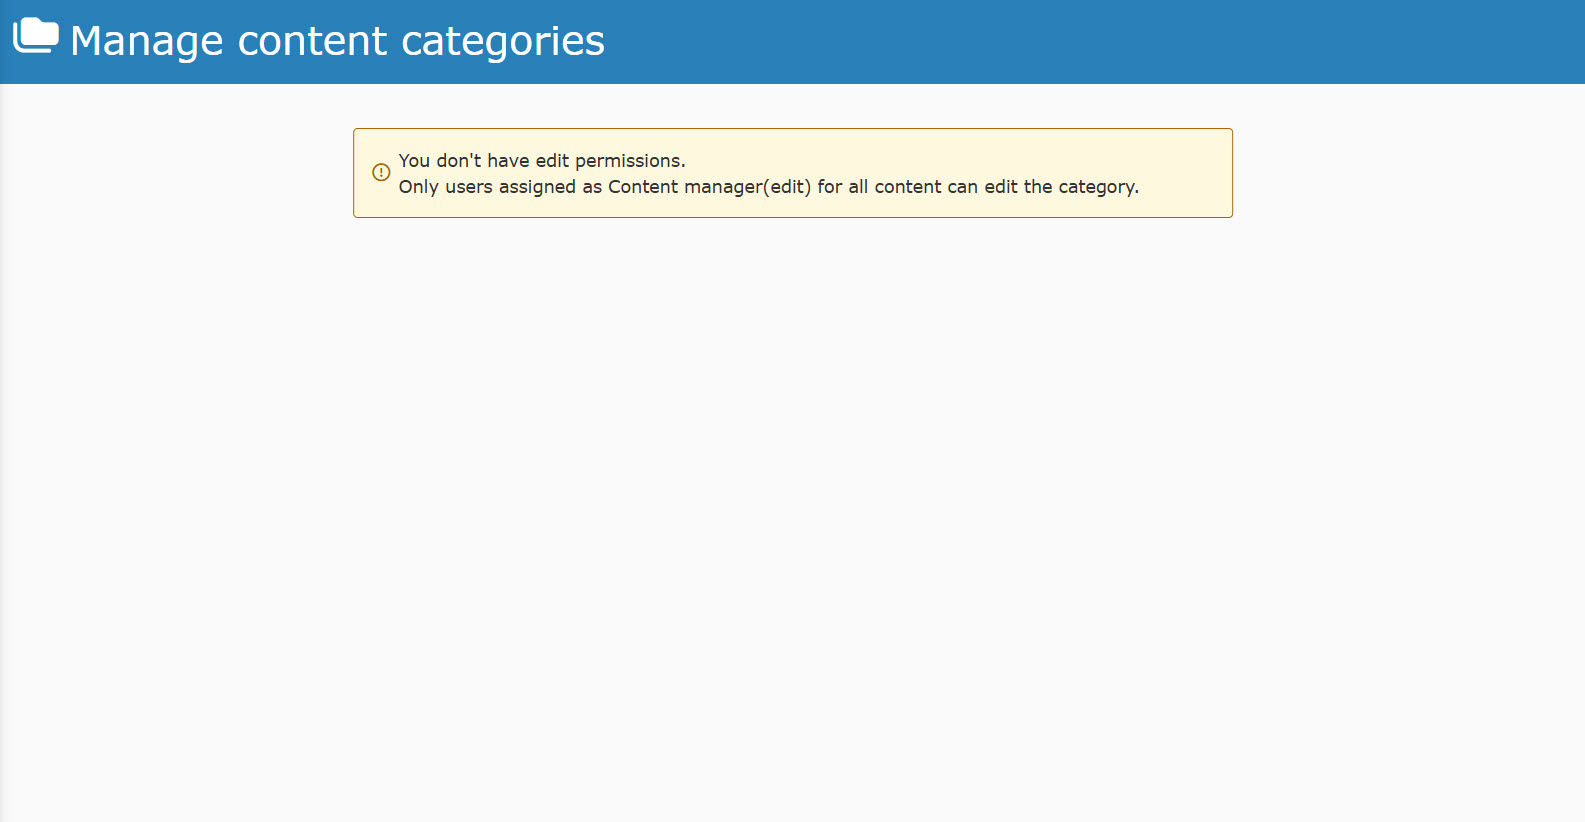
You can access the "Content Category Management" screen, but you must have content management editing privileges for all content in order to edit it.
Open the screen from "Content Management" > "Content Category Management" in the side menu, and you will see the following
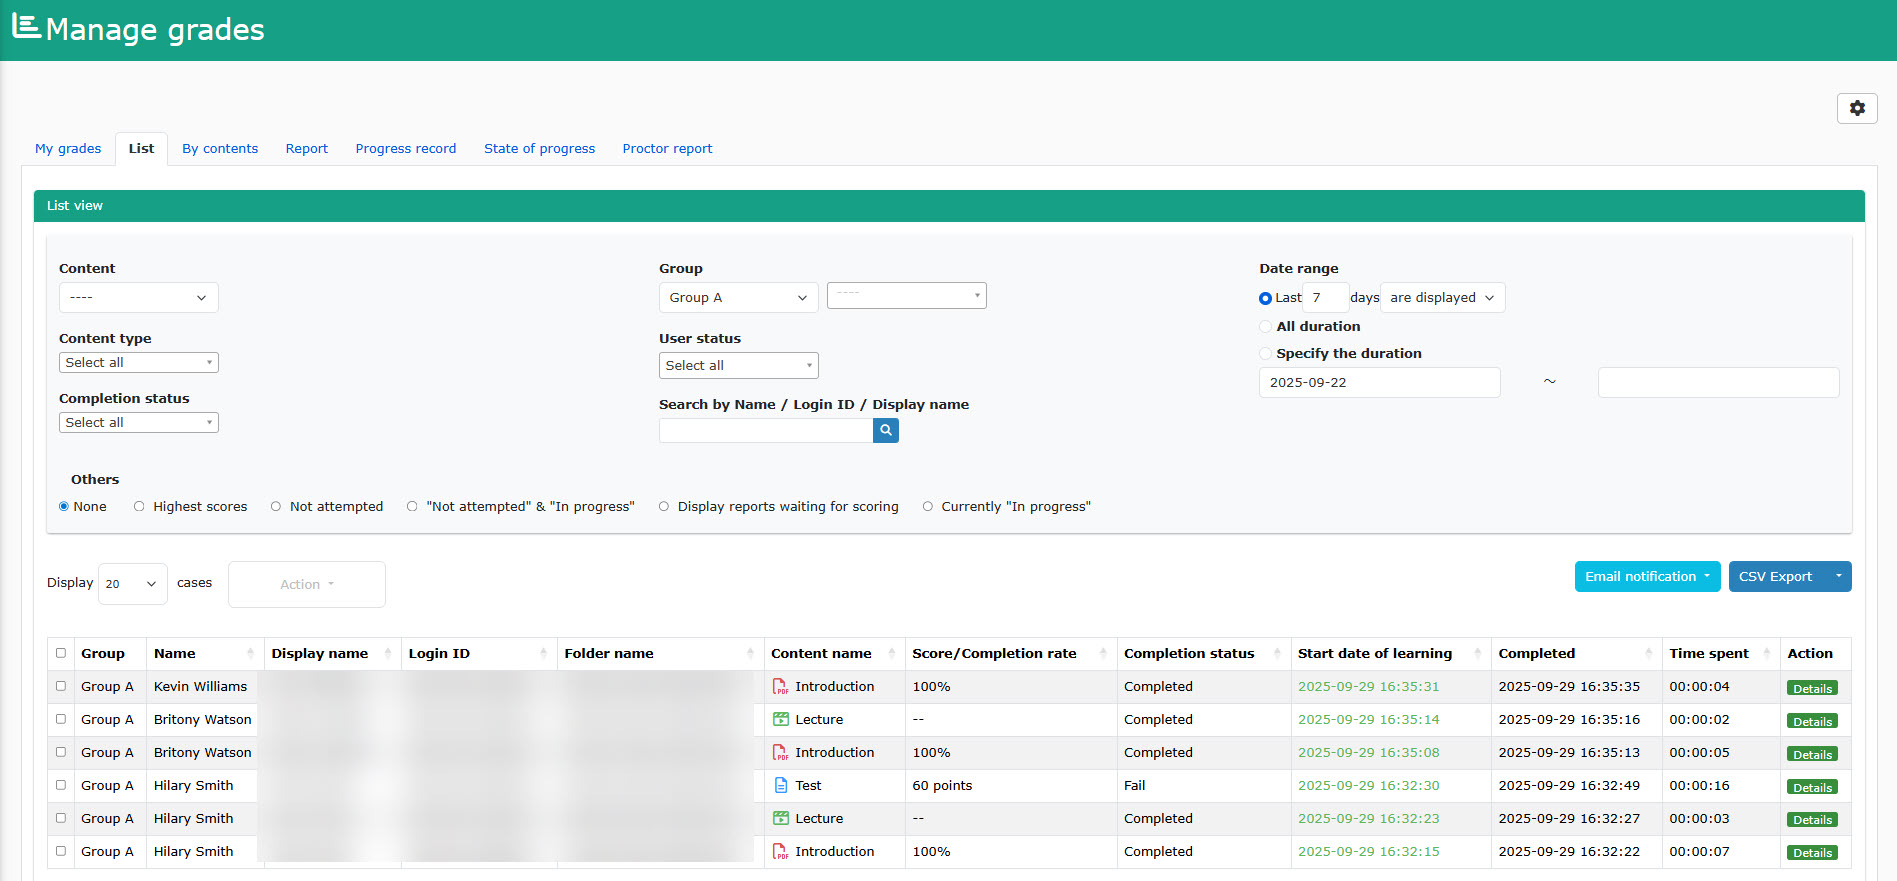
Grade manager(View)
Authority Settings
01. Go to Manage users
Click on the "Manage users."
02. Open the Grades Management Authority Settings screen.
Click on the icon in the graph for the user to whom you want to grant viewing privileges.

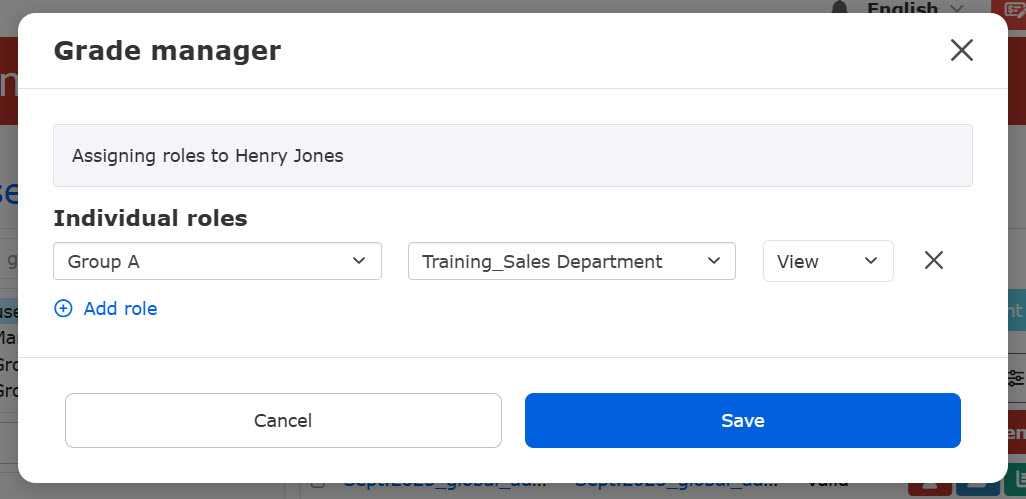
03. Setting of viewing privileges
Select the group/content for authorization and set the authorization to "View".
To set viewing privileges for multiple groups/contents, click "+Add Privileges" to add them.
- Viewing privileges cannot be set for all users/contents
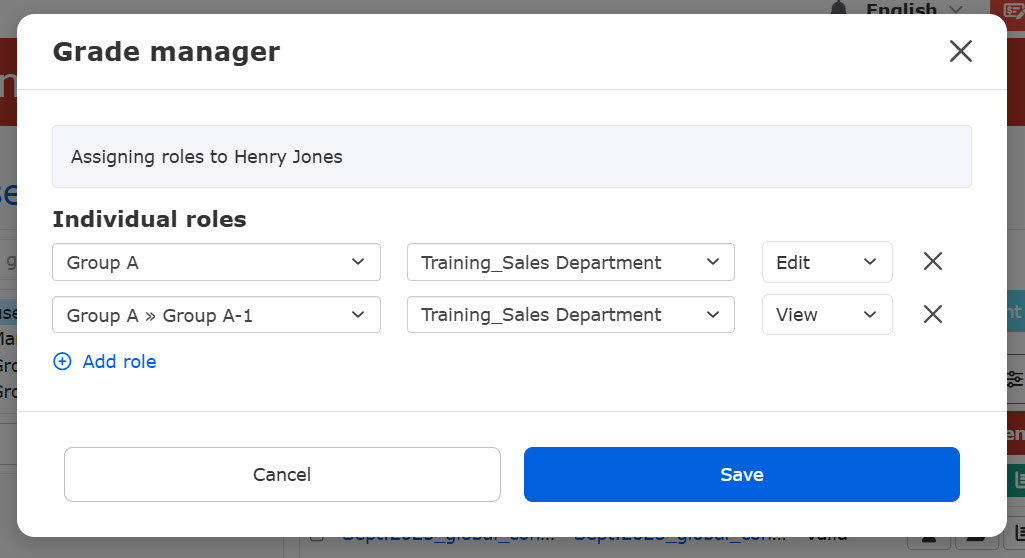
- Permissions set for an upper-level group/folder also apply to the lower-level group/folder. (You cannot delete a specific group/folder in the lower level from the permissions list.
- If separate permissions are set for the upper and lower groups, the edit permission takes precedence.
*Because editing privileges take precedence, the setting of the second column for viewing privileges is invalid and is regarded as editing privileges.
5. Save the settings.
Display on user screen
Users with viewing privileges can view the performance information of the target group/content.
- Grades cannot be graded or deleted
- If you have only been granted the right to view, you will not be able to use the "Email Notification" function.
