
Show/hide workbook
<Operation in the Manage contents (Old)>
You can create a Show/hide workbook for the effective memorization strategy.
The rating bar shows how much the learner memorized.
Create Show/hide workbook
01. Create a course
First, create a course in the Manage contents.
*For details on course creation, refer to Course/Folder.
02. Open the Creation form
Click on the course you created.
Click the "+" icon > Content > Show/hide workbook > Create
03. Creation form
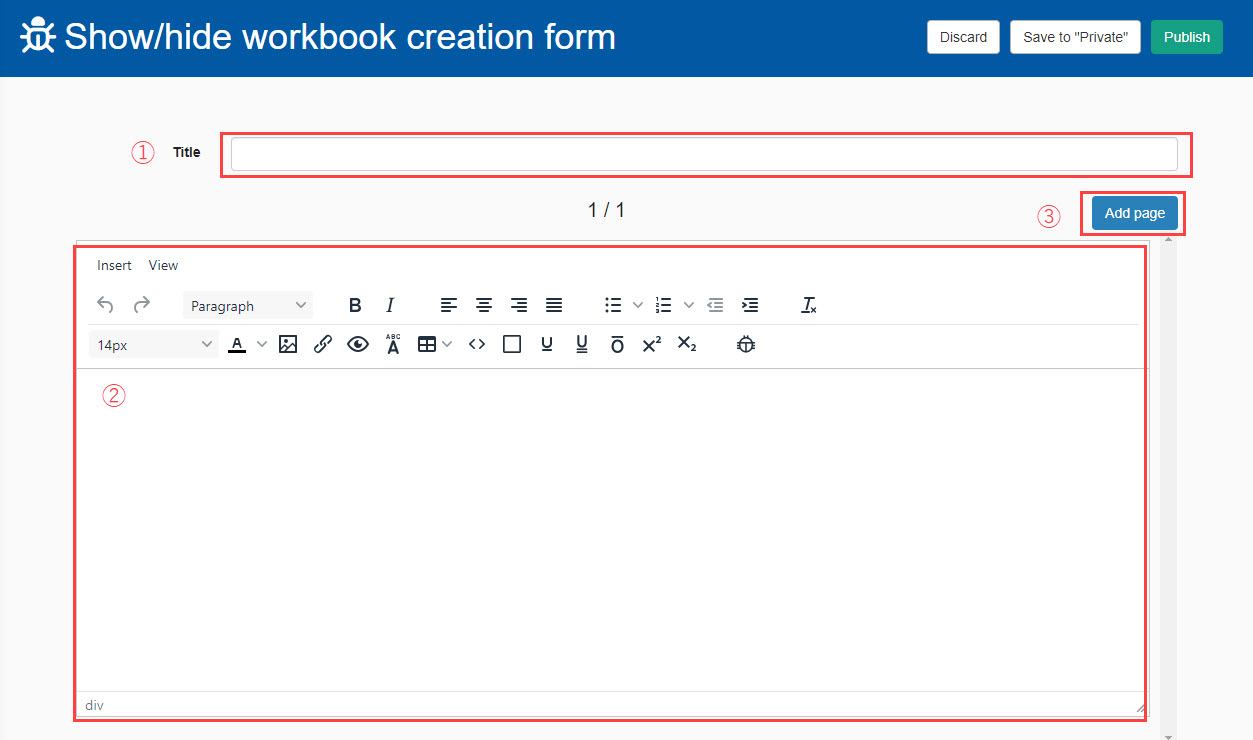
The creation form contains the following items:
1. Title
2. Body
3. Add page button
04. Customize the content
The following explain how to customize the body mentioned above.
▼Enter text
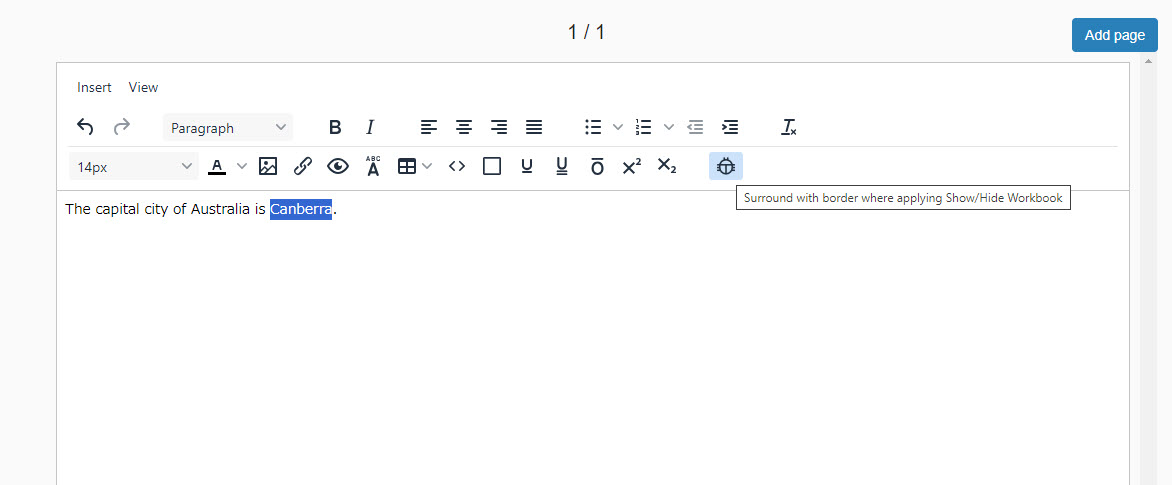
STEP1: Enter text.

STEP2: Drag and select the part to hide, and click on the bug icon.
Others
The font size, colors, and other options can be customized.
In addition to text, you can insert images and tables.
Insert image
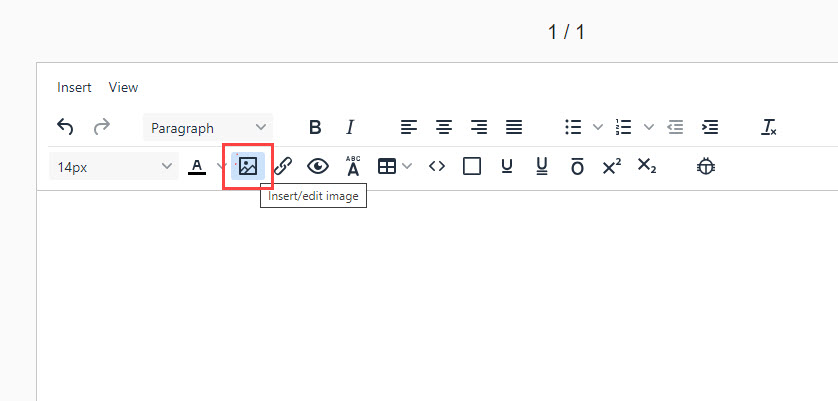
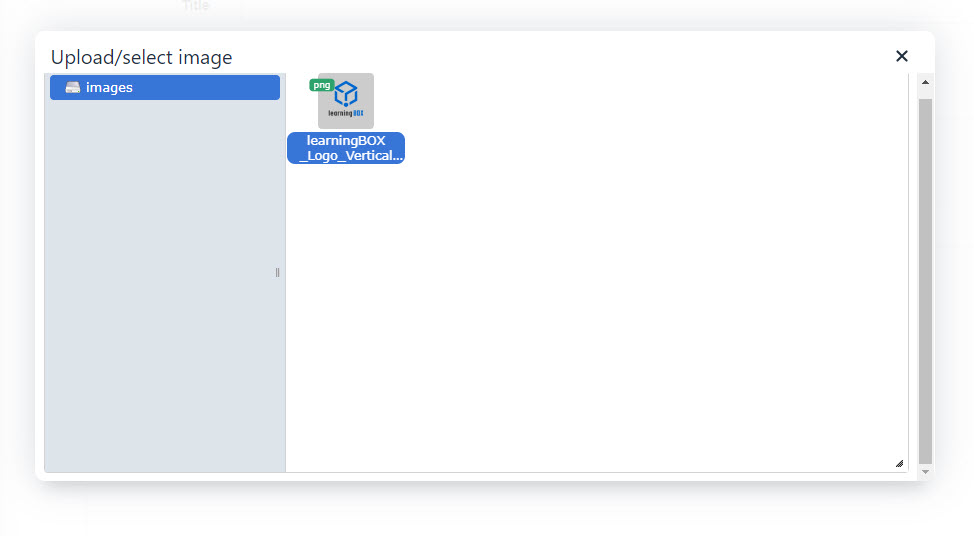
STEP1: Click on the image icon.
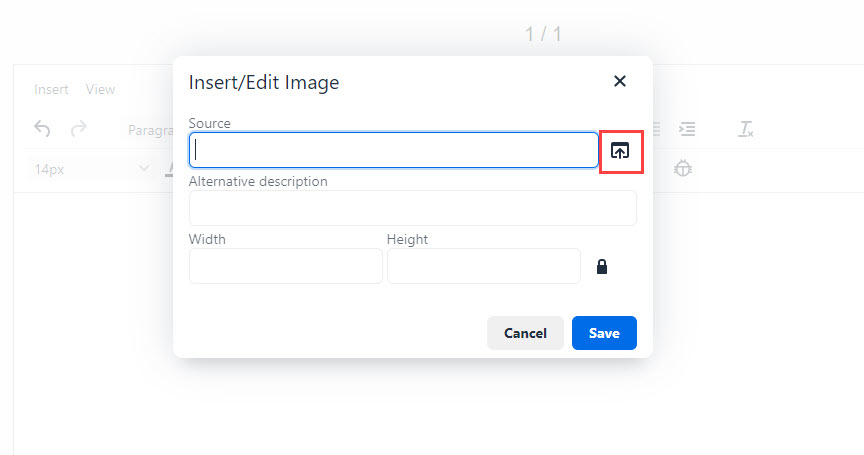
STEP2: Click on the upload icon.
STEP3: Drag and drop the file you want to insert.
Double-click on the file.
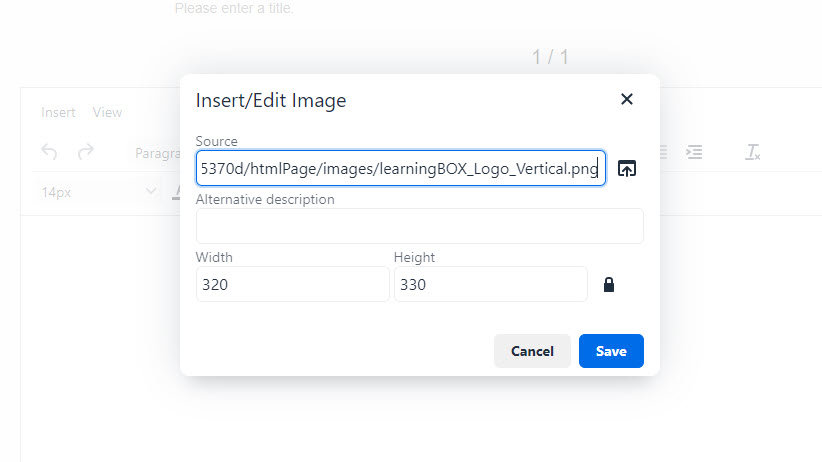
STEP4: Set the description and image size, and save it.
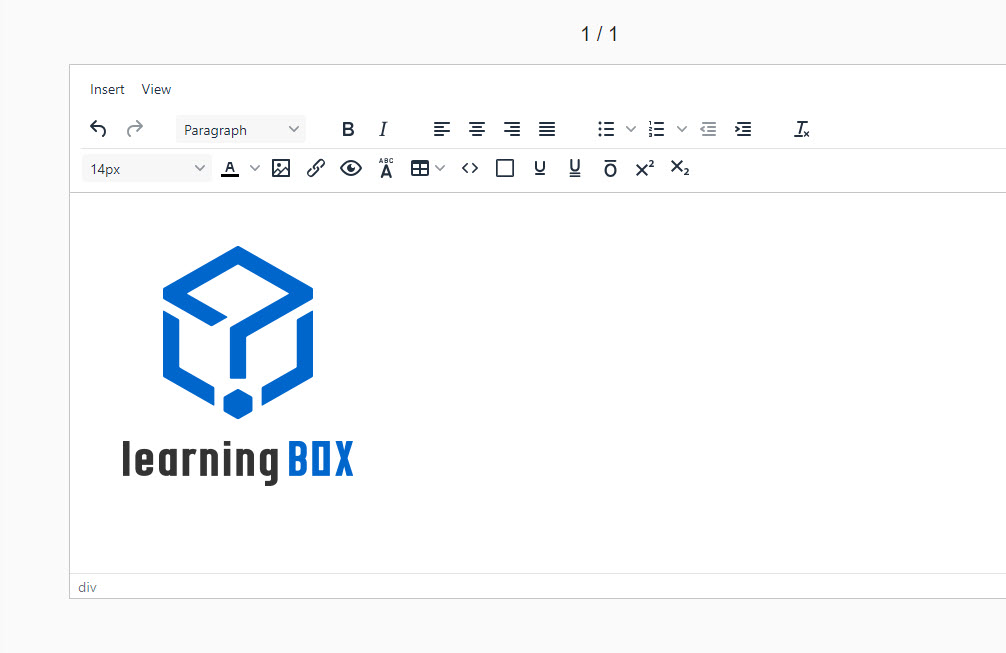
The image will be inserted as shown below.
05. Save
Select one from the following:
- Publish: Publish to assigned users once it is saved
- Save to Private: The content will be saved, but other users cannot view it.
User interface
The following is the learner's page.

Tick the box behind the hidden item to mark as memorized and the progress will be updated in the bar graph.
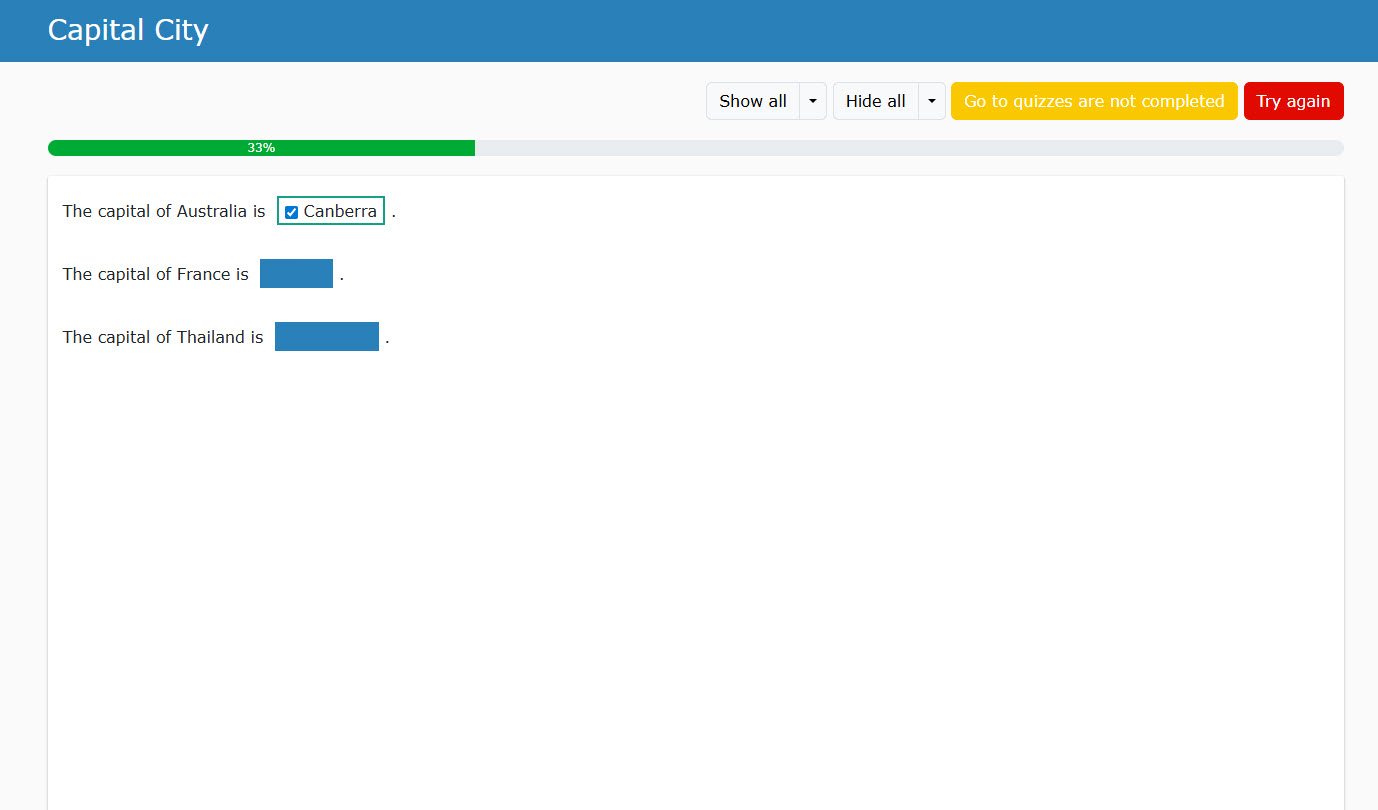
The blue items mark as "Not memorized yet" and green items mark as "Memorized."
Clicking on "Go to quizzes are not completed" will jump to the first page which contains an item marked as "Not memorized."
Note that if you click "Try again," the completion rate will be 0%.
Download Show/hide workbook
The created Show/hide workbook can be downloaded.
01. Go to Manage contents
Click on the Manage contents in the side menu.
02. Download
Right-click or click the gear icon > Download
Upload Show/hide workbook
You can upload your downloaded Show/hide workbook.
01. Create a course
First, create a course in the Manage contents.
*For details on course creation, refer to Course/Folder.
02. Go to PDF page
Click on the course you created.
Select the "+" icon > Content > Show/hide workbook > Upload
03. Settings
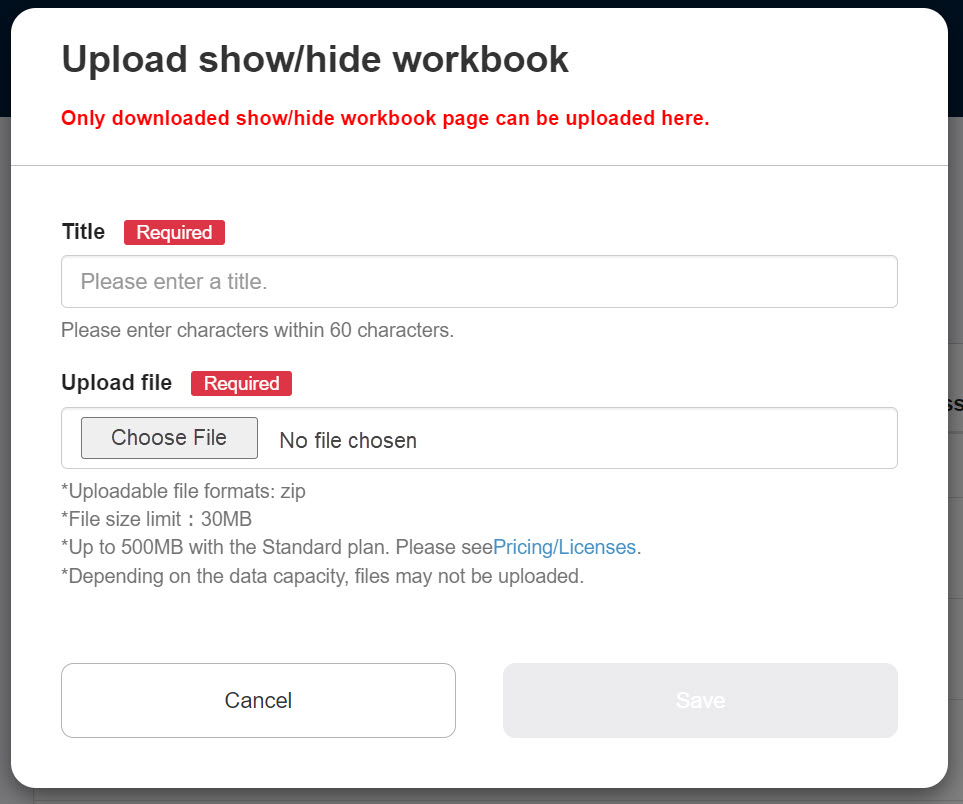
Enter a title.
Click on "Choose File" to upload the file.
Click Save to finalize.
Re-upload Show/hide workbook
Re-uploading allows you to overwrite the Show/hide workbook that you have created.
01. Go to Manage contents
Click on the Manage contents in the side menu.
02. Re-upload
Right-click or click the gear icon > Re-upload
Edit Show/hide workbook
01. Go to Manage contents
Click on the Manage contents in the side menu.
02. Edit
Right-click or click the gear icon > Edit