Manage reservations and attendance
You can manage reservations and attendance of training.
Note that this page has two tabs, Training and User.
*Go to "Training" in the side menu > "Manage reservations and attendance"
[Training features]
You can build a training program with several courses.
Learners can select and reserve a training course from the list, and take it within the specified period.
Required
Customization option, Management role of Training organizer/Instructor, Reservation/Attendance manager
Training
The following explain the available actions on the "Training" tab.
01. Reservation list
Reserved training by users will be displayed.
All training will be displayed to Admin, and to non-Admin, relevant training will be dispalyed.
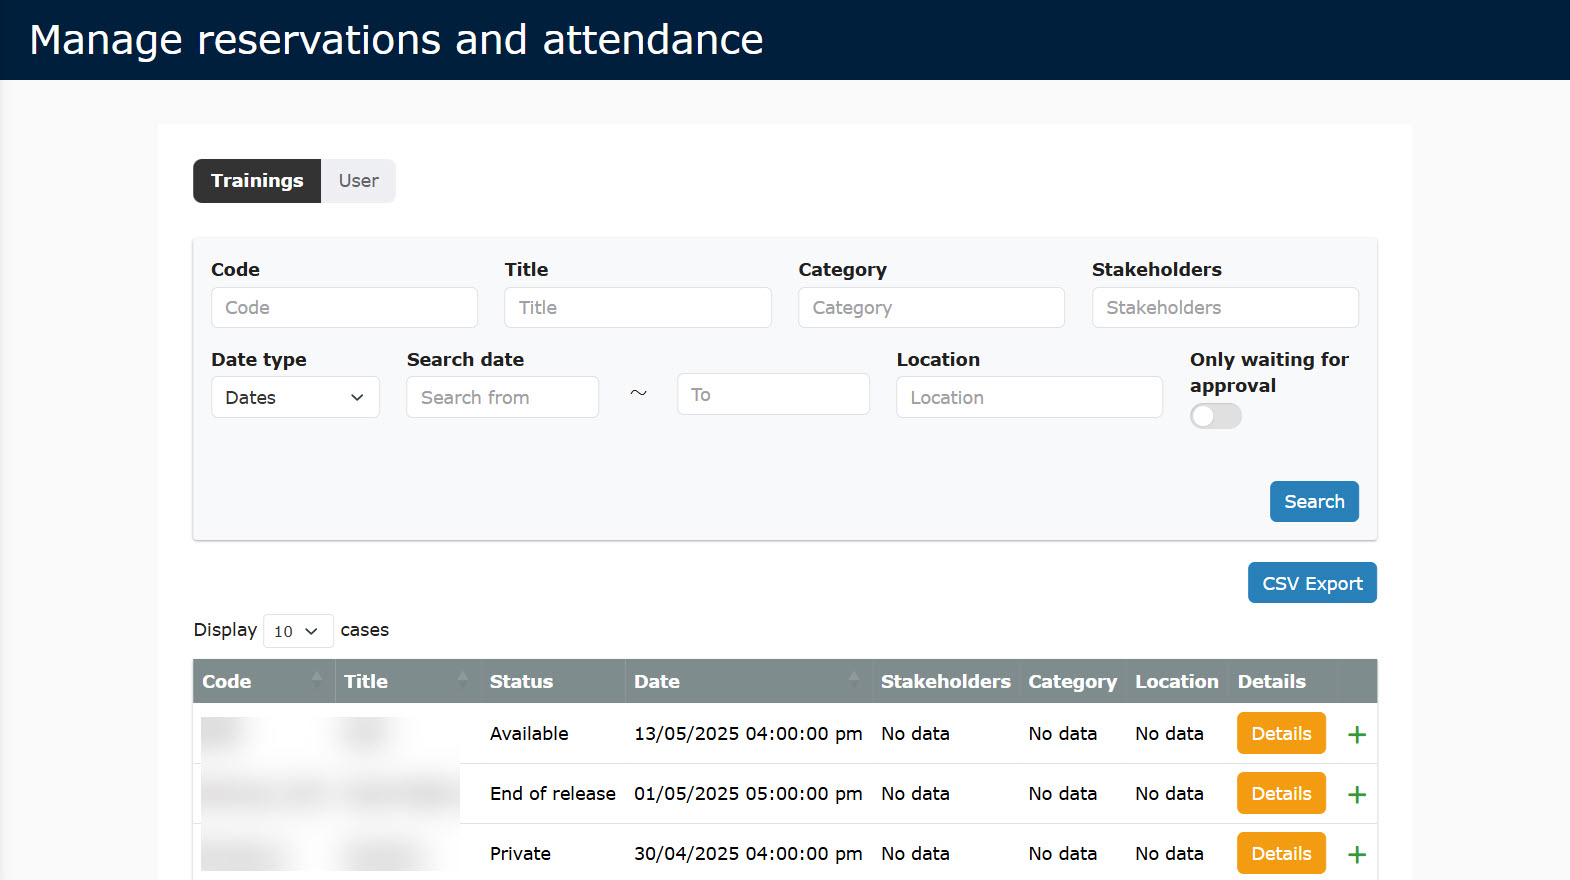
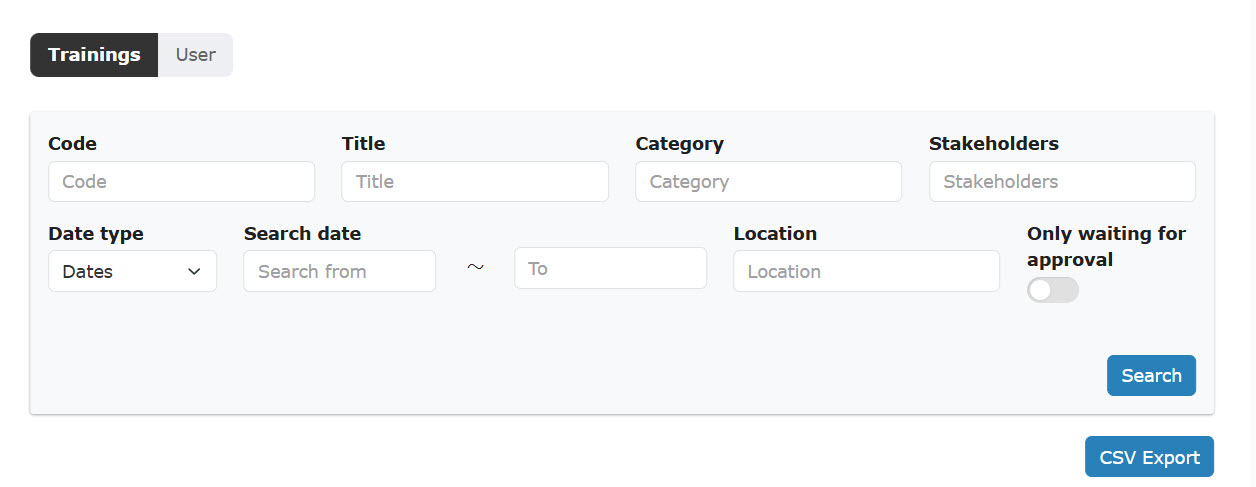
You can filter the training by selecting the items on the search field.
The result can be exported via a CSV file.
02. Go to the Details
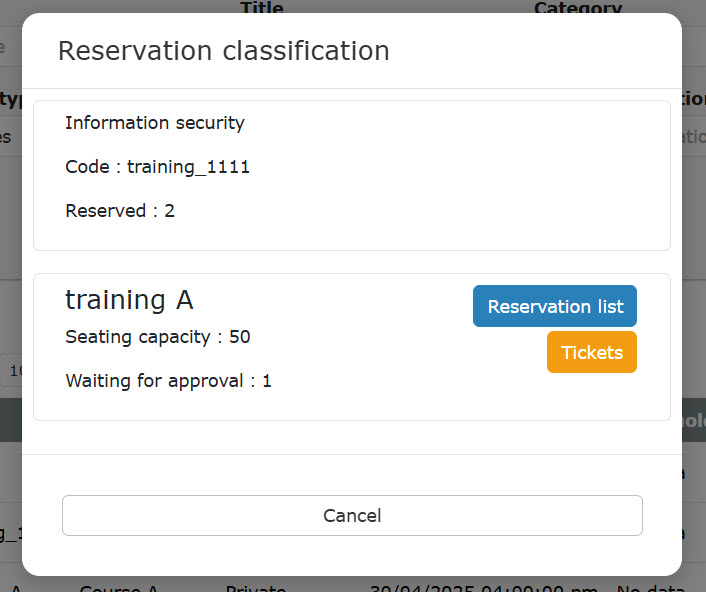
Click on the "Details."
Click on "Reservation list" or "Tickets" to move to each tab.
*For more details, refer to Manage reservations by training.
User
The following explain the operations available on the User tab.
Required
Group manager (Edit/View)
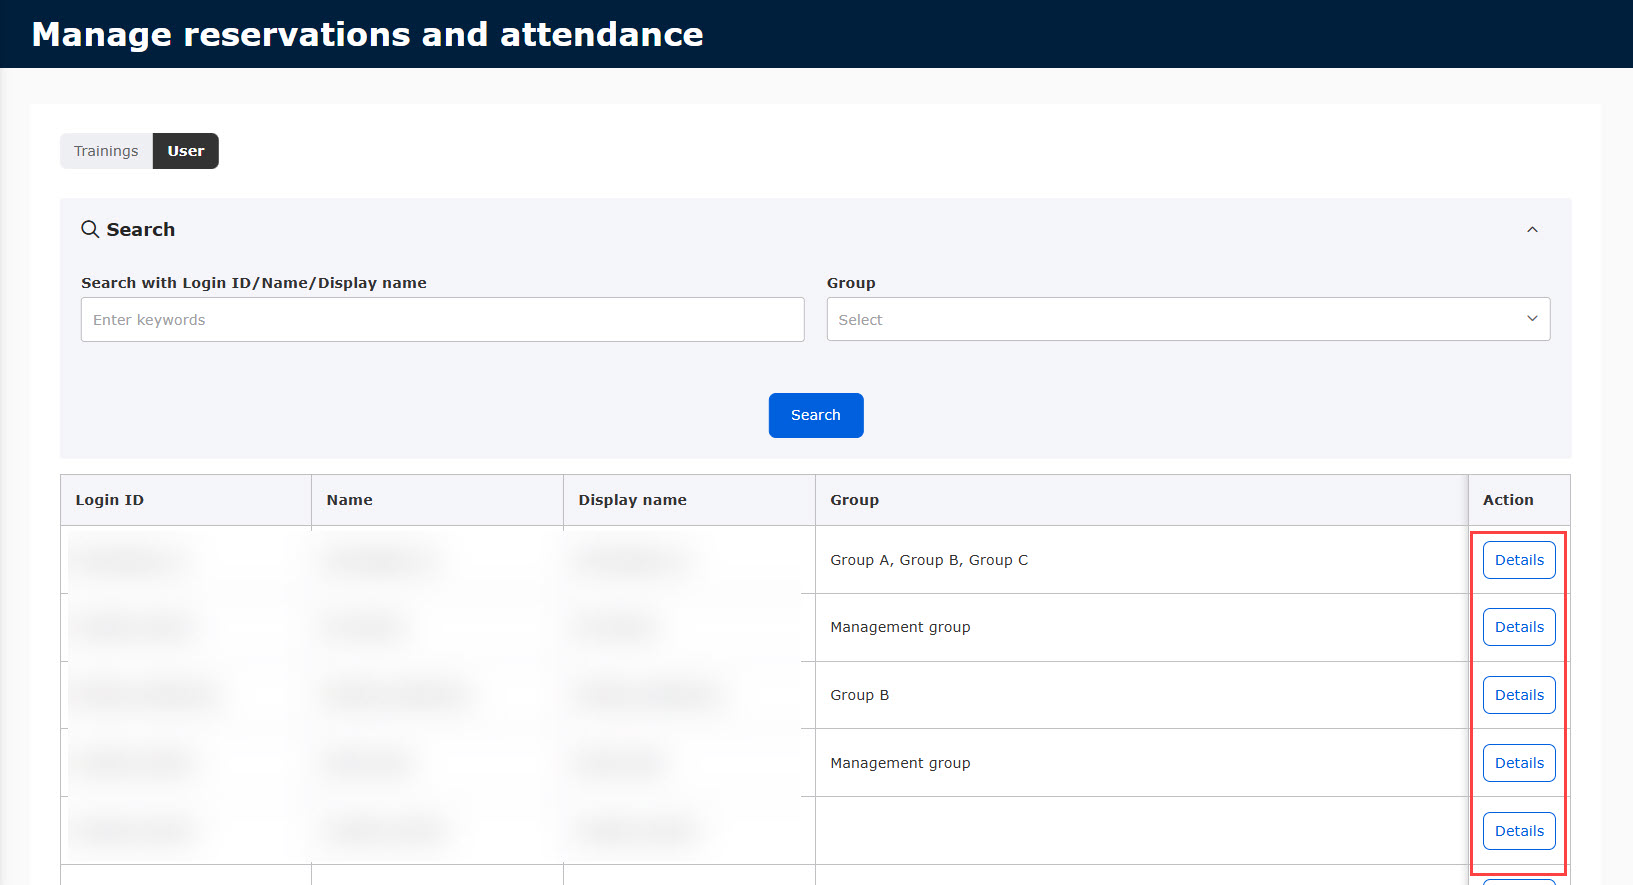
01. Listing of users
Users whom you have a management role to will be listed.
Only users whose user status is "Valid" will be displayed.
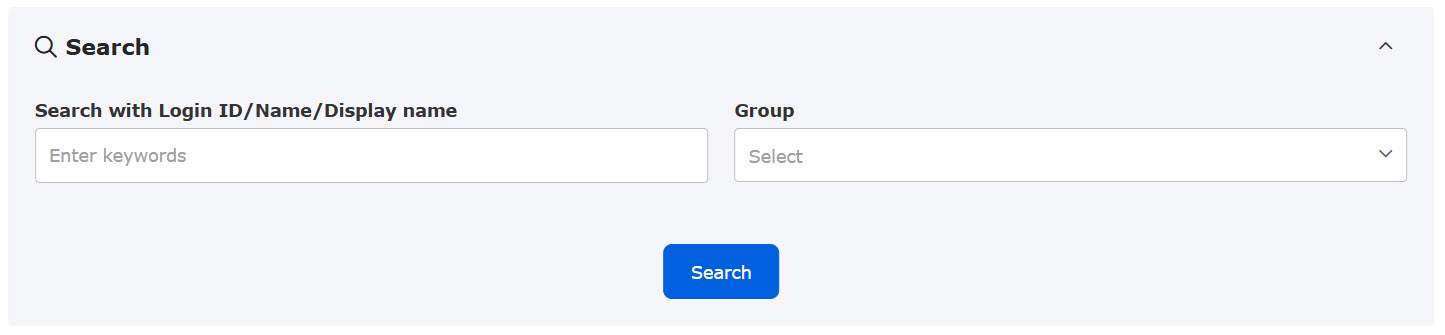
You can search users by login IDs, groups, etc.
02. View reservation details
Click on the "Details" to view the reservation and attendance details.
*For more details, refer to Manage reservations and attendance by user.