Manage badges
You can give badges to learners when they pass an exam or complete learning content.
This page explains how to create, update badges or view acquired ones.
*For more details about the settings, refer toMenu by content, "Set a badge."
Required
Management role of Co-admin
Badges
This section describes how to create new badges, update/delete badges and check the status of created badges.
Add badge
01. Go to Manage badges
Go to the Environment settings on the side menu and select Manage badges. Click on the "+" icon.
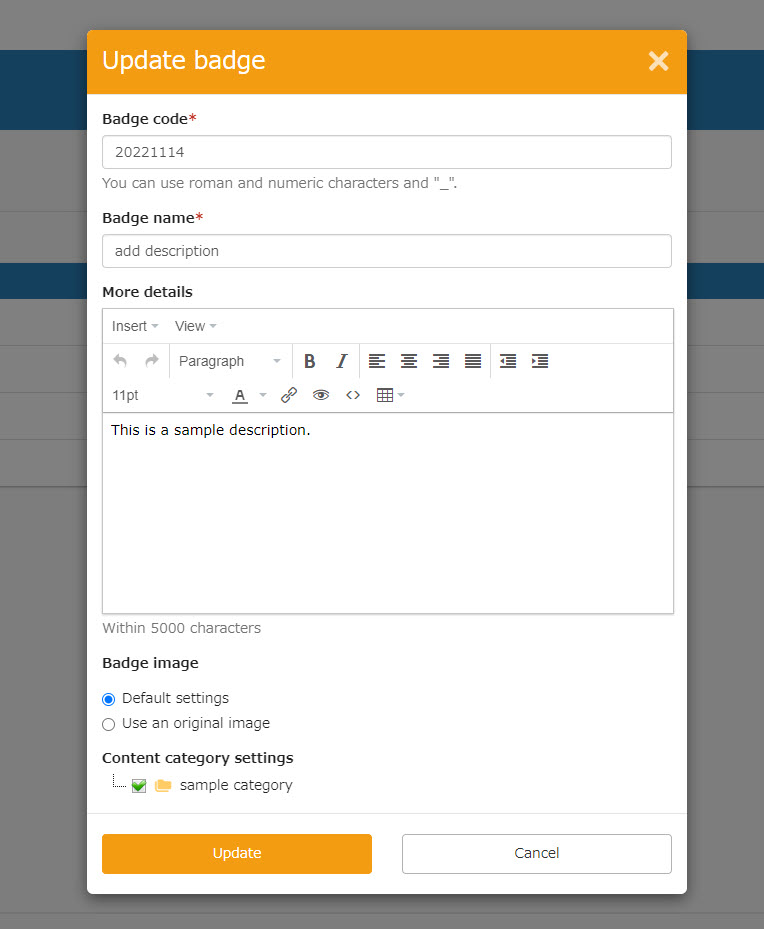
02. Settings
Set the following items.
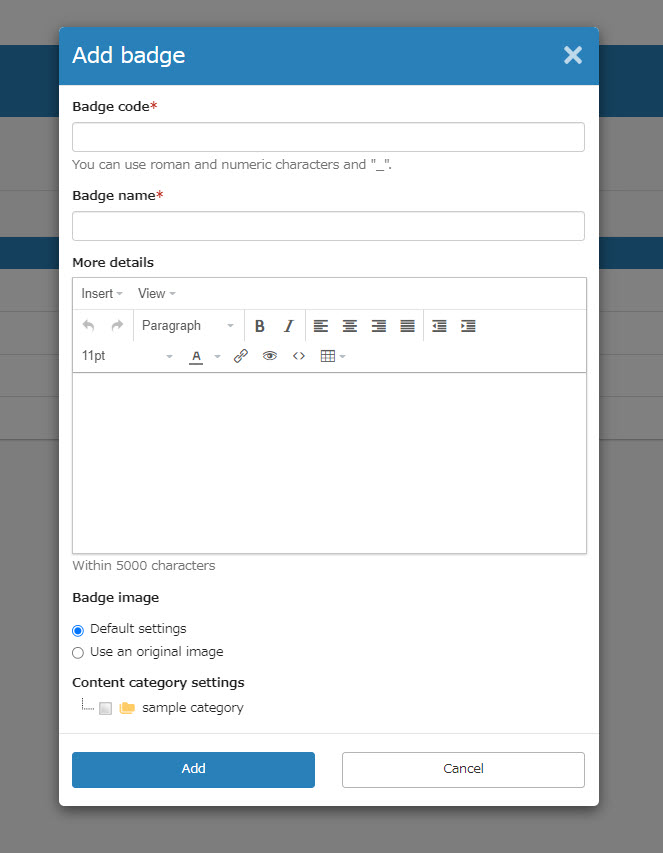
▼ Badge code
Enter any code.
▼ Badge name
Enter the title of the badge.
▼More details
Enter a description if necessary.
▼ Badge image
Choose whether to use the default image or uploaded one.
[Default images]
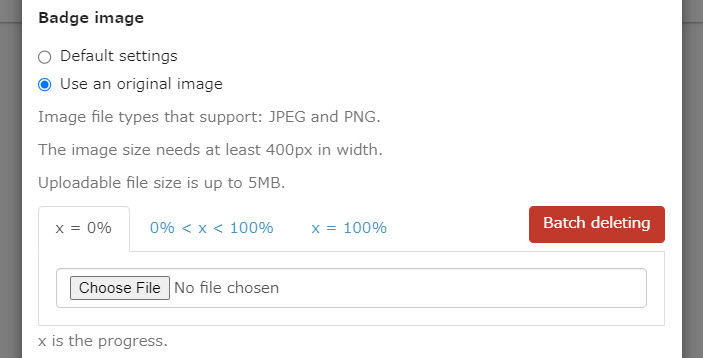
[Uploaded image]
Select each image for each completion rate.
Upload images from "Choose File."
You can also delete uploaded images with the "Batch deleting" button.
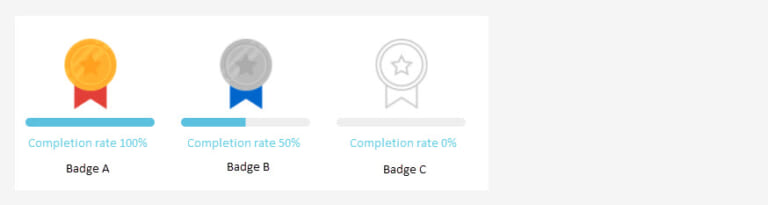
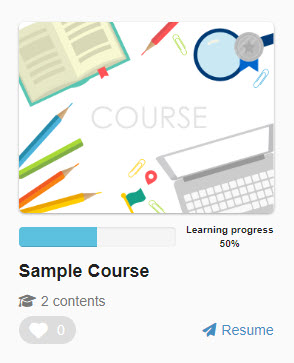
Progress Rate
Learning progress corresponds to the completion rate of course/folder.
According to the completion rate, a set badge will be displayed.
[Learning progress X=0%]
No badge will be given.
[Learning progress 0 <X <100%]
When the rate is greater than 0% and less than 100%, the set badge will be given.
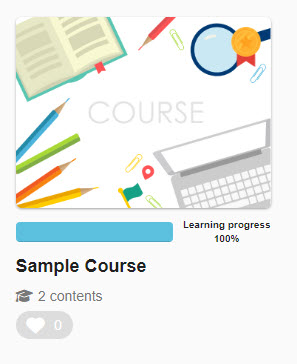
[Learning progress X=100%]
The rate reaches to 100%, the set badge will be given.
When a badge is set to a content, a badge will be given only when learners have passed or completed content. Note that badges will not be given when the status is "In progress."
▼Content category
You can customize the Content categories.
In order to set up a content category, you must create the category in advance.
Select "Manage content" > "Manage content categories" in the side menu, and create a category from "Add Category".
Multiple categories can be set for a single badge.
When all settings are complete, click "Add".
The created badge will be added to the list.
Update badge
01. Update badge
Click on the orange gear icon on the item you want to update.
02. Edit items
Edit the item(s) and click "Update."
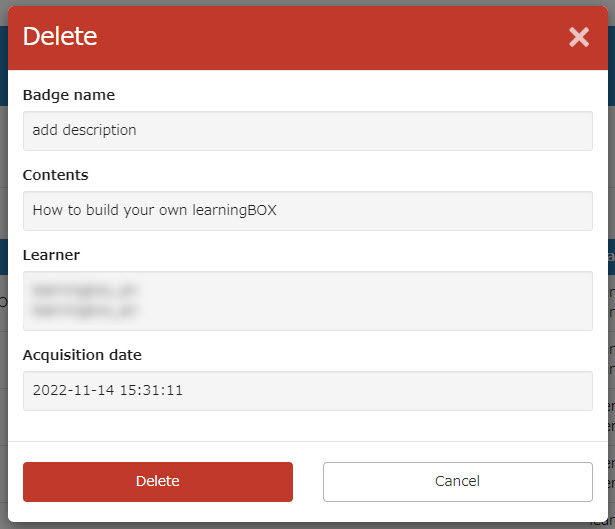
Delete badge
01. Trash can icon
Click on the red trash can icon on the badge you want to delete.
Click "Delete."
*If the learner(s) has/have already acquired the badge you wish to delete, you cannot delete it.
For more details, refer to Acuired badges .
Note that deleting a badge will also remove the badge set to the content.
Selected content
You can see which content the badge is set to.
A number is displayed for each badge, click on the number for more information.
Issued badges
You can check how many badges you have issued.
Click the number to check the details in the tab of Acuired badges .
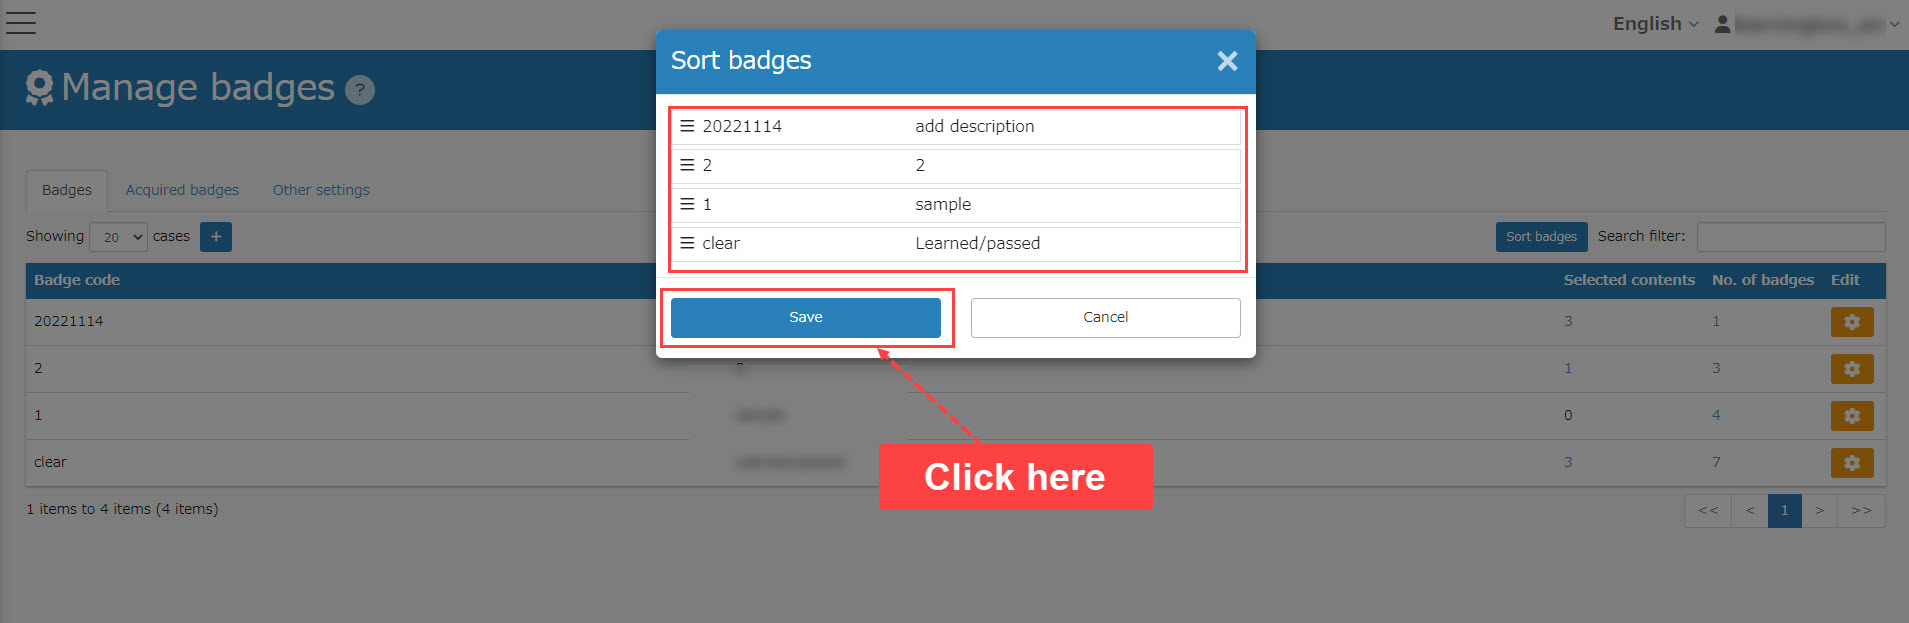
Sort badges
Badges can be sorted.
01. Pop-up window
Click on "Sort badges."
02. Sort
Drag and drop the items to sort.
Save the settings.
Acquired badges
Badges assigned to users are displayed in a list.
*For more details, refer to Acquired badges.
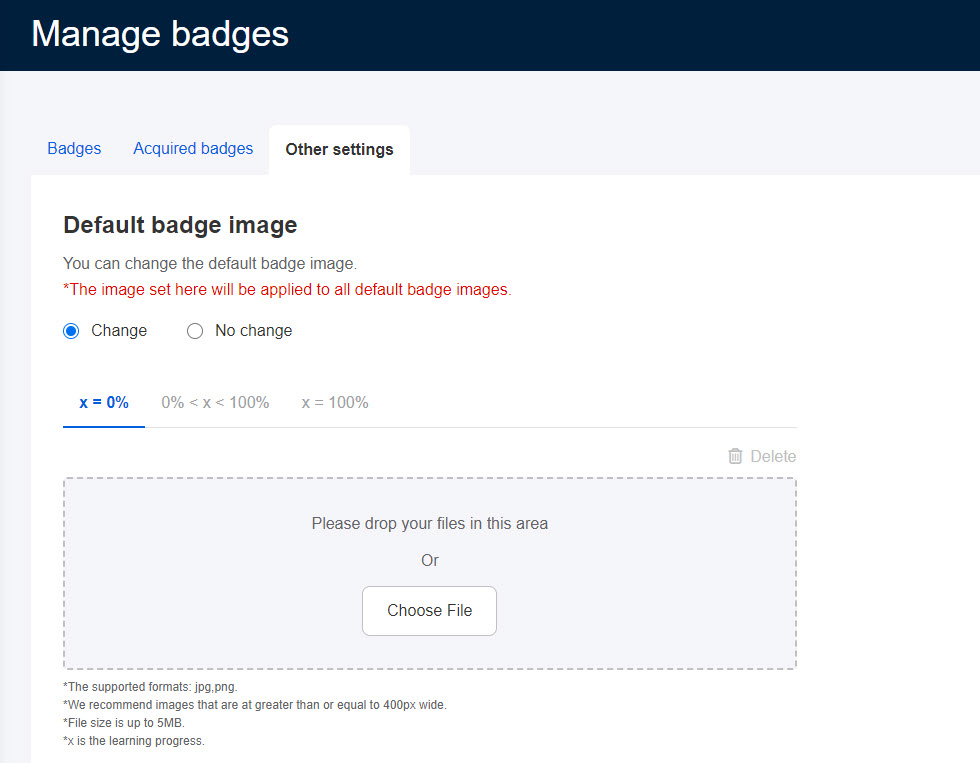
Other settings
Default badge image
You can change the default badge image.
Tick Change or No change.
Tick "Change" to set images according to the completion rate.
Drag and drop image files or upload from "Choose File."
To delete the uploaded images, click "Delete."
*For more details, refer to Original image.
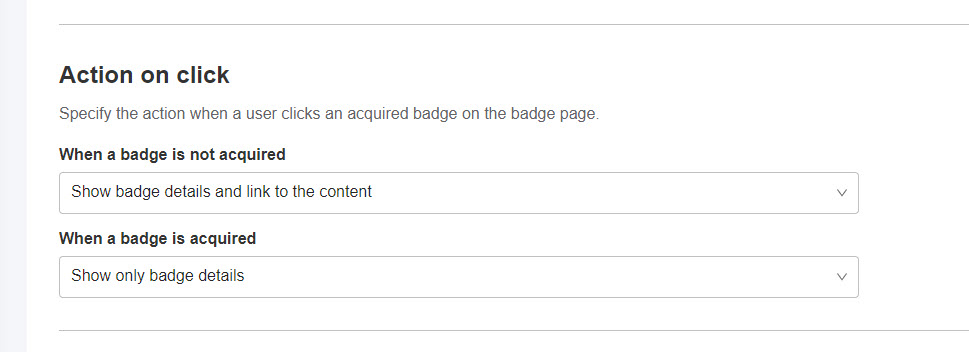
Action on click
You can specify the action when a leaner clicks an acquire badge on the Badges.
Select the action on the list.
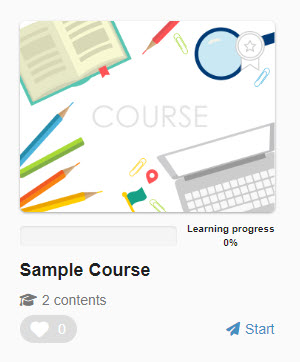
Display acquired badges
You can select how you want to dispaly the acquired badges to learners.
- Show only badges set to the currently assigned content
- Show all badges set to the deleted/previously assigned content

The conditions you set will affect the status of the badges on the following page:
Save the settings.![]()