Add product
This page explains how to add products to be sold on learningBOX using the eCommerce feature.
It also includes the pricing, period to open, etc.
Click on "Product Management" in the side menu to open it.
Required
Customization, EC option
*All of the following management roles are required:
- Management role of Group manager (Edit for all users)
- Management role of Content manager (Edit for all content)
- eCommerce manager
Add product
This section explains how to add a product.
01. Go to the Manage products page
Click on "Add" on the "Manage products" page.
The following page will open.
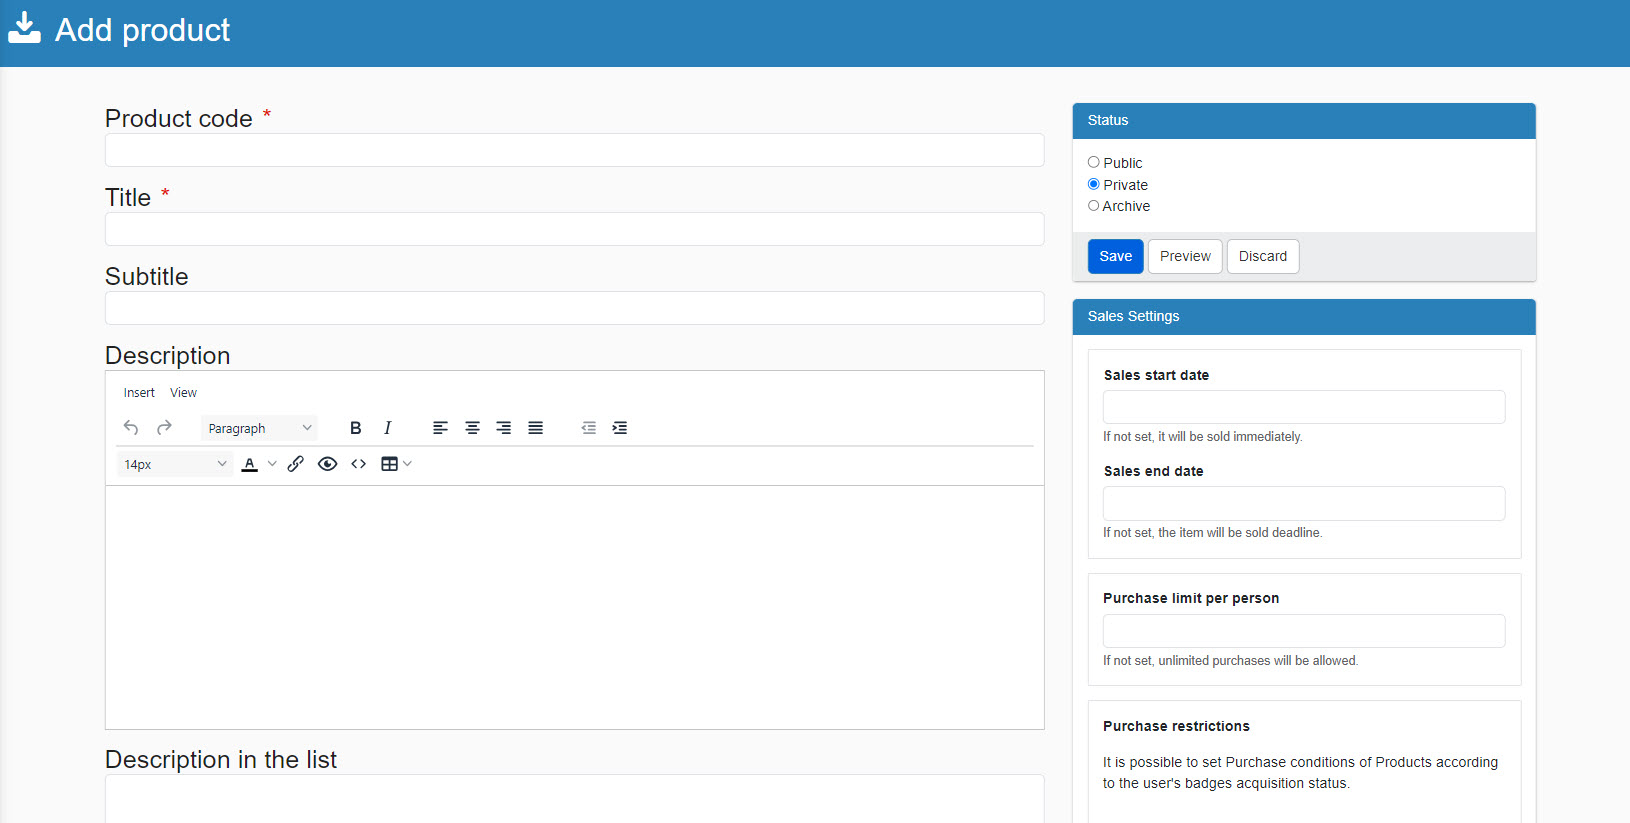
02. Fill in the form
Enter the product code, title, subtitle and description.
Text you enter in the Description box will be displayed on the start page of the product. Also, content entered in the "Description in the list" will be displayed on the "Search product" page.
Fields marked with "*" are mandatory.
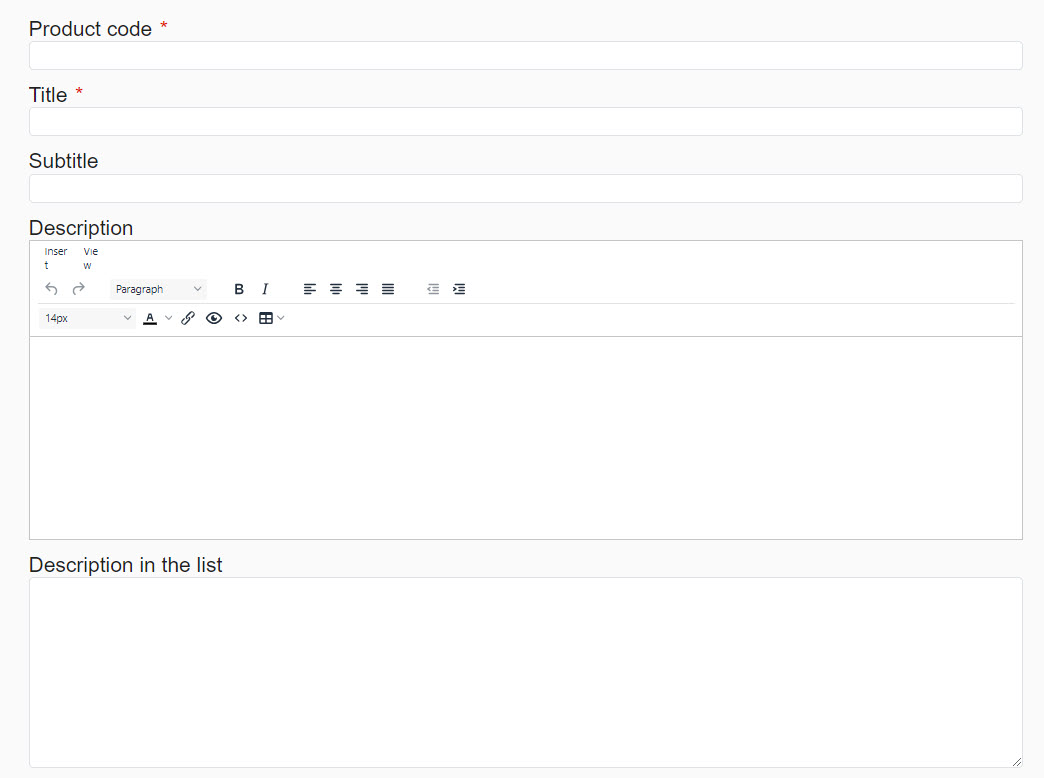
When the "Description" is set and "Description in the list" is left blank, the content set in the Description will be displayed.
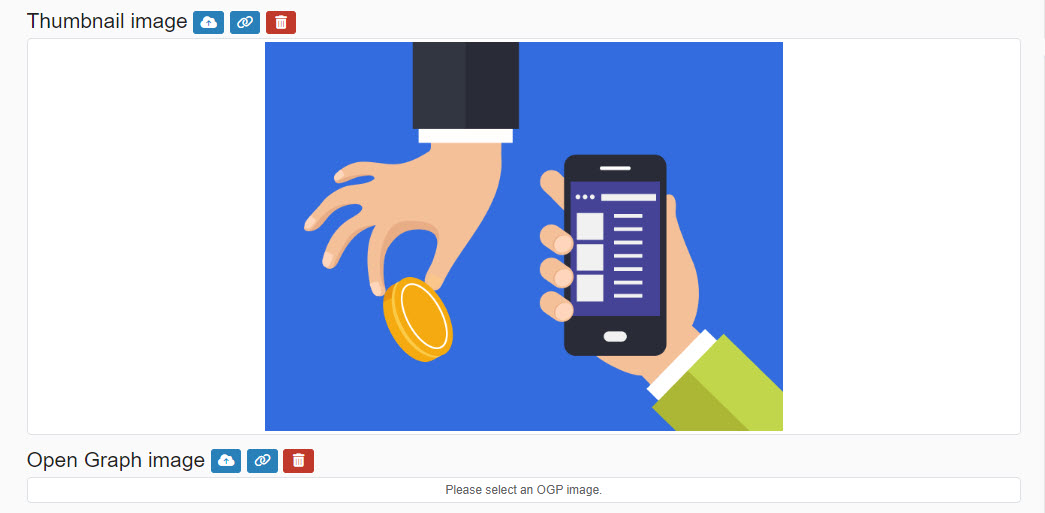
03. Thumbnail/Open Graph Image
For thumbnail images, they are set by default (OGP images are not set).
To set another image, upload a file from the cloud icon or specify a media URL from the link icon.
To delete, click on the trash can icon.
[What is Open Graph Image?]
Open Graph image is displayed when a URL including a website or an article is shared on social media.
It includes the title, URL, description and image.
04. Add a course
Courses can be added to this product.
Click on the "+" icon next to the Course and select course(s).
To show a preview of the content to learners before purchasing, tick the box(es) in the Preview column.
To confirm the details of content, click on the file icon.
You may remove a course you have added by clicking on the trash can icon.
05. Price/period
Click the "+" icon next to the Price/period to set the price and sales period for the product.
Set each of the following items.
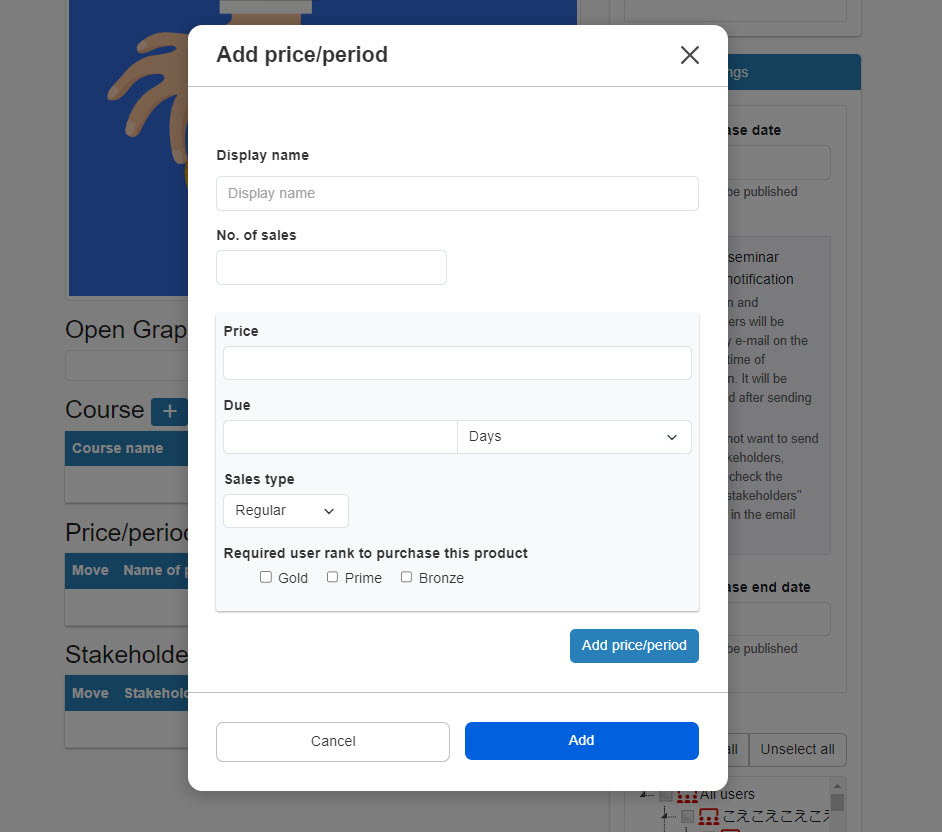
▼ Display name
Multiple price and periods can be set for one product.
If you want to set a different display name for each, enter the Display name.
▼ Number of sales
If you want to set a maximum number of products to be sold, enter a number.
▼ Price
Set price of the product.
▼ Period
You can set the period of availability after the product purchase.
▼ Sales type
You can choose from the following three types:
・Regular
・ Subscription
・ Agent
▼ Membership ranks available for purchase
Pre-created Membership rank allows you to limit the number of learners who can purchase the product.
Select one(s) to apply.
By clicking on "Add price/period", multiple price and periods can be set for one product.
Click the arrow icons to reorder, and remove items with the trash can icon.
Click "Add" to finish the settings.
06. Select stakeholders
Stakeholders can be set for this product.
Click on the "+" icon in the "Stakeholders" section.
Set each of the following items.
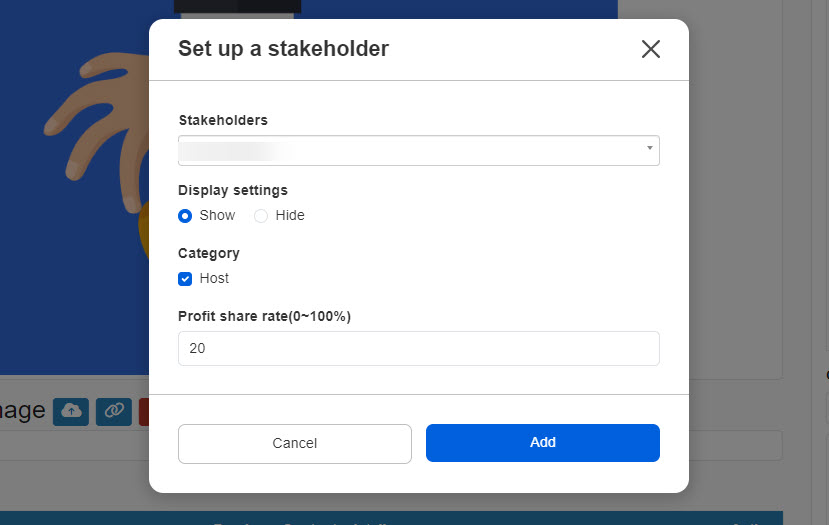
▼Stakeholders
Select stakeholders from the list to link to this product.
*Register stakeholders in advance in the Manage stakeholders.
▼ Display settings
The instruction of the stakeholder can be displayed with the product.
Select Show or Hide.
▼ Category
Select the item(s) on the Category.
▼Profit share rate (1-100%)
A portion of the profits from the sale of products can be distributed to the stakeholders.
Enter the % value in the input field.
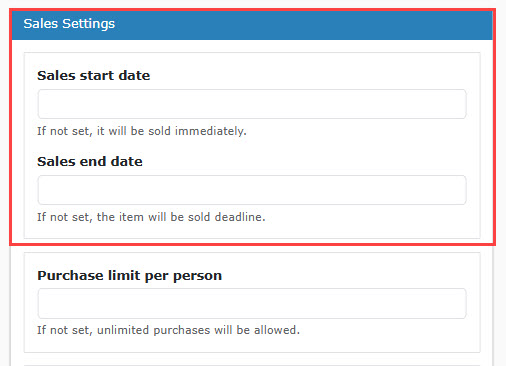
07. Sales start/end date
Set the period to sell the product.
During the period you set, the product will be displayed on the "Search product" page.
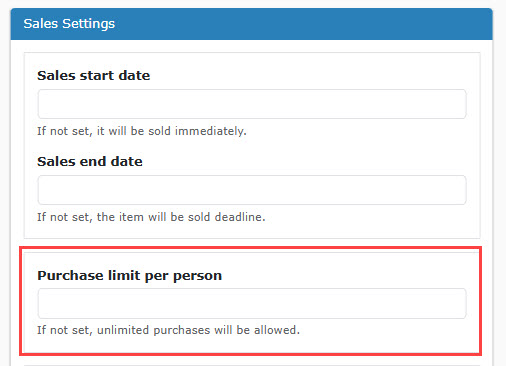
08. Purchase limit per person
Enter the maximum number of times each learner can purchase the item.
If not set, unlimited purchases can be made.
09. Required badge
Regarding the purchase restrictions, conditions can be set with badges acquired by users.
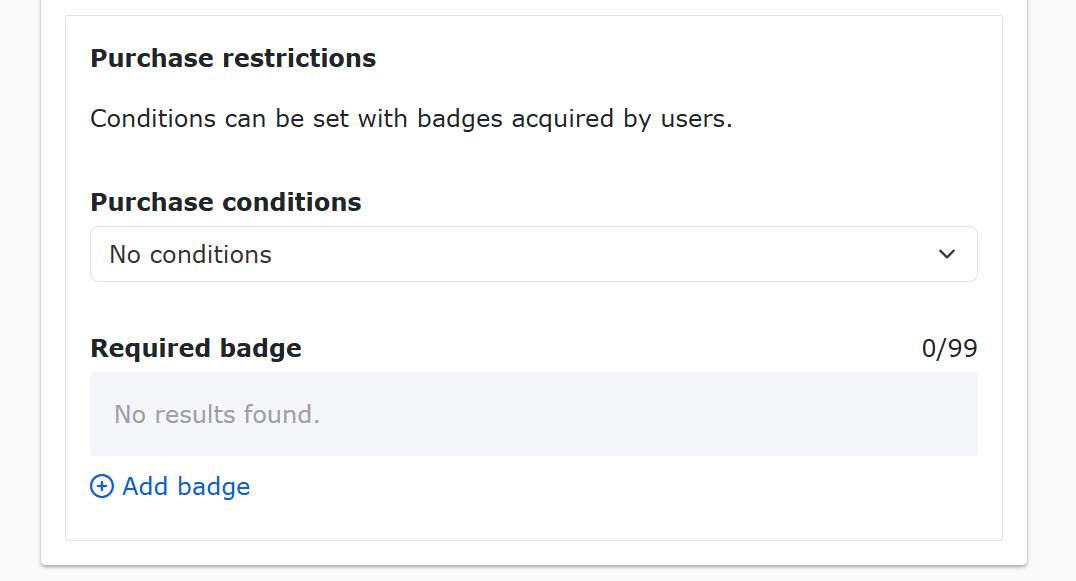
Select a condition from the list.
The following five items are selectable:
- No conditions
- Acquired all eligible badges
- Acquired part of eligible badges
- No eligible badges acquired
- Some eligible badges not acquired
Next, select badge(s) for the requirement.
Click on "Add badge" and select the badges you want to add.
*Up to 99 badges are selectable.
*For more details on the badges, refer to Manage badges.
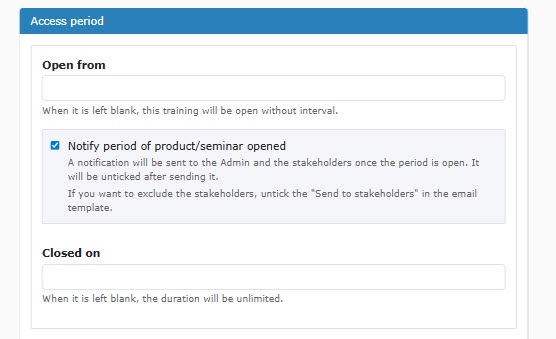
10. Access period
You may set the period of time to display the product on the "Search products" page.
If you tick the "Notify me when product seminars are published" box, the administrator and relevant parties will be notified by e-mail when the product seminar is published.
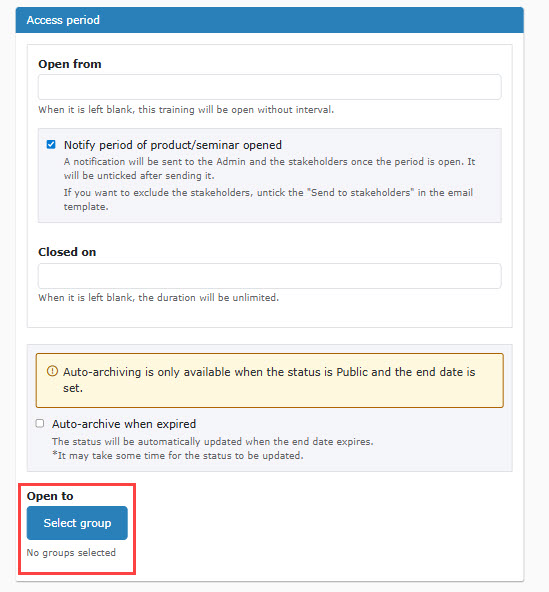
11. Settings for automatic archiving
You can choose whether or not to automatically archive when an item is closed to the public.
If you wish to archive, please tick the "Automatically archive at the end of publication" box.
The system will automatically do this once a day after the end date and time of publication.

The following settings are required to use this service.
- Set status to "Public
- Set the publication end date and time
Note
When a product is created, a group is created for each individual product.
If the above automatic archiving is set up, the group will also be automatically archived in conjunction with the status of the product.
12. Settings for publication
Select group(s) to assign the product.
Click on "Select group."
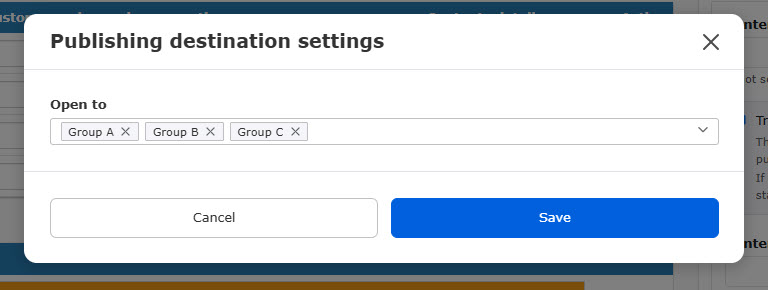
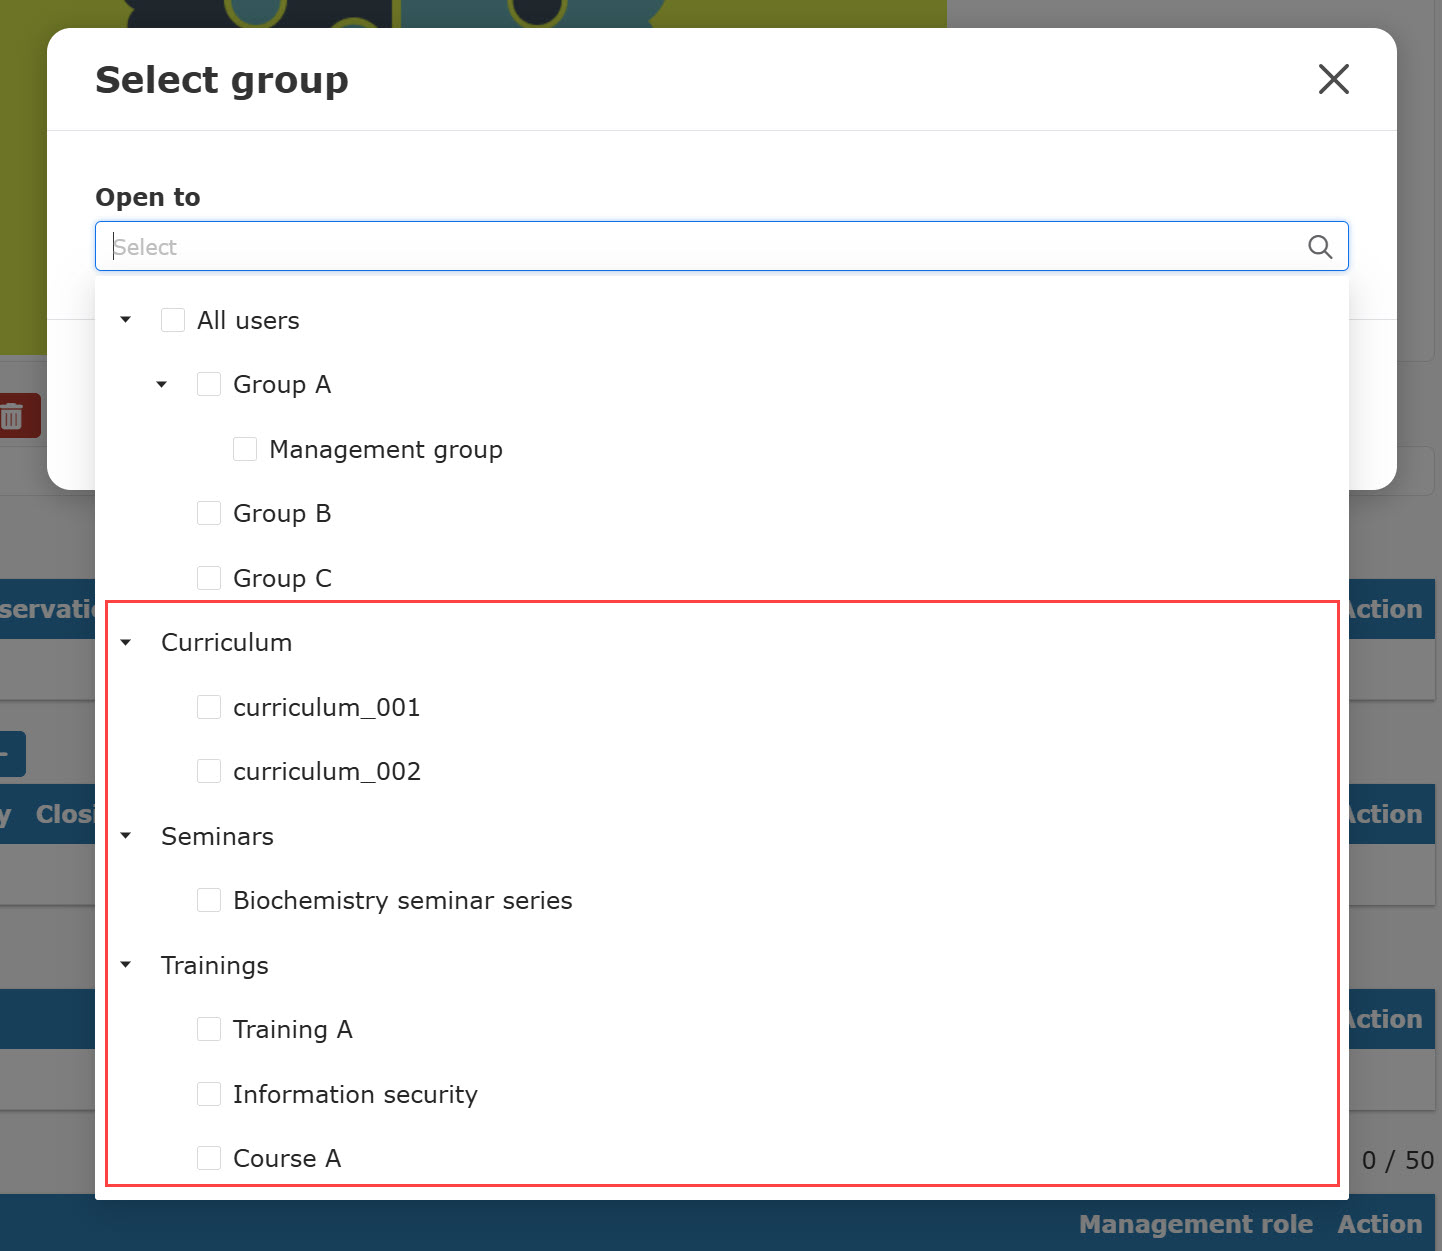
Select group(s) from the list.
Save the settings.
*"Publishing group has been set" will be displayed after selecting group(s).
In a hierarchical group, selecting the upper group automatically selects the lower groups as well.
Note
When you create a product/seminar/curriculum/training, a group will be automatically created for each product or seminar.
These groups can be selected to assign a product or seminar.
This allows you to automatically open products only to users who purchased a specific seminar.
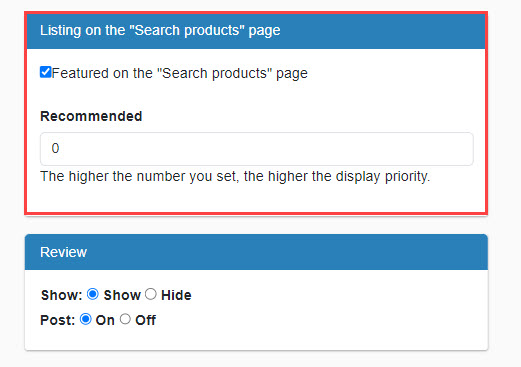
13. Settings related to listing on the "Find Products" page
Tick the box to display the product on the "Search products" page.
You can also set the product recommendation level.
The higher number you enter, the higher the product will be displayed in the list on the "Search products" page.
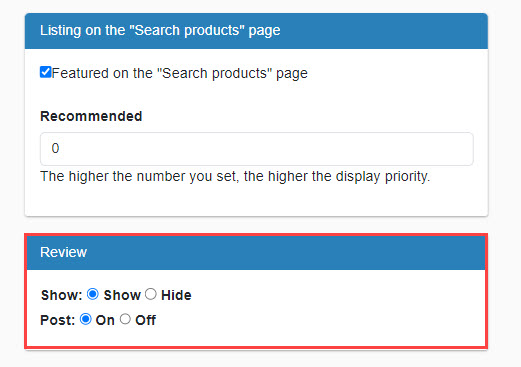
14. Review Setup
You may display the learners' reviews of the product on the start page.
Also, learners can post the review on the same page.
*Be sure to activate "Enable the review function" in the EC basic settings.
If you allow posts, be sure to set the review to "Show."
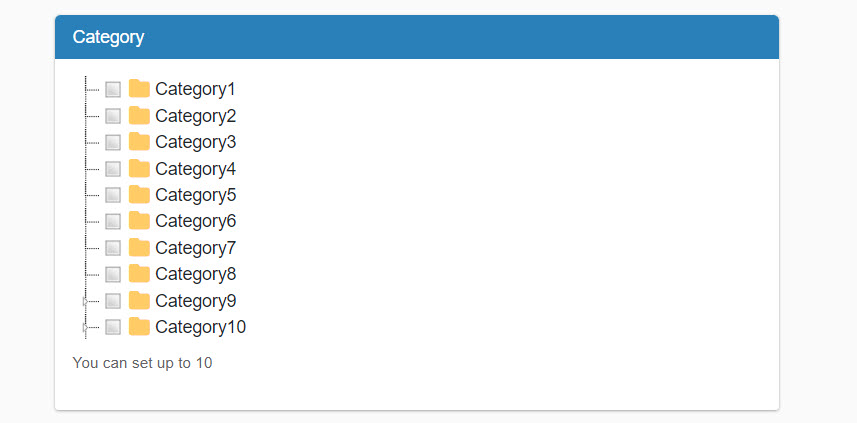
15. Category settings
You can set categories to the product.
This allows learners to search products on the "Search products" page.
Select categories you wany to add.
*Up to 10 categories are selectable.
*For more details on the category, refer to Categories.
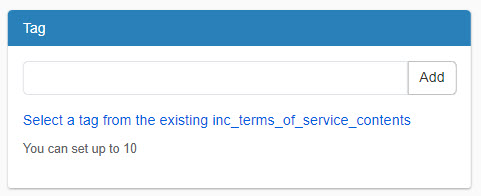
16. Tag settings
Tags can be set for the products.
The tags you set will help learners to search products.
To create a new tag, enter a tag name and click "Add."
When you want to use existing tags, click on "Select existing tag."
*Up to 10 tags can be set.
*For more details about tags, refer to Manage tags.
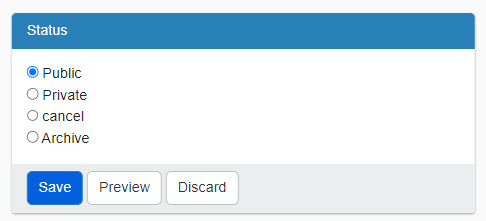
17. Save/Preview
Select the status and click "Save."
To preview the product, cllick on "Preview."
Clicking "Discard" allows you to go back to the "Manage products" page.
*When archived, it will be hidden in the "Manage products" and the "Search products" page.
- No changes will be made to the assignments of learners whose archived product has been purchased.
- Archived products can be searched on the top of the "Manage products" page.
Note
When a product is created, a group is created for each individual product.
Groups are also automatically archived or unarchived in conjunction with the status ("archived" or not) of the above products.
Edit Products
You can edit the contents of registered products.
01. Go to the Manage products page
Click on the gear icon of a product in the "Manage products" page.
02. Edit
To view how to edit the settings, refer to Add product.
Duplicate
You can duplicate registered products.
01. Go to the Manage products page
Click on the duplicate icon on the product.
02. Edit
The duplicated product contains the same content as the source one.
Note that "_copy" is automatically added to the product code. This code is editable, but must not be the same as others.
Edit the content of the product if necessary.