Course settings
This page explains the Course settings.
*Go to Environmnent settings > Course settings on the side menu.
Required
Management role of Admin or Co-admin
Select a course
The following settings are available.
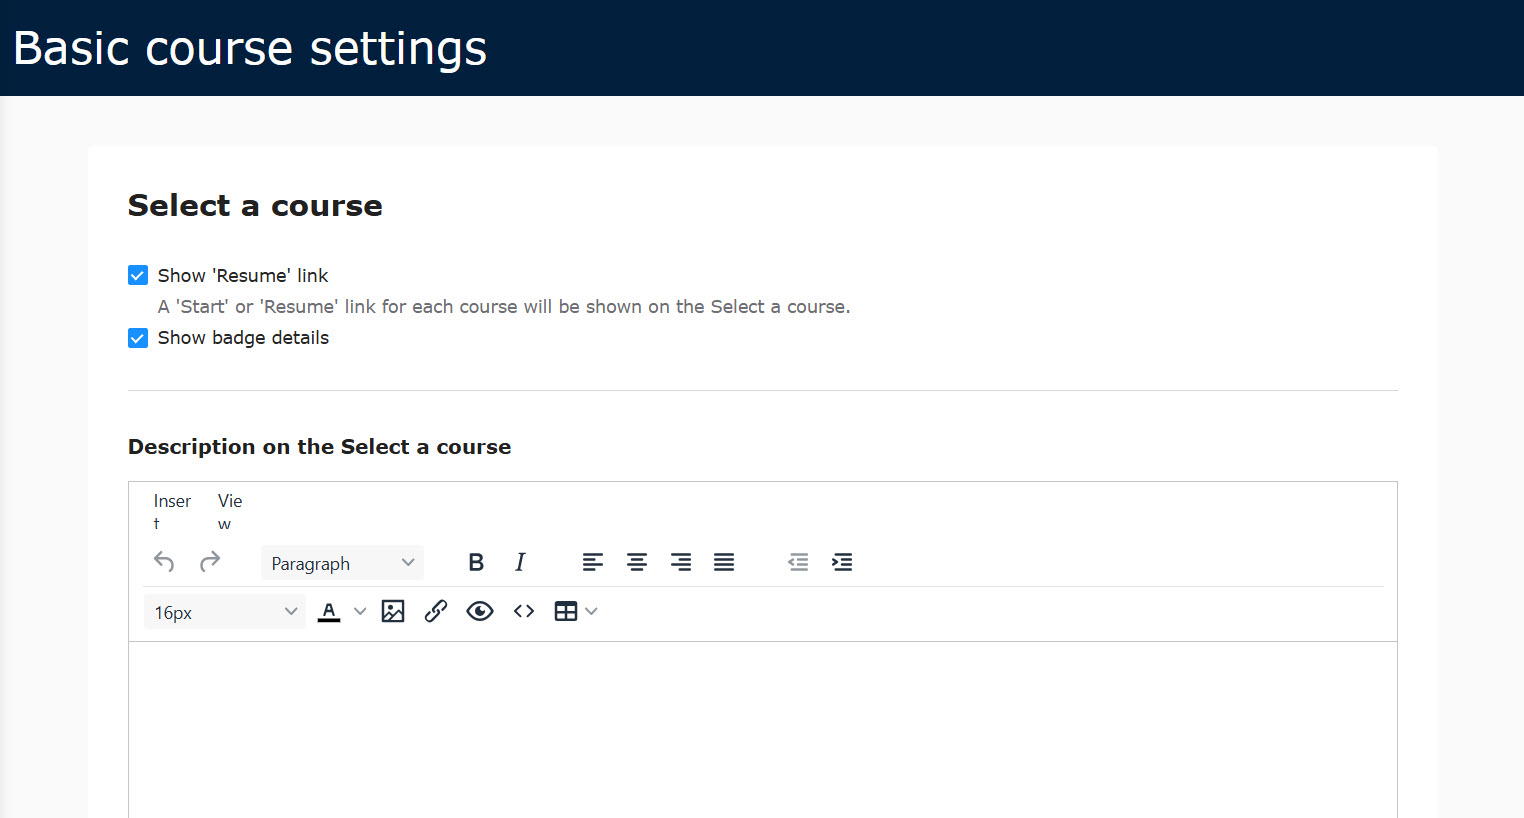
01. Resume icon
Resume icon brings users to the page they need to learn in the course.
Tick the box to use this function.
02. Show badge details
Tick the box to allow users to check badge details on the Select a course.
When ticked, badge details will be displayed by clicking an acquired badge.
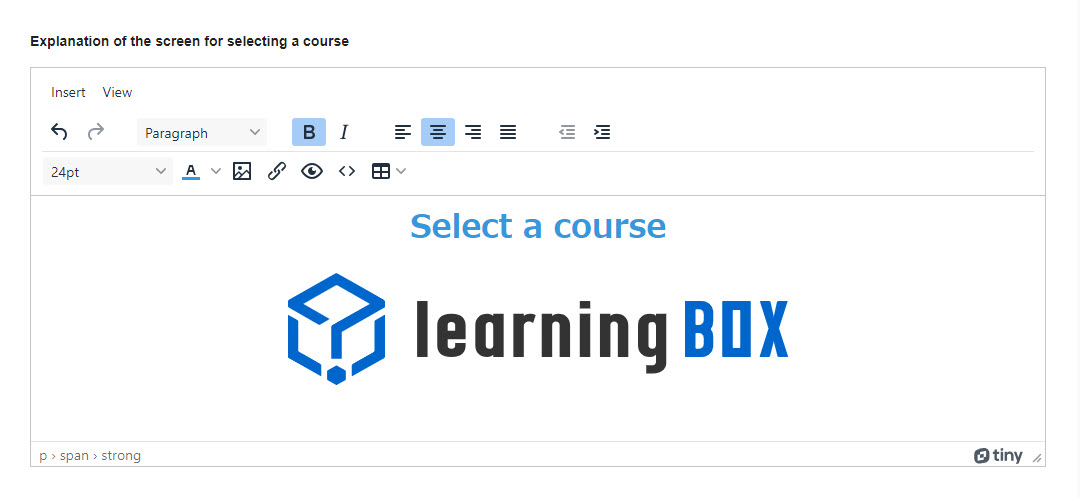
03. Description on Select a course
A description can be set at the top of the page of Select a course.
You can change text color, insert images and links and more.
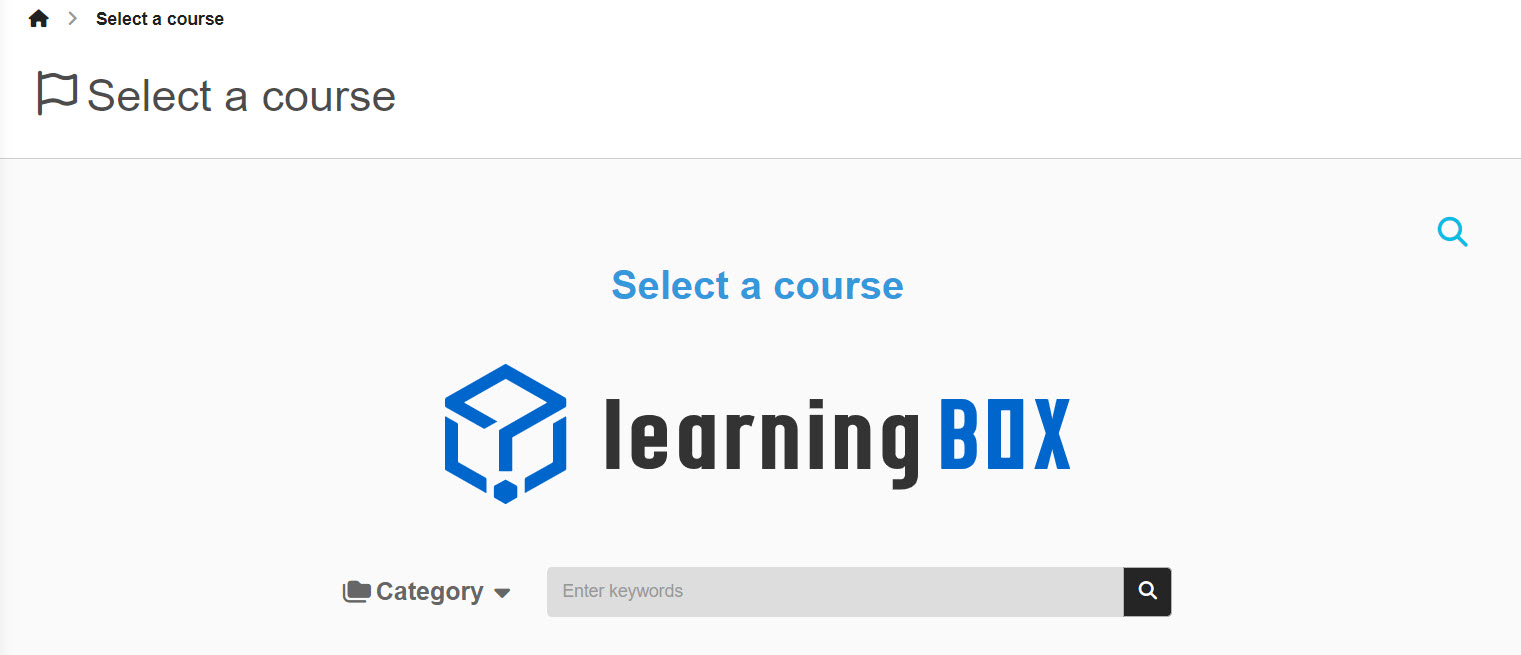
▼ User interface on Select a course
04. Course list
Each course can be shown as a panel or list on the Select a course.
Select one as a default setting.
05. Course order
Select a course order shown on the Select a course.
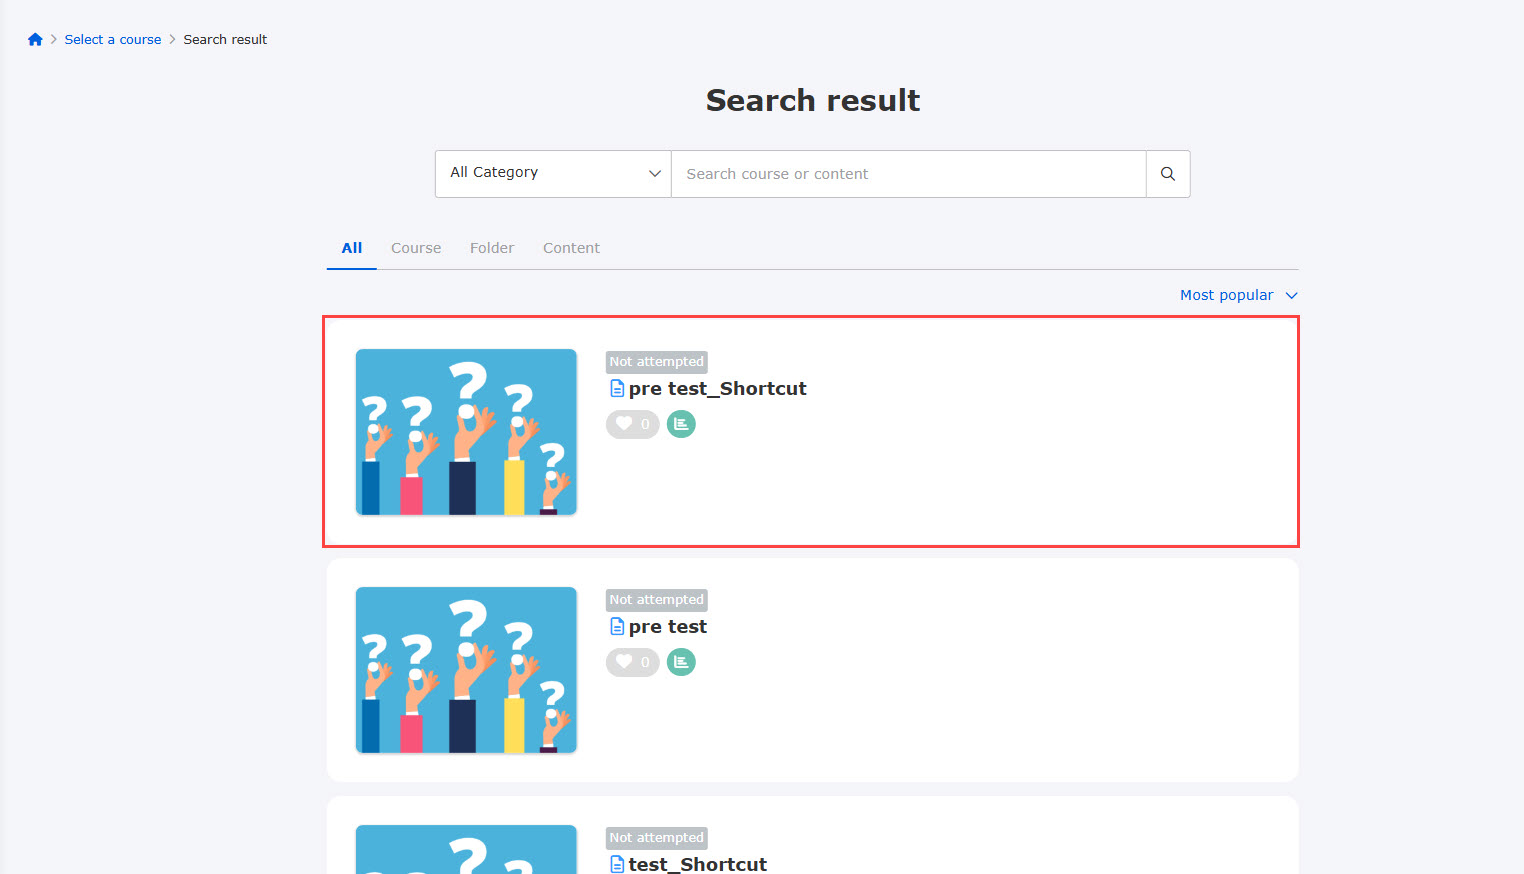
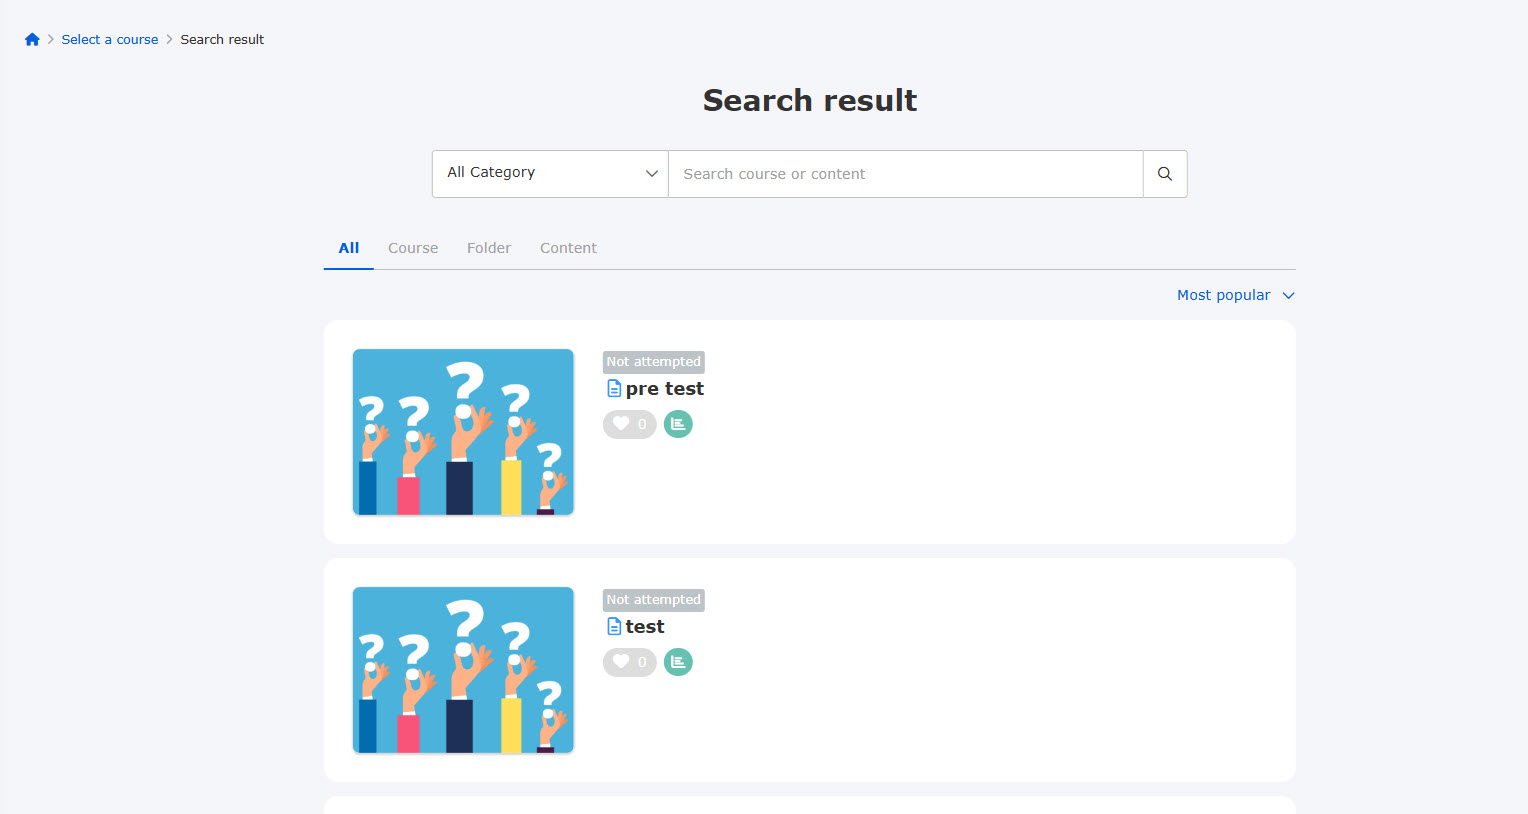
06. Customize search results
You can choose whether to display course/folder/content shortcuts in the search results on the Select Course screen. If you wish to display them, please tick the "Display shortcuts in search results" box.
▼ When displaying
▼If not displayed
The settings we have made here are the same as those in theDashboardThe same applies to the "Course List" and "Contents List" panels on the "Course List" and "Contents List" screens.
You can set whether or not to use the learningBOX ON (JPN only)The courses in the "Course" section will be displayed regardless of the setting here.
Display settings
You can edit display settings.
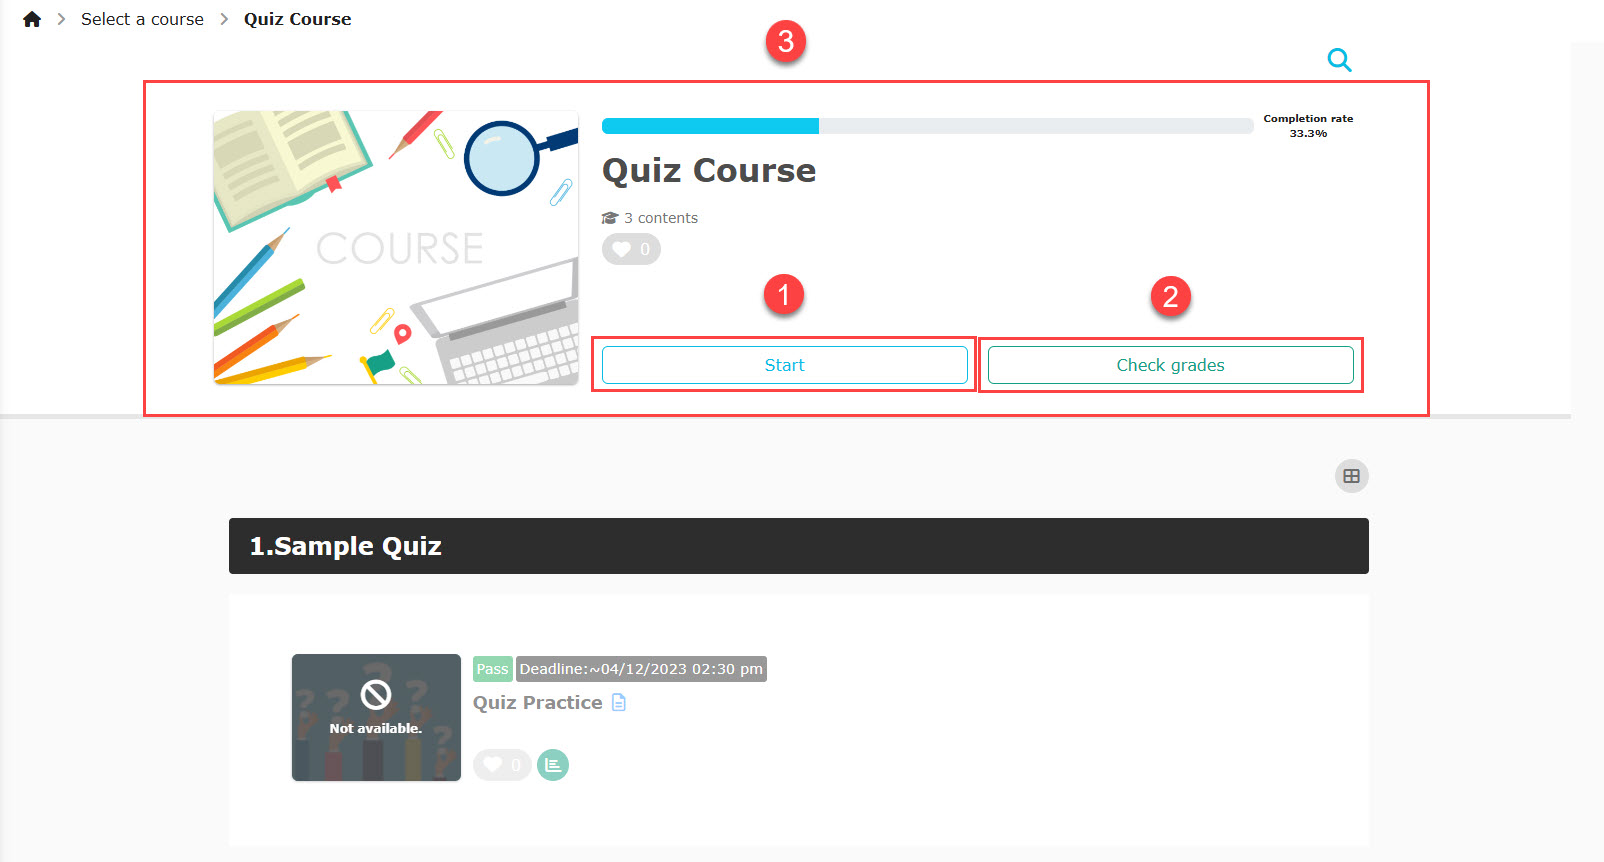
01. Display settings for each item
You can select the following items to show on each course.
Tick the items to display.
- Start button
- Check scores button
- Course description
02. Default appearance
Select panel/list as default to show each content.
Start content
Select items to show while learners are working on the content.
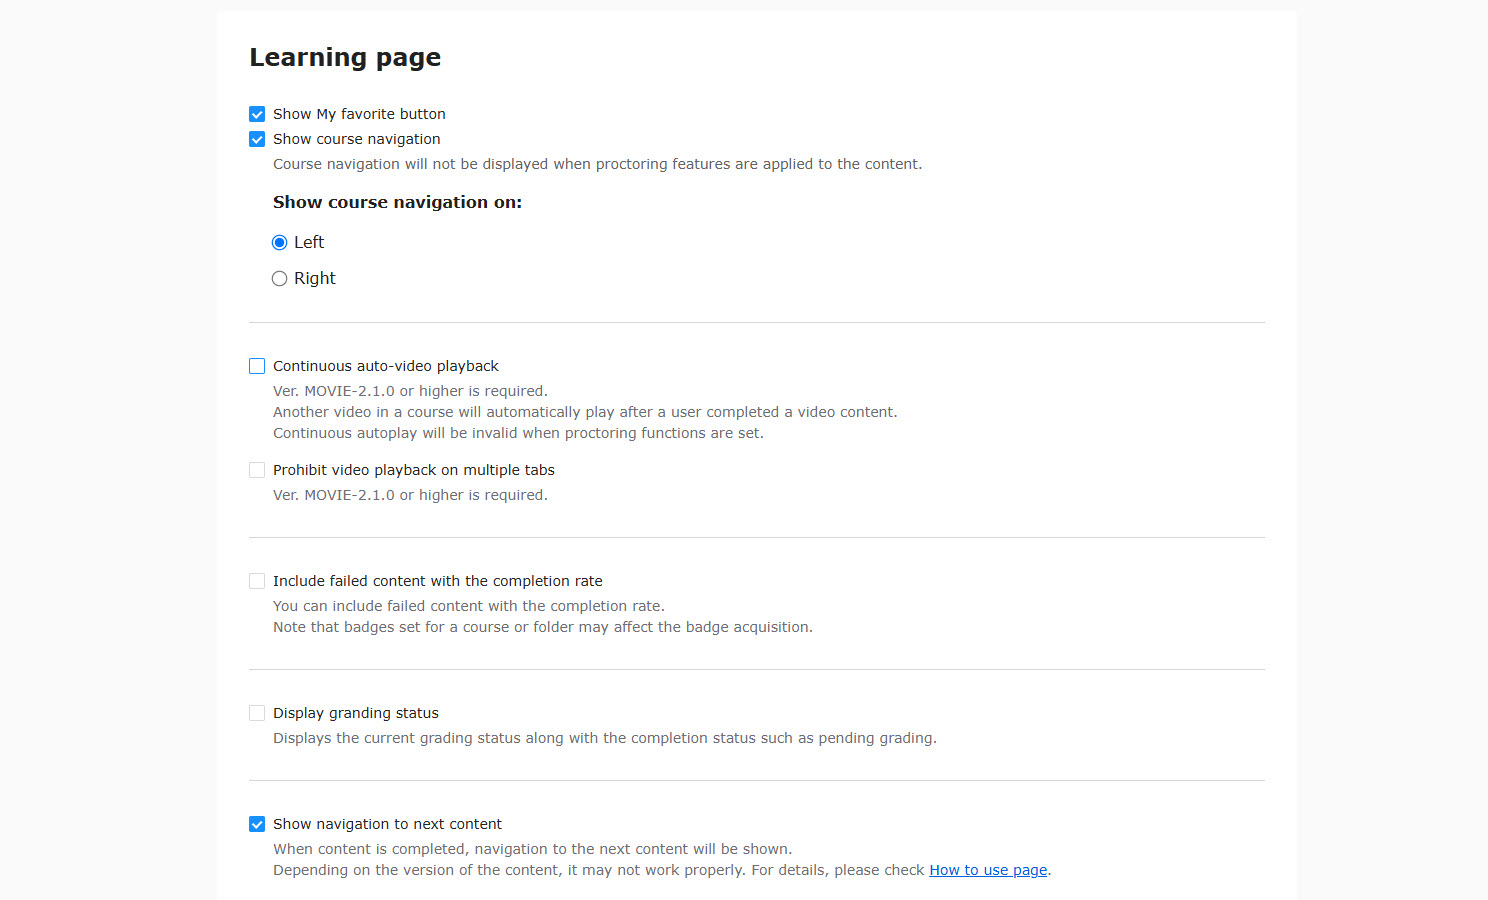
01. My favorites
The heart icon allows learners to organize course, folder or content in one place.
Tick the box to customize the button color.
For more information about favorites, please see "Select a coursePlease refer to "Registering Favorites" in the
You can set whether or not to use the Course navigation.
Tick the box to use the function.
Note that the course navigation will be hidden in the content which proctoring features are applied to.
Navigation window can be displayed on the left or right side of the screen.
03. Video settings
The following settings are available.
Required
MOVIE-2.1.0 or later
▼Auto-playback
When multiple video content with [MOVIE-2.1.0] or above version are uploaded in succession, subsequent videos will be automatically played. When you do not want to apply auto-playback, untick the box.
*For more details, refer to Auto-playback.
The video content includes a "ProctoringPlease note that continuous automatic playback will be disabled if you set the "Auto Playback" option.
▼Disallow video playback on multiple tabs
You can disallow users to play videos in multiple tabs.
Tick the box to use the function.
The default setting allows learners to play videos in multiple tabs.
*For more details, refer to Disallow video playback in multiple tabs.
04. Completion rate
▼ Include failed content with the completion rate
Select if you include failed content in the completion rate.
Tick the box to use this function.
*For more details, refer to Include failed content in the completion rate.
05. Grading status
For content which a grading workflow has been set to, you can show the current grading status in the panel of the course start page.
Tick the box to show.
06. Settings for navigation
You can set whether or not to display the navigation to the next content when the learning of the content is completed.
Tick "Show navigation to next content" to display the bar.
Once set, it will be applied to "All Courses".
*Course Basic InformationThe same settings can also be made on the "per course" screen, but these settings are made "per individual course".
To display content on the navigation, conditions must be met.
For the details, refer to the table below.
| Content list | Type | API Name (Generator Version) |
| Quiz/exam | QUIZ | 6.7.0 and above |
| 5.5.0 or above | ||
| Flashcards | CARD | 4.3.0 or above |
| Embedded video | YOUTUBE | 1.1.0 or above |
| iframe | IFRAME | 1.1.0 or above |
| Certificate | CERTIFICATE | 3.3.0 or above |
| Questionnaire | WRAPPER | 3.4.0 or above |
| Video | MOVIE | 3.2.2 or above |
| SCORM | SCORM | 3.4.0 or above |
| Questionnaire | ENQUETE | 3.4.0 or above |
| Web page | hypertext markup language | 3.4.0 or above |
| Show/hide workbook | MARKER | 3.4.0 or above |
| URL link | URL_LINK | 3.4.0 or above |
| LTI 1.3 | LTI | 3.4.0 or above |
| Upload file | DOWNLOAD | 2.4.0 or above |
| Typing practice | TYPING | 2.5.0 or above |
| Score chart | RESULT | 1.8.0 or above |
| Personality test | ASSESSMENT | 1.5.0 or above |
*The LTI 1.3 tool function requires the Customization option.
Open course
You can show course details before learners log in.
*For more details, refer to Open course.
Required
Customization
01. Show course information before login
Tick the box and select groups.
Course information will be shown to the selected groups before login.
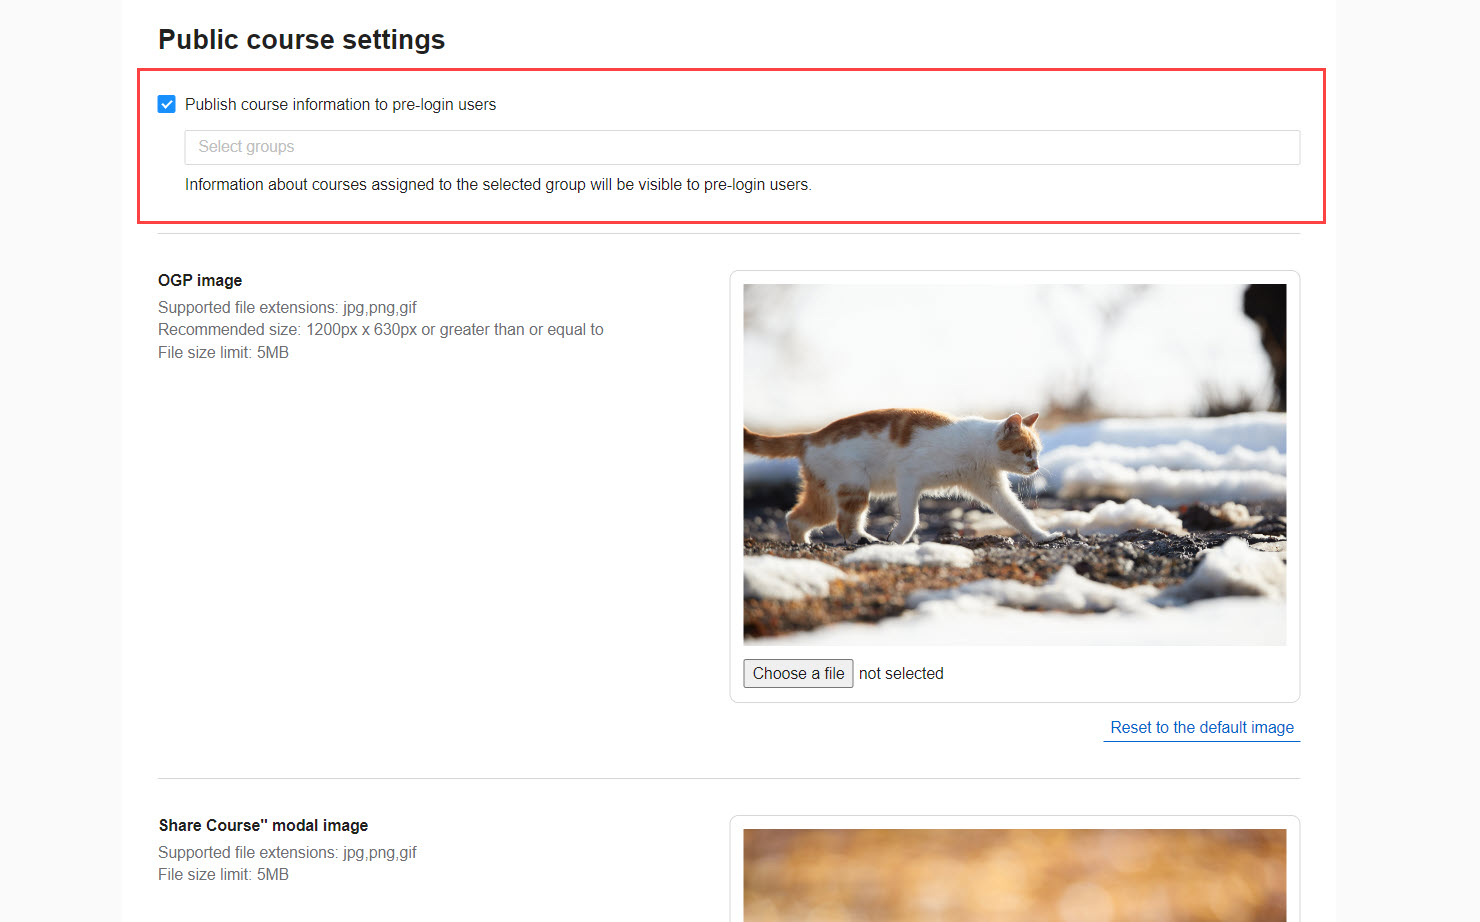
02. Settings
The following items can be set.
You can upload a file from "Choose File."
Click on the default image to reset the settings.
▼ Open Graph image
You can set an Open Graph image for the Open course.
[What is Open Graph Image?]
Open Graph Image is displayed when a URL including a website or an article is shared on social media.
It includes the title, URL, description and image.
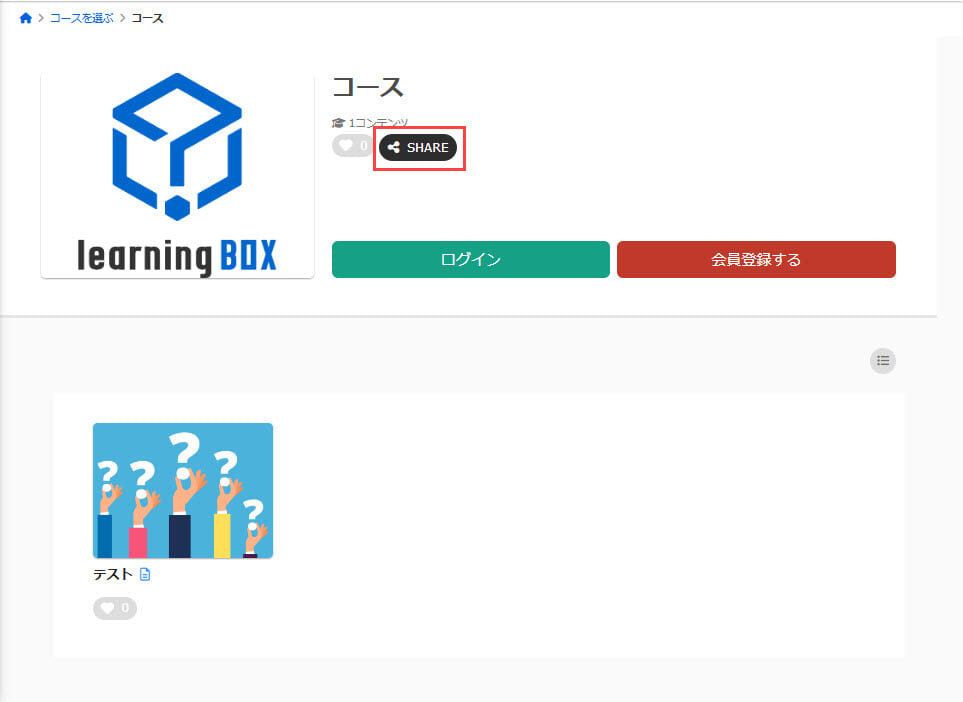
▼ Image on a pop-up
You can set an image on a pop-up shown by clicking a share button on the Open course.
▼ Hashtag
You can set hashtags. They will be shown when each course is shared on social networks.
Enter a hashtag, and press the enter key. (*Multiple entries are available)
You can remove a hashtag by clicking on the ✕ button.
*To share on social networking sites, click the X or Facebook icon after clicking the "SHARE" button for each course on the "Courses Open to the Public" screen.
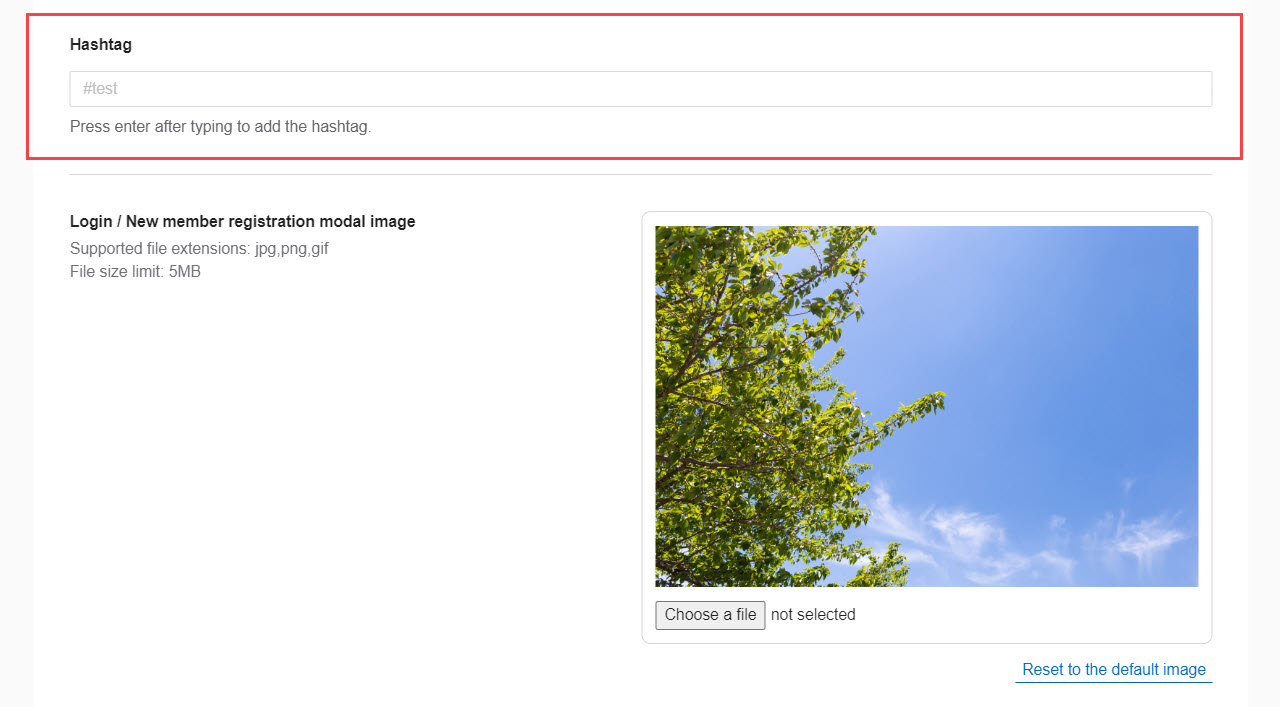
▼Image on the login/sign-up page
You can set an image on a pop-up shown when users click a heart icon on the Open course.
Scene settings
When learners log in using SSO, you can specify courses to be displayed depending on the scene.
01. Add a new scene
Click on +Add a scene.
The following window will be displayed.
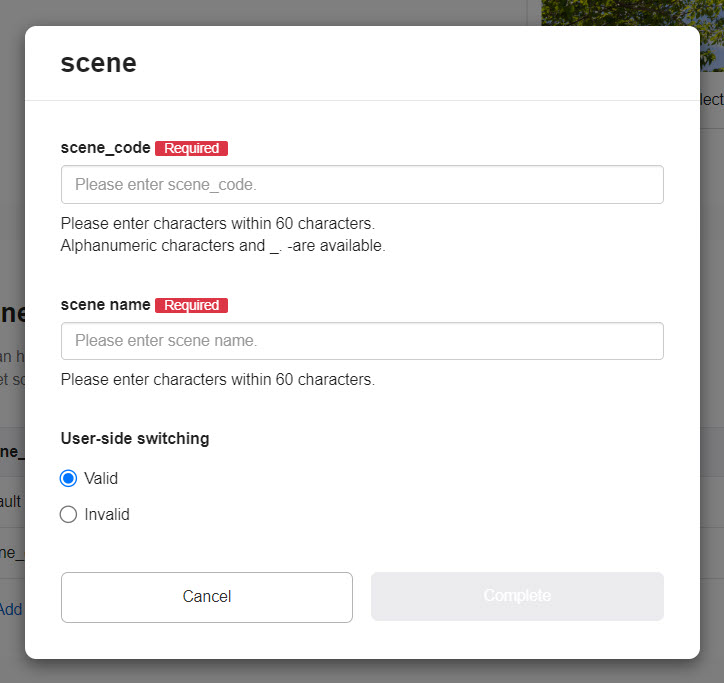
Set the following items:
- Scene_code: Enter a unique scene code
- Scene name: Enter a scene name
- User-side switching: Allow/disallow learners to switch the scenes by themselves
02. Edit a scene
You can edit added scenes.
Click ︙>Edit
03. Assign a scene to a course
Assign a created scene to courses.
Go to the Manage content.
Click on the gear icon on a course, and click on the Select a scene.
Select a scene and save the setting.