Manage training
You can create new training programs, duplicate and edit detailed items on the Manage training page.
*Open by selecting "Training Management" from the side menu.
[Training features]
You can build a training program with several courses.
Learners can select and reserve a training course from the list, and take it within the specified period.
Required
Customization
*All of the following management roles
- Group manager (Edit for all users)
- Management role of Content manager (Edit for all content)
Create training
The following two methods are available:
One by one
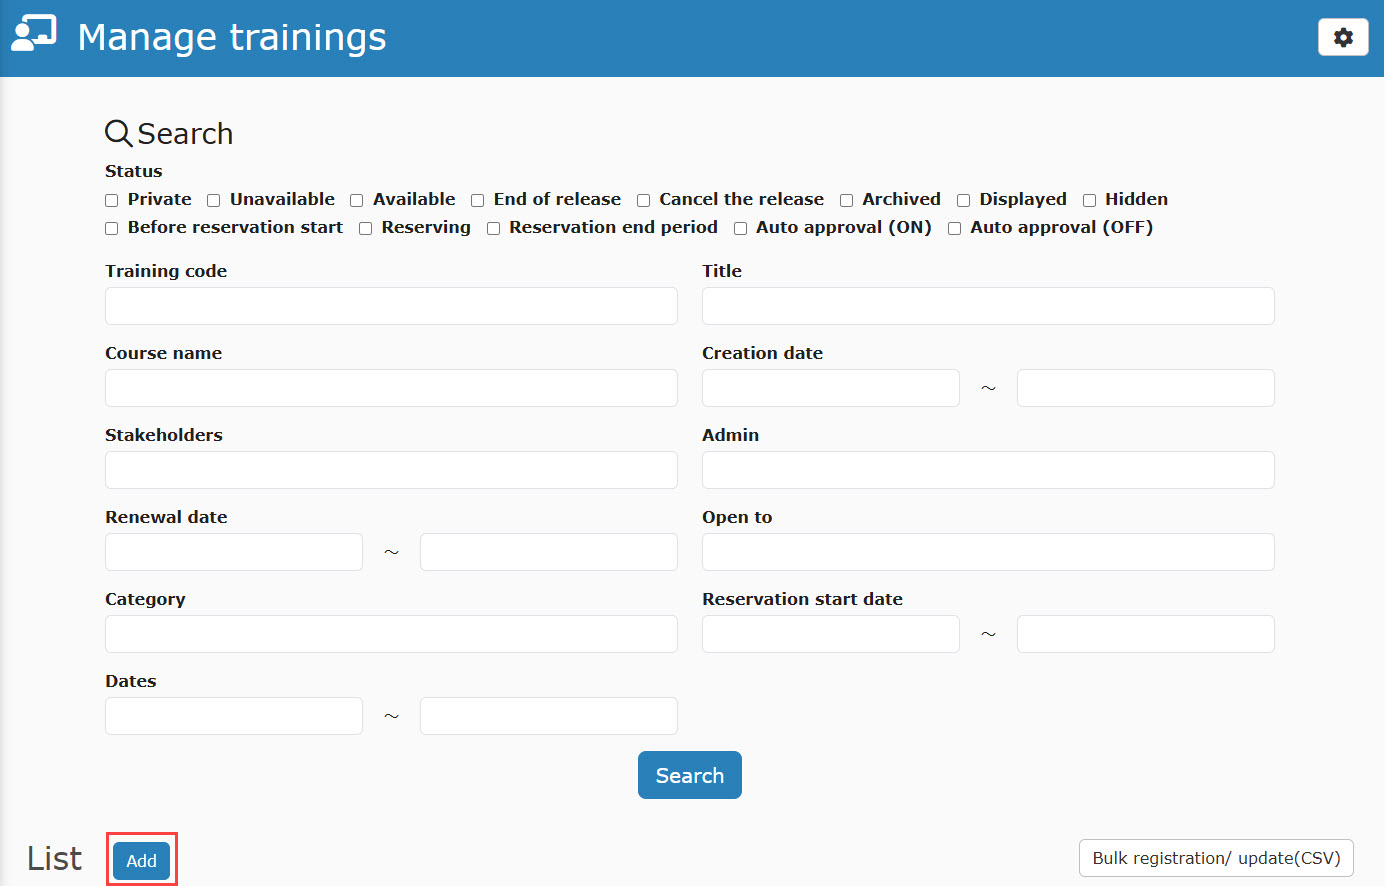
01. Go to the registration form
Click on "Add."
02. Enter items
Enter the training code, title, subtitle and description.
Fields marked with "*" are required.
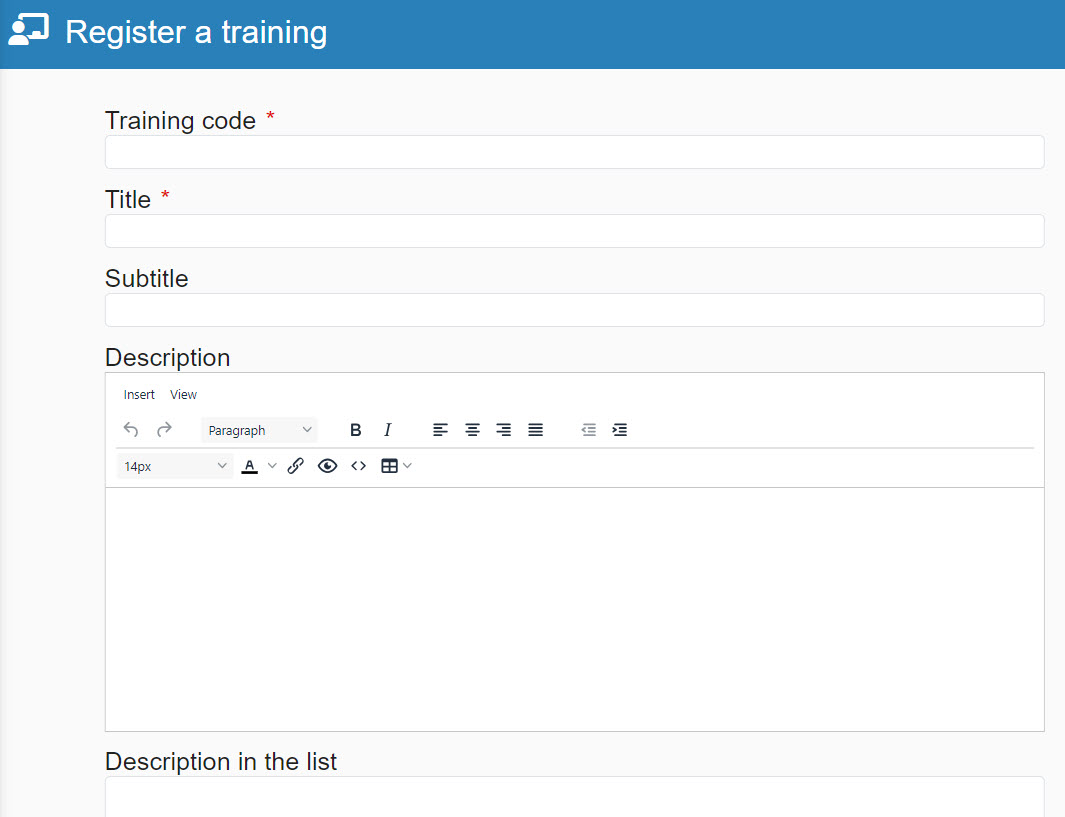
When the "Description" is set and "Description in the list" is left blank, the content set in "Description" will be displayed.
03. Thumbnail/Open Graph Image
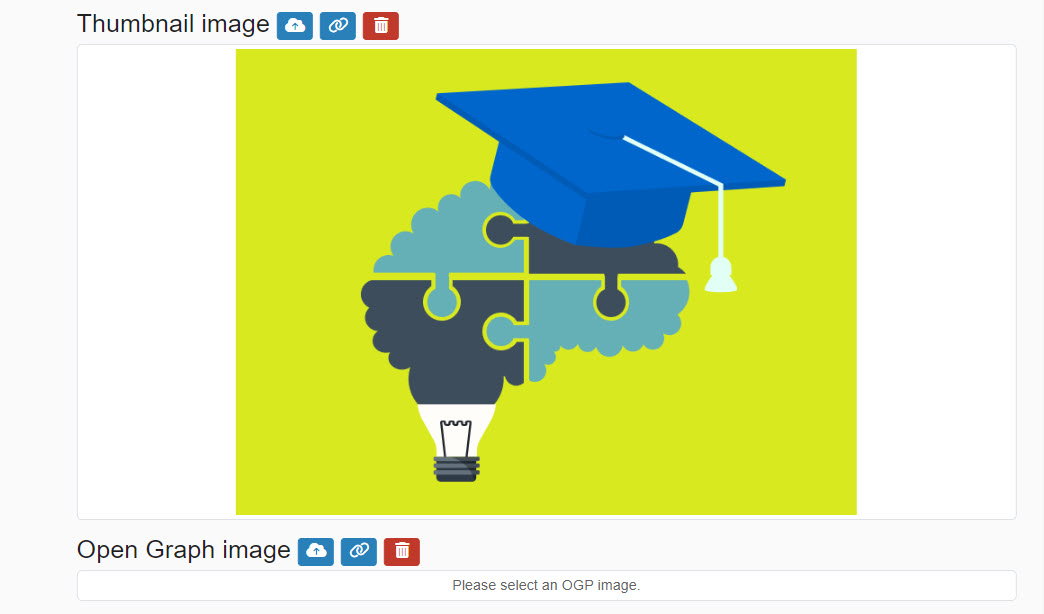
The default image is applied to the thumbnail image. (Open Graph Image is not set)
To set a unique image, upload a file from the cloud icon or specify a media URL from the link icon.
To delete, click on the trash can icon.
[What is Open Graph Image?]
Open Graph Image is displayed when a URL including a website or an article is shared on social media.
It includes the title, URL, description and image.
04. Add a course
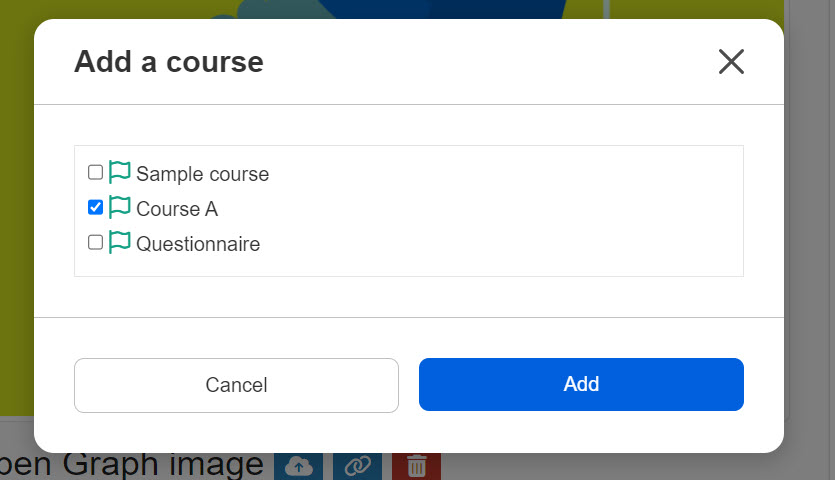
Click on the "+" icon next to "Courses" and select the courses you wish to include in the training course.
Tick the courses you wish to add and click "Add."
*For more details, refer to Course/FolderPlease refer to "Creating a Course" in the "Creating a Course" section.
Tick the boxes to allow learners to review the content before registration.
You can select a duration to open the course from the list.
- Open period:The content will be open from the reservation date to the closing date.
- Only during the training sessions: The content will be open from the start date to the end date of the training.
- From start day to closing date: The content will be open from the start date of the training to the closing date.
The start page of the course will be open in a new tab by clicking the Content details icon.
To remove a course you have added, click on the trash can icon.

05. Add capacity and period
Click the "+" icon next to "Reservation classification" to add the seating capacity, closing date, etc.
Click "Add" to finish the settings.
*When you leave the seating capacity blank, the number will be unlimited.
When you turn on the toggle key at the "Use ticket," set the ticket details.
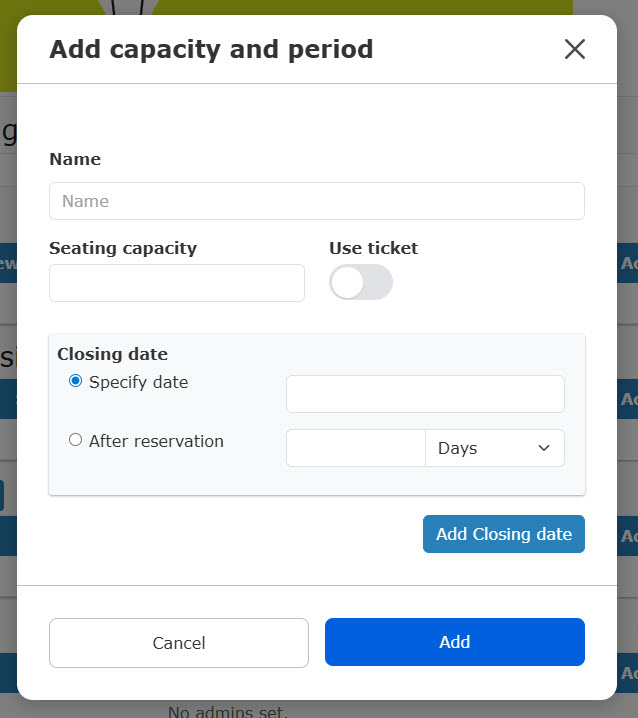
When you specify a closing date, the date must be future date from the start date of the training.
When there are training reserved, make the training private to change the closing date.
06. Select stakeholders
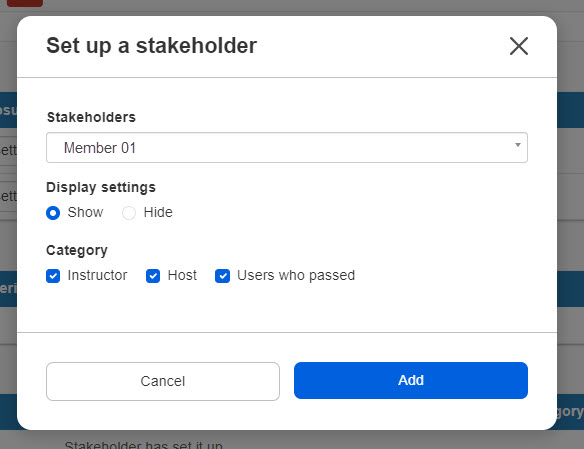
Click on the "+" icon next to "Stakeholders" and select stakeholders from the list.
Select one on the Display settings.
You can select multiple items on the Category.
*When you select "Hide" on the Display settings, stakeholders will be displayed only on the Search trainings page and the training start page.
For more information about the people involved, see "Manage stakeholders.
07. Admin settings
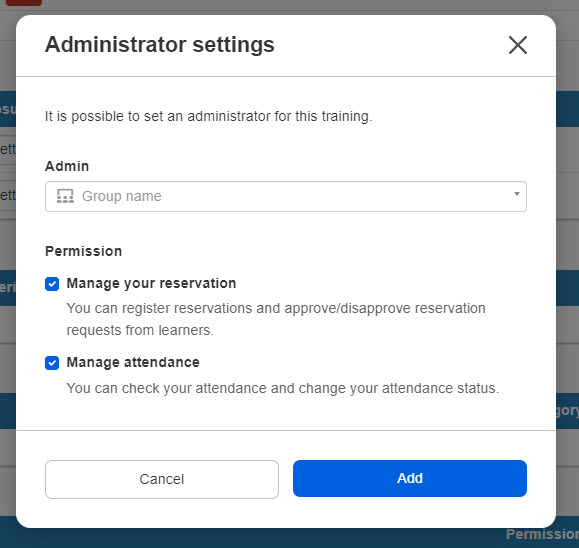
You can set an admin for each training.
Click the "+" icon next to "Admin."
Select a group to assign the admin from the list.
Tick the permissions to assign the admin.
Click "Add" to finish the settings.
Permissions
▼Reservation manager
| Accessible pages | ・Manage reservation ・Manage reservation > List |
| Available actions | ・Approval / Batch Approval ・Disapproval/ Batch disapproval ・Register reservations ・CSV Export ・Check for available numbers |
▼ Manage attendance
| Accessible pages | ・Manage reservation ・Manage reservations>Ticket |
| Available actions | ・Attendance status update ・Batch updates of attendance status ・CSV Export ・Check for available numbers ・Scan QR Code for attendance ・Printing page ・Display settings |
08. Start date
You can set the start date of the training.
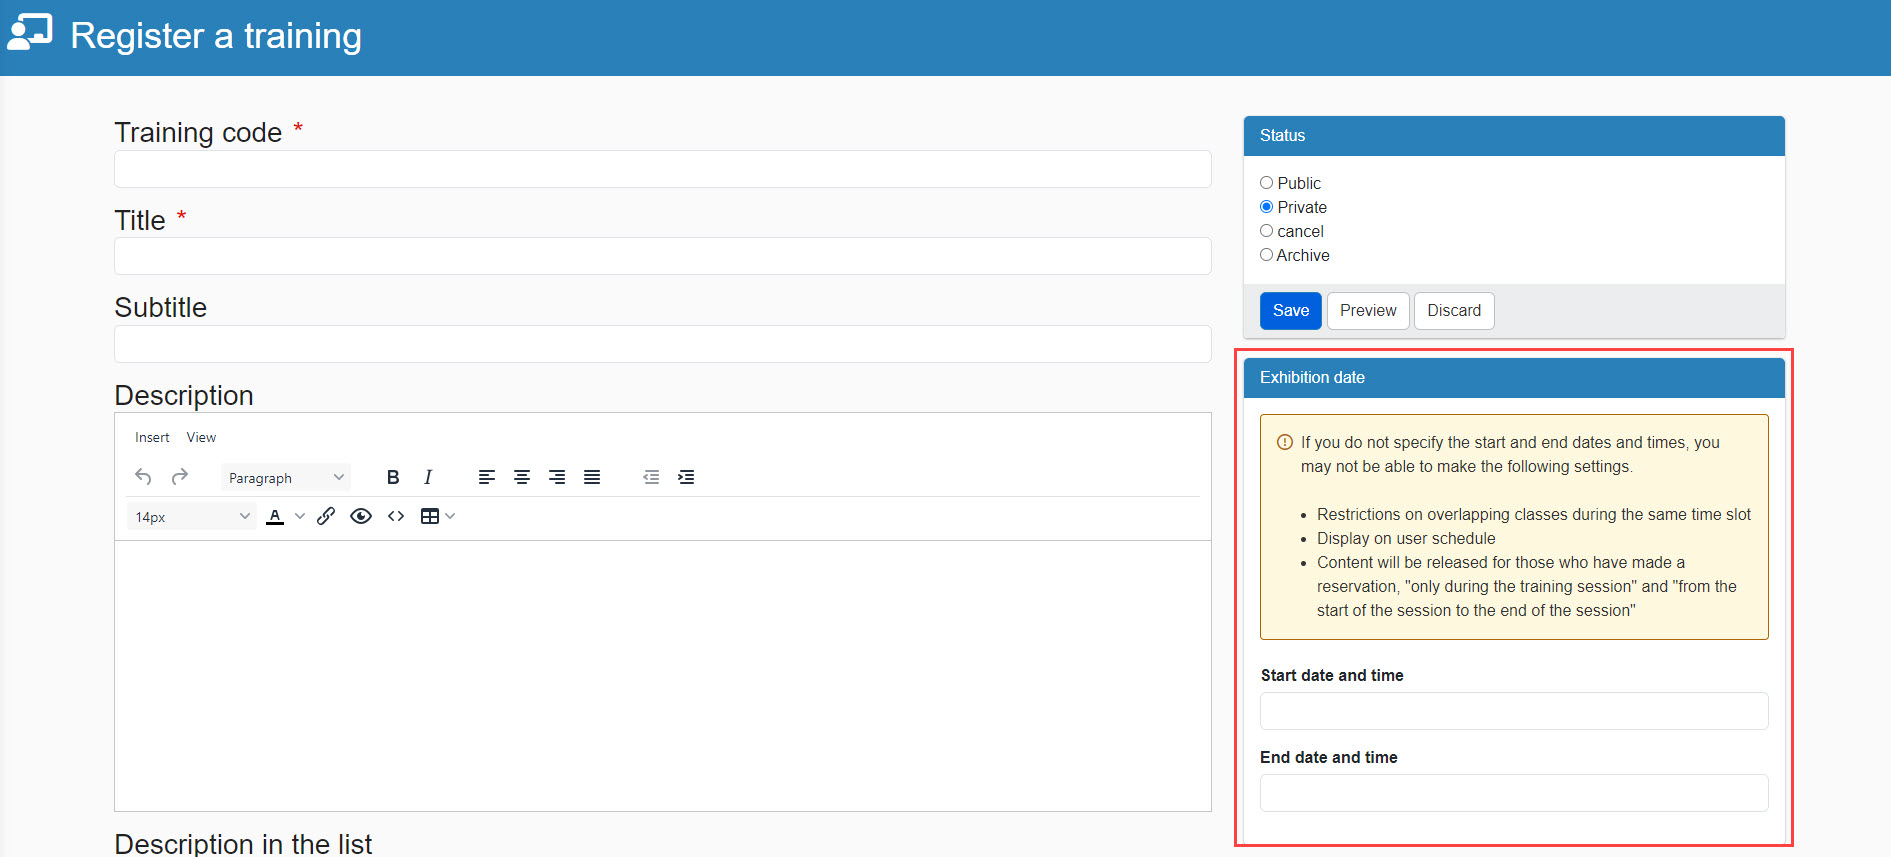
Without the start date, you may not be able to set the following:
- Limit overlapping bookings for the same time slot
- Display training on the user schedule
- Content for reservation holders is available "only during the training" and "from the start of the training to the end of the use".
When changing the date and time after limiting overlapping bookings for the same time slot, changes can be made only in the following cases:
- When there are no reservations
- There is a reservation and changed date and time does not overlap with another training/seminar reserved (purchased) by the users.
Display on Schedule
You can set whether or not to use the DashboardInformation on scheduled training sessions can be displayed in the schedule on the "Training" screen.
Users can view that information from the schedule and book training sessions.
*Both the start and end dates and times must be set.
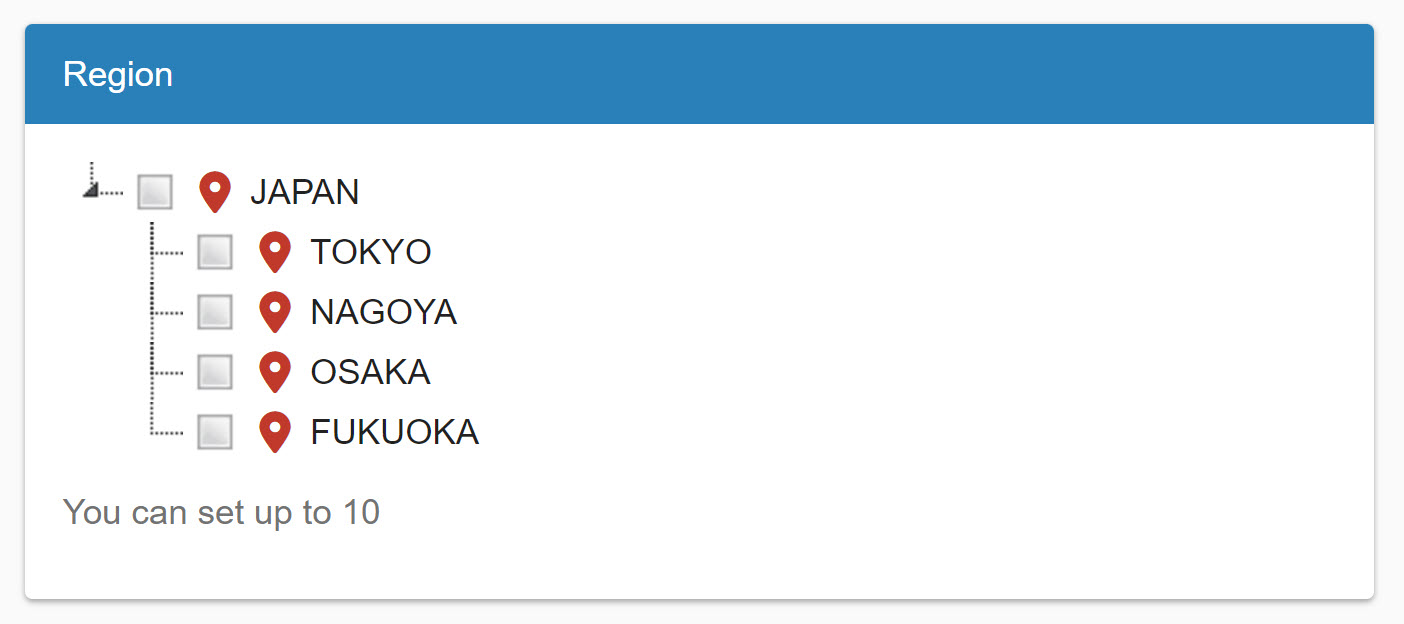
09. Region
You can set the region in which the training will be held.
Select the region (up to 10 can be set).
*For the region, see "Manage regions.
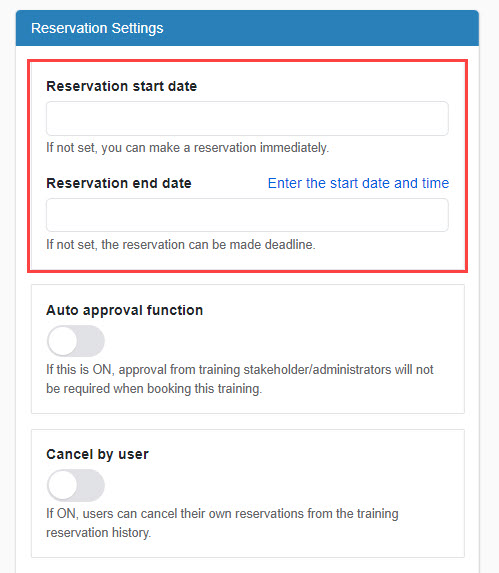
10. Reservation start/end date
You can set the period for which you will accept reservations for training.
Click "Enter the start date and time," and the Reservattion start/end date will be entered.
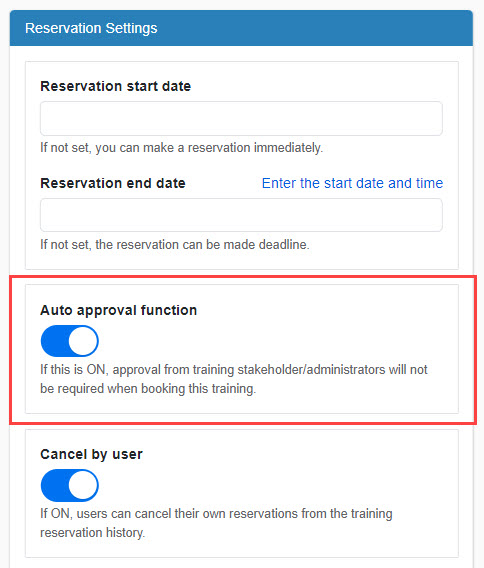
11. Auto approval
You can apply auto approval when the training is booked. To use this function, turn on the toggle key.
To approve reservations one by one, turn it off.
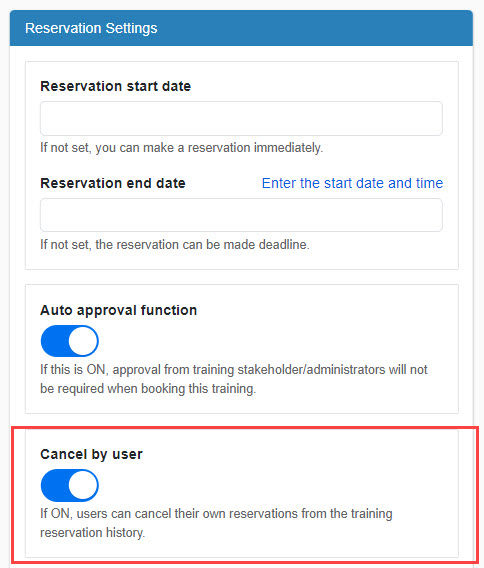
12. Cancel by user
Turn on the toggle key to allow users to cancel training by themselves.
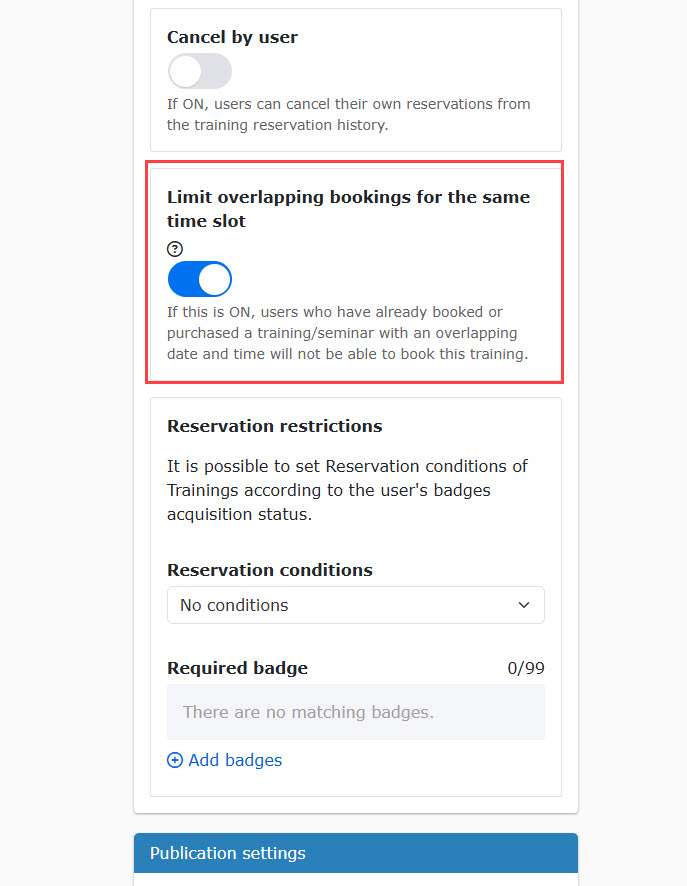
13. Limit overlapping bookings for the same time slot
To limit overlapping bookings for the same time slot, turn on the toggle key.
14. Reservation restrictions by badge
You can restrict reservations according to the acquired badges.
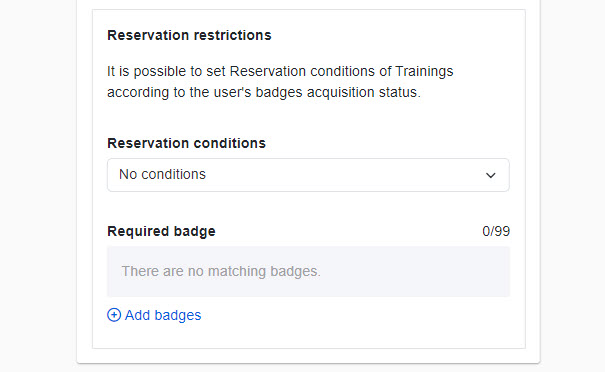
Select an item from the following five options in the "Reservation conditions."
- No conditions
- All eligible badges have been obtained
- Some eligible badges have already been earned
- Not acquired all target badges
- Some target badges have not been obtained
Specify the target badge.
Click on "Add badges" and tick the badges you want to add. *Up to 99 badges are selectable.
For more information about the badge, please visit Manage badges.
15. Access period
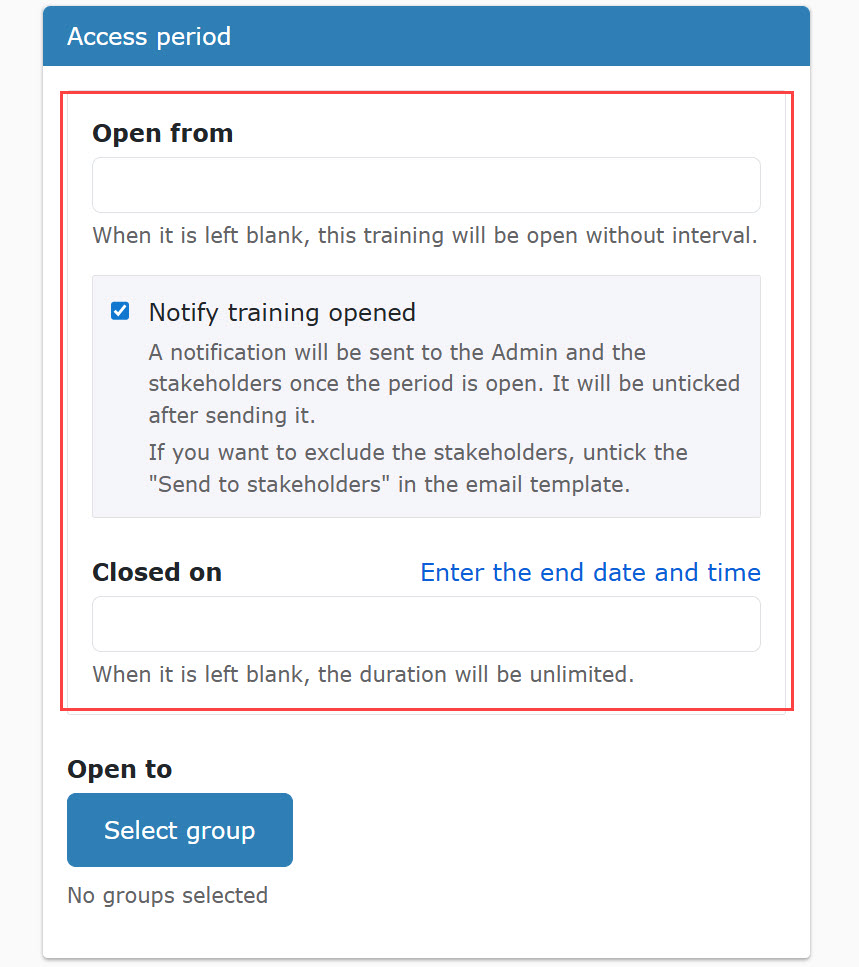
You can set the duration to display the training on the Search trainings page.
Click the "Enter the end date and time" to apply the date of the training.
Tick the box to send a notification to Admin and the stakeholders when the training is open.
16. Select group
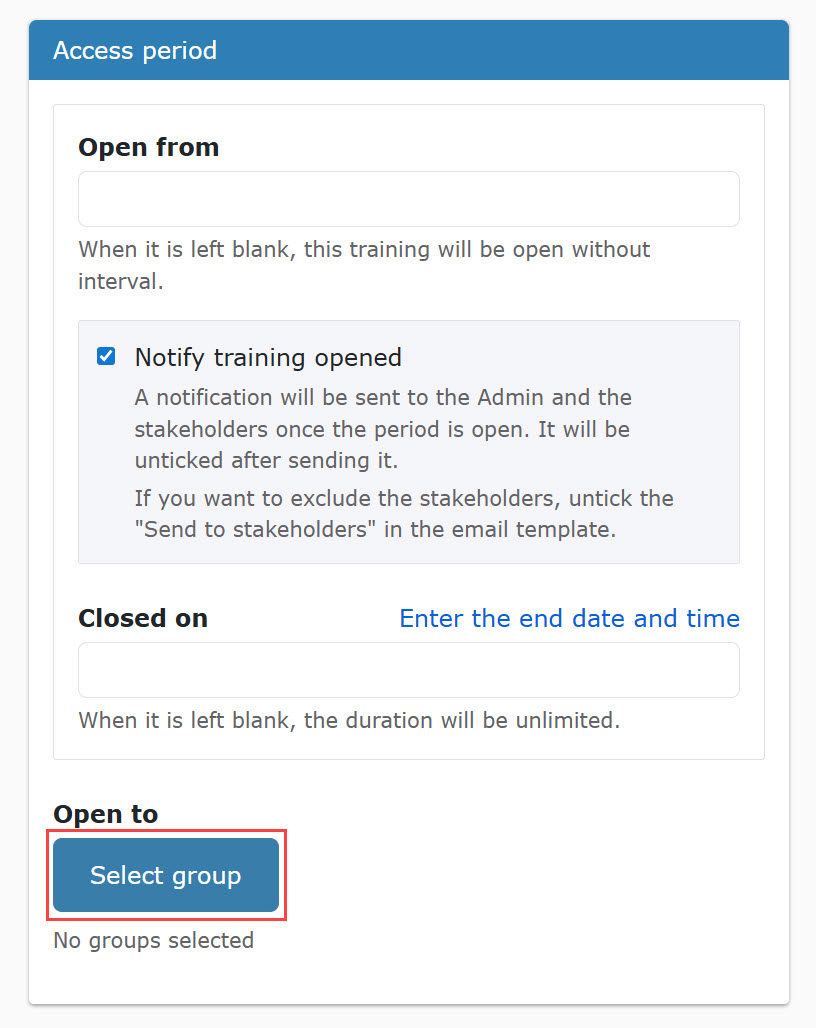
Select groups which you wish to open the training to.
Click on "Select group."
Select groups from the list.
Save the settings.
Select groups from the list.
Click on Save.
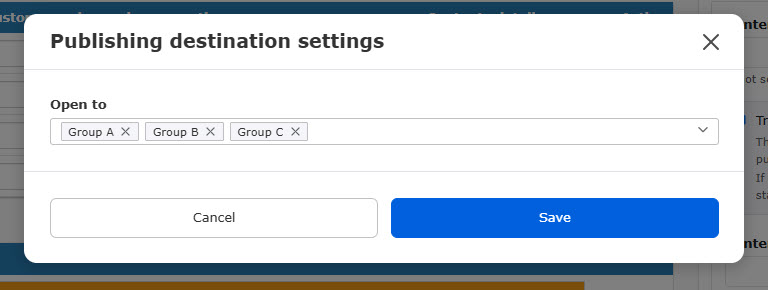
In a hierarchical group, selecting the upper group automatically selects the lower groups as well.
Note
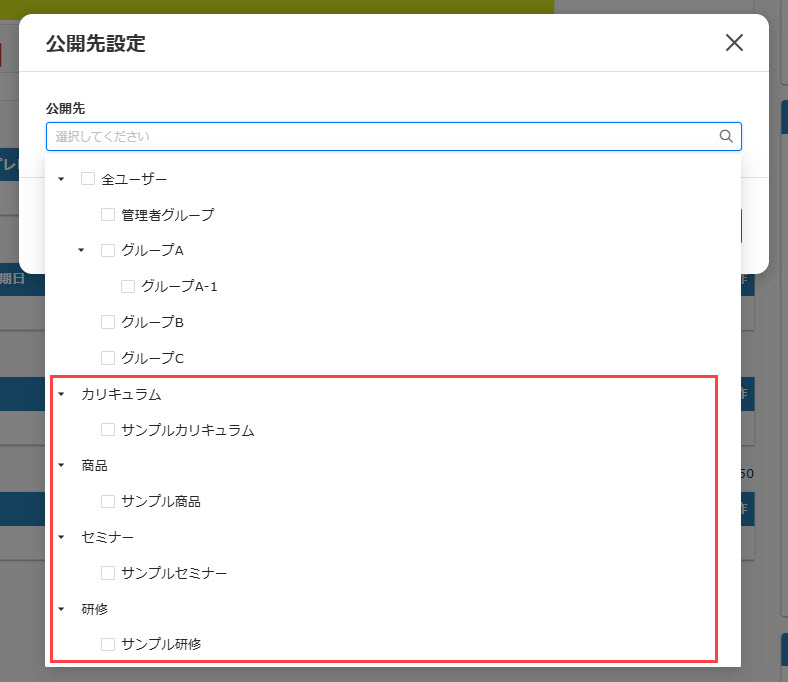
When you create a product/seminar/curriculum/training, a group is created for each individual product or seminar.
These groups can be selected as the publication destination.
This allows you to set up, for example, "to release training to users who have purchased a specific seminar.
17. Link to the "Search trainings" page
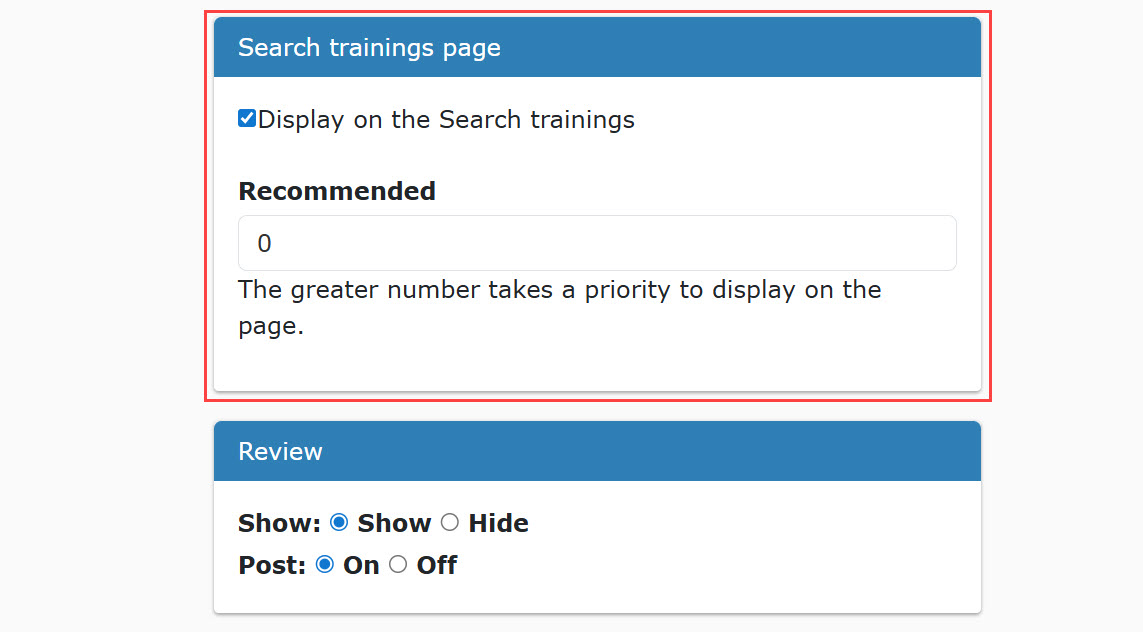
Tick the box if you want to display the training on the "Search trainings" page.
You can set the level of recommendations.
The bigger number you set, the higher position the training will be placed in the list.
18. Review
You can set whether to display customer reviews and whether to allow posts on social media.
Please tick the one you prefer.
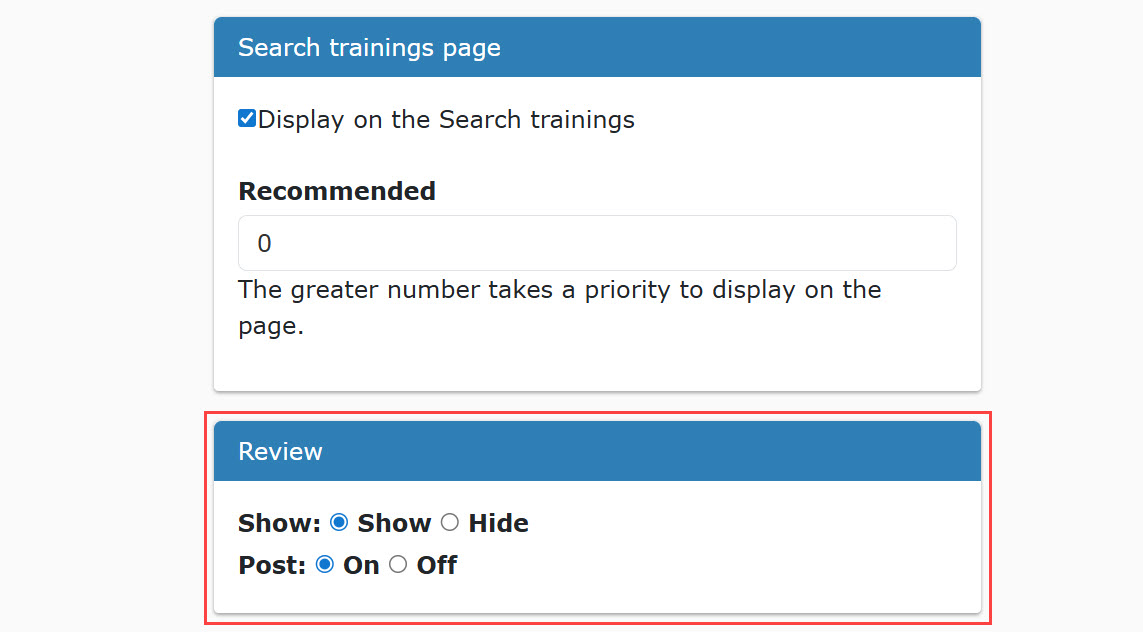
- Customer reviews will be displayed on the training start page
- Be sure to set "Enable the review function" to On in the Basic training settings.
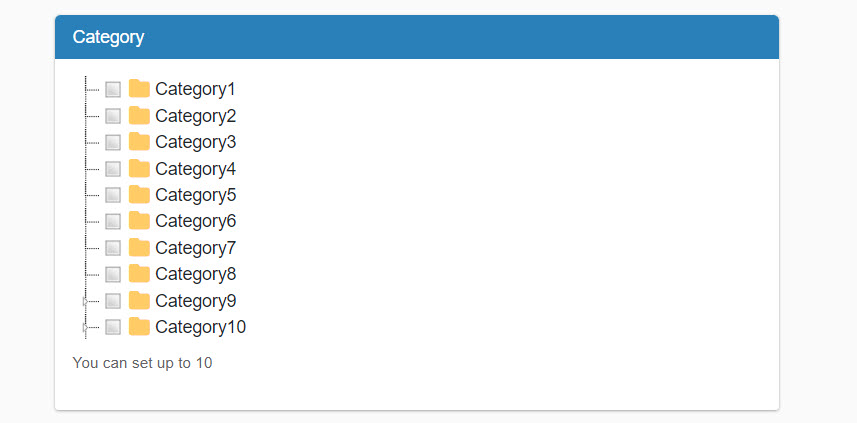
19. Category
You can set categories for training.
Categories you set will be utilized in the Search trainings page.
Select categories you wany to add to the training. *Up to 10 categories are selectable.
For more information about the *category, please see the "Categories.
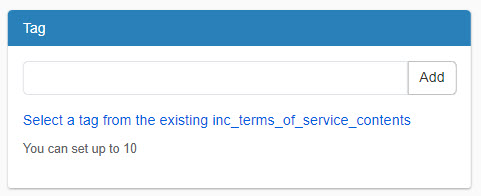
20. Tags
Tags can be set for the training.
They will be utilized in the "Search trainings" page.
To create a new tag, enter a tag name and click "Add."
When you want to use existing tags, click on "Select existing tag."
*Up to 10 tags can be set.
*For more details about tags, refer to Manage tags.
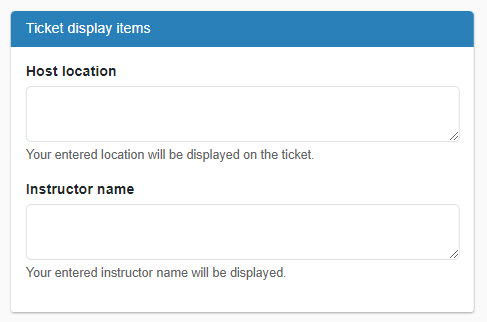
The location/instructor name can be displayed on a ticket.
If you wish to display the items, fill in the form.
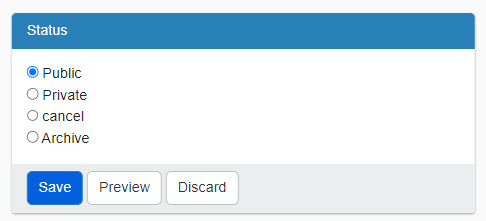
22. Save/Preview
Select the status and click "Save."
Click "Preview" to see a preview of the training start page.
To be back to the settings page, click "Discard."
*When archived, the training will not be displayed on the "Manage trainings" page nor "Search trainings" page.
- No changes will be made to the assignments of learners for whom archived trainings are "reserved".
- You can narrow down the list by putting ✓ in "Archived" in the "Training Management" screen.
Create in batch
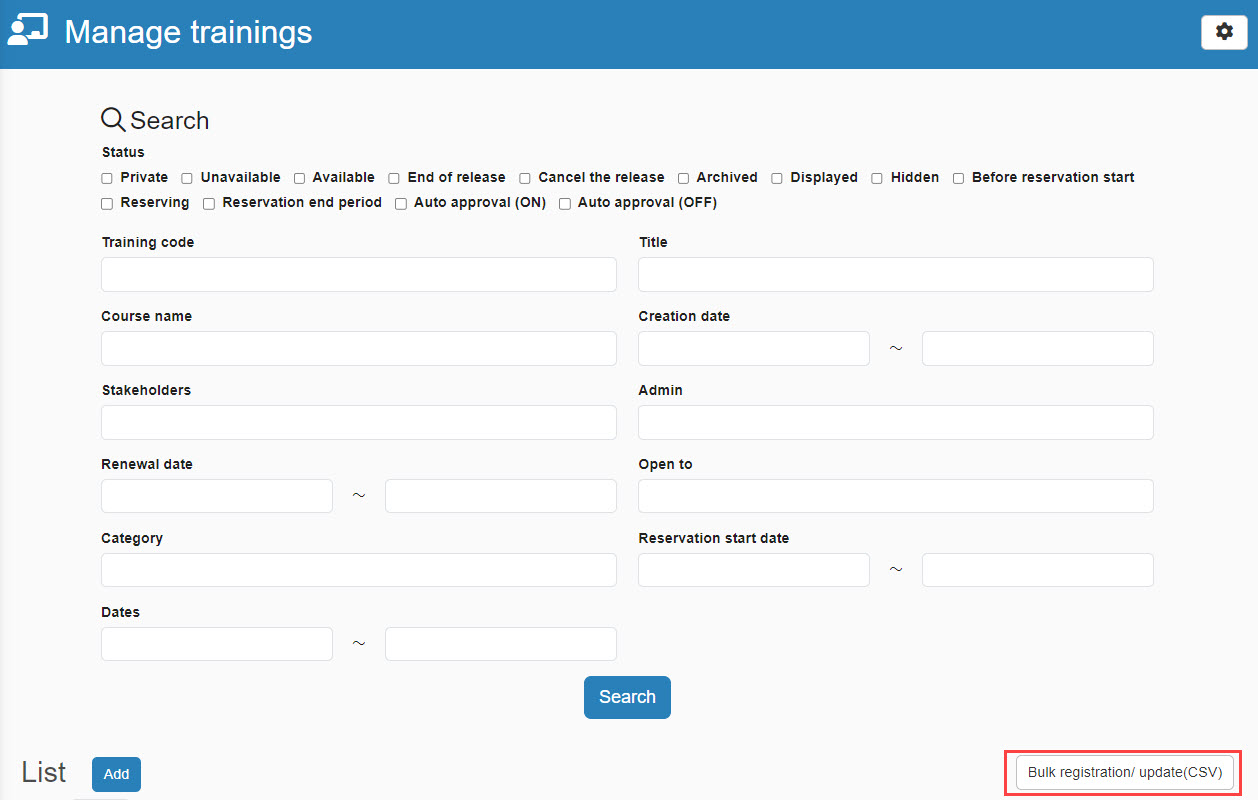
01.Download CSV
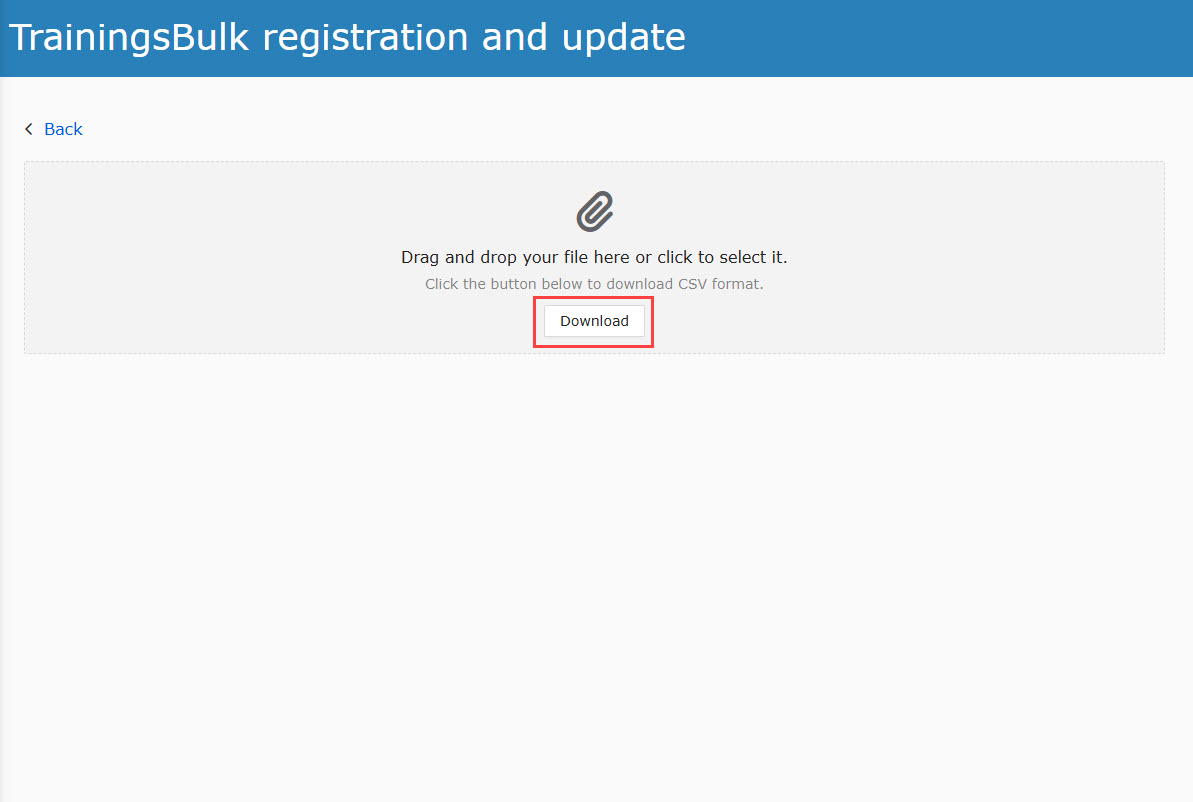
You can download the information about the training.
Click on "Bulk Registration/Update (CSV)."
Click "Download."
02. Input format
The downloaded CSV includes the training information items.
On each line, enter information about one training.
Sample data is entered on the second line in advance for reference.
Each item and rule to enter
Please download and refer to the PDF file below for the contents of each item and input rules.
For the contents of each item, see the above "One by onePlease also refer to the following
03. Upload file
Upload the created CSV file to learningBOX.
Drag and drop the file to the gray area or click on the gray area to select the file.
If the uploaded content is incomplete, an error message will be displayed.
Correct the content and re-upload the file if necessary.
Click the trash can icon to reselect the file.
The following fields are required to fill out.
- Training Code
- Status
- Title
When you specify a closing date, the date must be future date from the start date of the training.
When changing the date and time after limiting overlapping bookings for the same time slot, changes can be made only in the following cases:
- When there are no reservations
- When there are reservations & the changed date/time does not overlap with other training/seminars
Update duration
When updating the duration, the training status must be Private.
Note that if multiple duration have already been set, you cannot specify a duration for update.
The results will vary depending on the settings.
e.g.) Add a new duration C to a training program with duration A and B
- When duration A and B are already reserved and cannot be deleted: there will be three duration with A, B and C.
- When duration A and B can be deleted: A and B will be deleted and only C will be the duration of the training
Review/edit training
01. Go to Manage trainings
In the side menu, select "Training" > "Manage trainings"
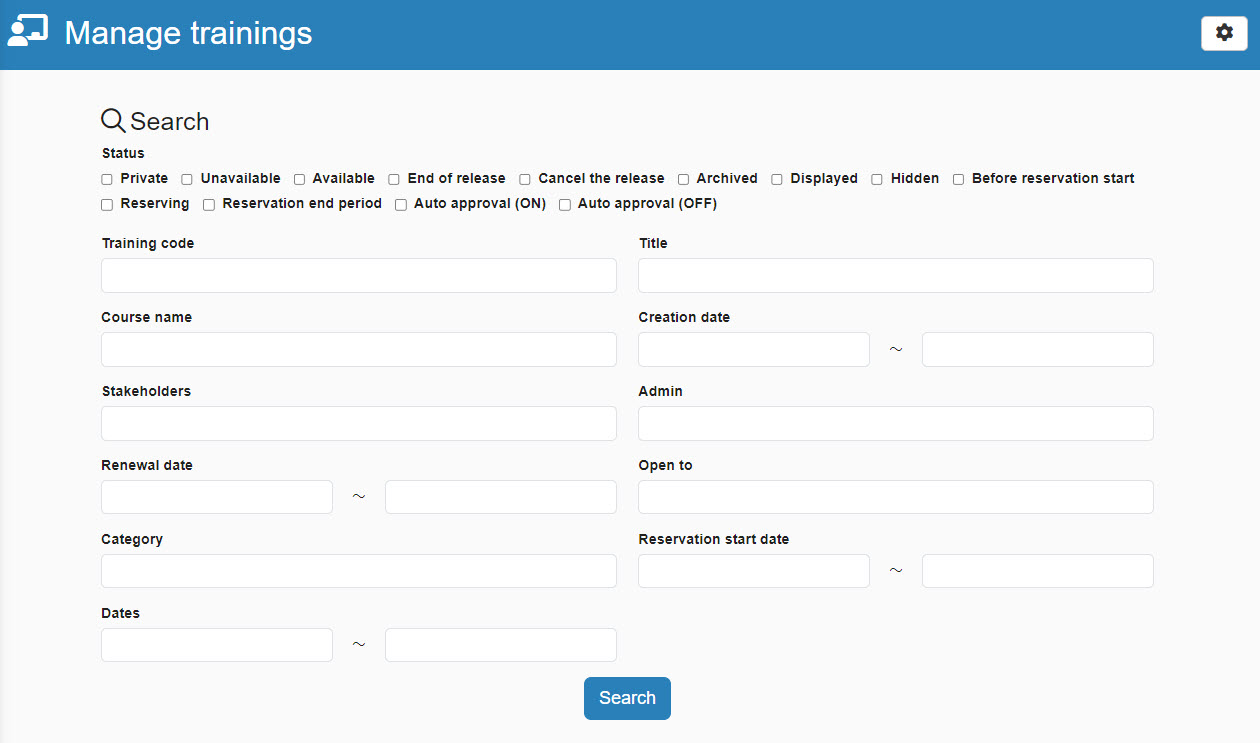
02. Search training
You can search trainings at the top of the page.
03. List of training
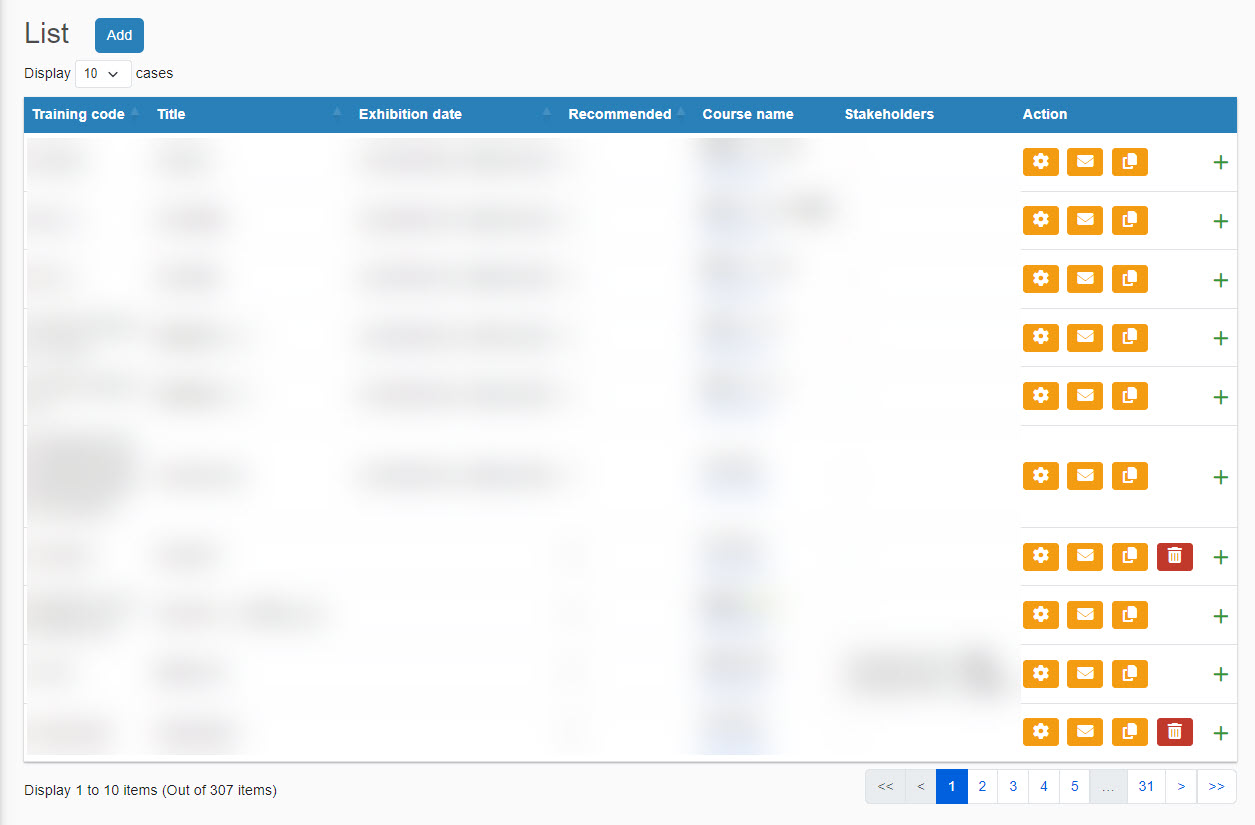
The results will be listed under the search field.
It includes the titles of the training, recommendations, course information, etc.
04. Edit Menu
Some icons will be displayed to the right of each training.
・Gear icon: You can edit the training.
・Envelope icon: You can edit the email sent to the admin/stakeholders.
・Paper icon: You can duplicate the training.
・Trash can icon: You can delete the training.
